发表于: 2018-04-03 23:51:08
1 670
今天完成的事情:
完成任务七,开始任务八。
学习一下关于RMI。
在网上找到了一个简单的demo,大致代码如下:
model:
package rmi.model;
import java.io.Serializable;
//注意对象必须继承Serializable
public class PersonEntity implements Serializable {
private int id;
private String name;
private int age;
public void setId(int id) {
this.id = id;
}
public int getId() {
return id;
}
public void setName(String name) {
this.name = name;
}
public String getName() {
return name;
}
public void setAge(int age) {
this.age = age;
}
public int getAge() {
return age;
}
}
服务层:
package rmi.service;
import java.rmi.Remote;
import java.rmi.RemoteException;
import java.util.List;
import rmi.model.*;
//此为远程对象调用的接口,必须继承Remote类
public interface PersonService extends Remote {
public List<PersonEntity> GetList() throws RemoteException;
}
服务实现层:
package rmi.serviceImpl;
import java.rmi.RemoteException;
import java.rmi.server.UnicastRemoteObject;
import java.util.LinkedList;
import java.util.List;
import rmi.model.PersonEntity;
import rmi.service.*;
//此为远程对象的实现类,须继承UnicastRemoteObject
public class PersonServiceImpl extends UnicastRemoteObject implements PersonService {
public PersonServiceImpl() throws RemoteException {
super();
// TODO Auto-generated constructor stub
}
@Override
public List<PersonEntity> GetList() throws RemoteException {
// TODO Auto-generated method stub
System.out.println("Get Person Start!");
List<PersonEntity> personList = new LinkedList<PersonEntity>();
PersonEntity person1 = new PersonEntity();
person1.setAge(25);
person1.setId(0);
person1.setName("Leslie");
personList.add(person1);
PersonEntity person2 = new PersonEntity();
person2.setAge(25);
person2.setId(1);
person2.setName("Rose");
personList.add(person2);
return personList;
}
}
启动服务层:
package rmi.remotingservice;
import java.rmi.Naming;
import java.rmi.registry.LocateRegistry;
import rmi.service.*;
import rmi.serviceImpl.*;
public class Program {
public static void main(String[] args) {
try {
PersonService personService = new PersonServiceImpl();
//注册通讯端口
LocateRegistry.createRegistry(6600);
//注册通讯路径
Naming.rebind("rmi://127.0.0.1:6600/PersonService", personService);
System.out.println("Service Start!");
} catch (Exception e) {
// TODO Auto-generated catch block
e.printStackTrace();
}
}
}
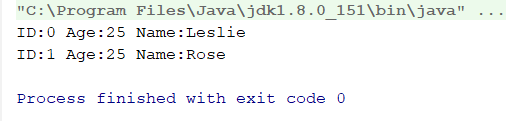
然后启动客户端程序:
package rmi.remotingclient;
import java.rmi.Naming;
import java.util.List;
import rmi.model.PersonEntity;
import rmi.service.*;
public class ProgramClient {
public static void main(String[] args) {
try {
//调用远程对象,注意RMI路径与接口必须与服务器配置一致
PersonService personService = (PersonService) Naming.lookup("rmi://127.0.0.1:6600/PersonService");
List<PersonEntity> personList = personService.GetList();
for (PersonEntity person : personList) {
System.out.println("ID:" + person.getId() + " Age:" + person.getAge() + " Name:" + person.getName());
}
} catch (Exception ex) {
ex.printStackTrace();
}
}
}
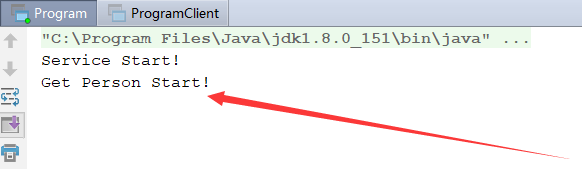
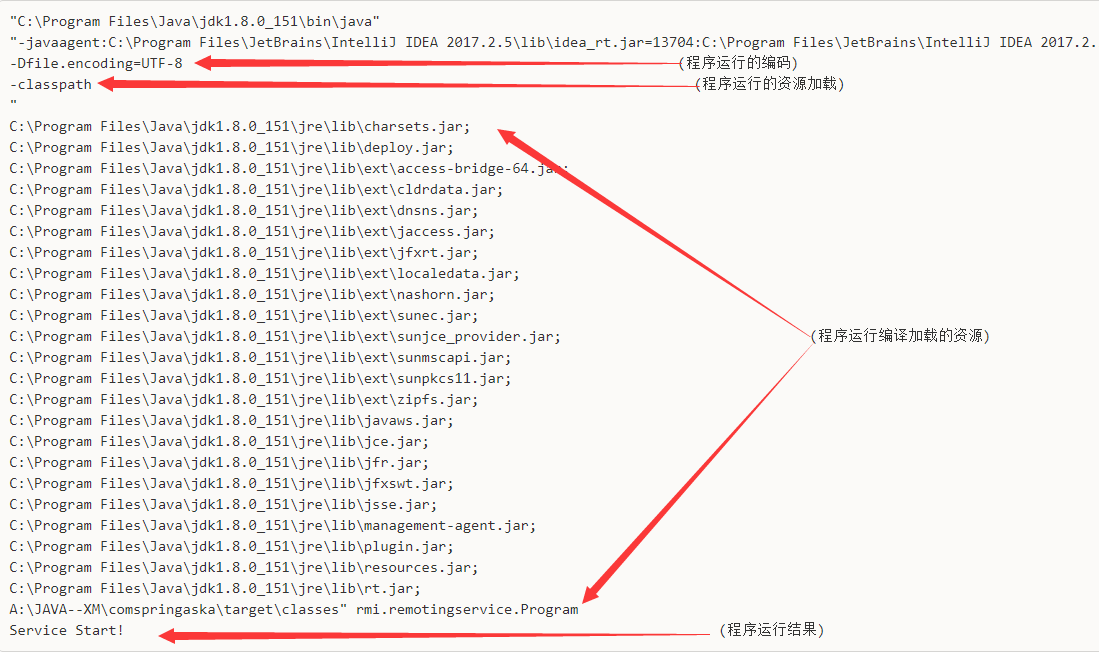
运行服务层:
.png)

启动客户端:
.png)
服务端显示变化:
.png)
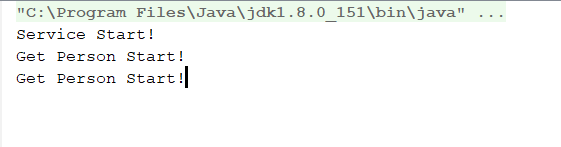
再次启动客户端,服务端变化如下:
明天计划的事情:认真研究RMI。
遇到的问题:
1.打包报插件错误。
2.打包编码警告。
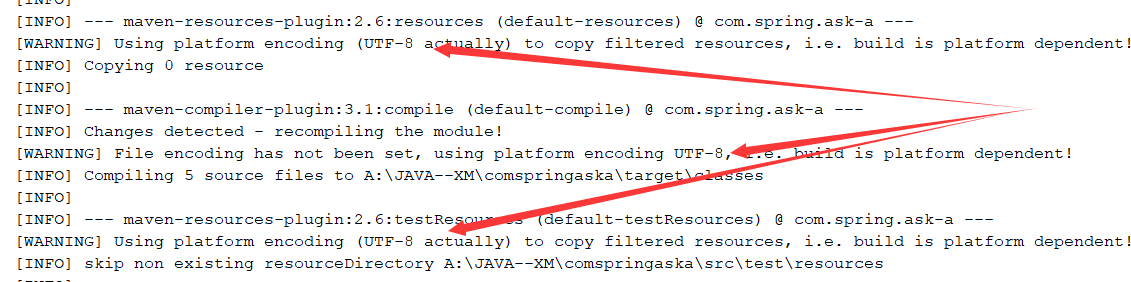
解决办法是分别添加maven编译版本与编译编码:
<build>
<plugins>
<!--
指定maven插件编译版本
1:maven:since2.0, 默认用jdk1.3来编译,maven 3.x 貌似是默认用jdk 1.5。
2:windows默认使用GBK编码,java项目经常编码为utf8,也需要在compiler插件中指出,否则中文乱码可能会出现编译错误。
-->
<plugin>
<groupId>org.apache.maven.plugins</groupId>
<artifactId>maven-compiler-plugin</artifactId>
<!-- since 2.0 -->
<version>3.7.0</version>
<configuration>
<!-- use the Java 8 language features -->
<source>1.8</source>
<!-- want the compiled classes to be compatible with JVM 1.8 -->
<target>1.8</target>
<!-- The -encoding argument for the Java compiler. -->
<encoding>UTF8</encoding>
</configuration>
</plugin>
</plugins>
</build>
<properties>
<project.build.sourceEncoding>UTF-8</project.build.sourceEncoding>
<project.reporting.outputEncoding>UTF-8</project.reporting.outputEncoding>
</properties>
</project>
3.尝试使用命令行对程序进行编译的时候,报错找不到import的包。很绝望。
在复制程序运行结果的时候,复制出来看到这样的结果:
.png)
但是在命令行不知道如何做。
收获:
进度:
任务开始时间:2018年04月03日
预计demo时间:2018年04月07日


评论