发表于: 2018-01-28 22:34:13
1 665
今天完成的事情:(一定要写非常细致的内容,比如说学会了盒子模型,了解了Margin)
完成了使用spring 集成的RMI进行了项目服务端(service)和客户端(web)的分离
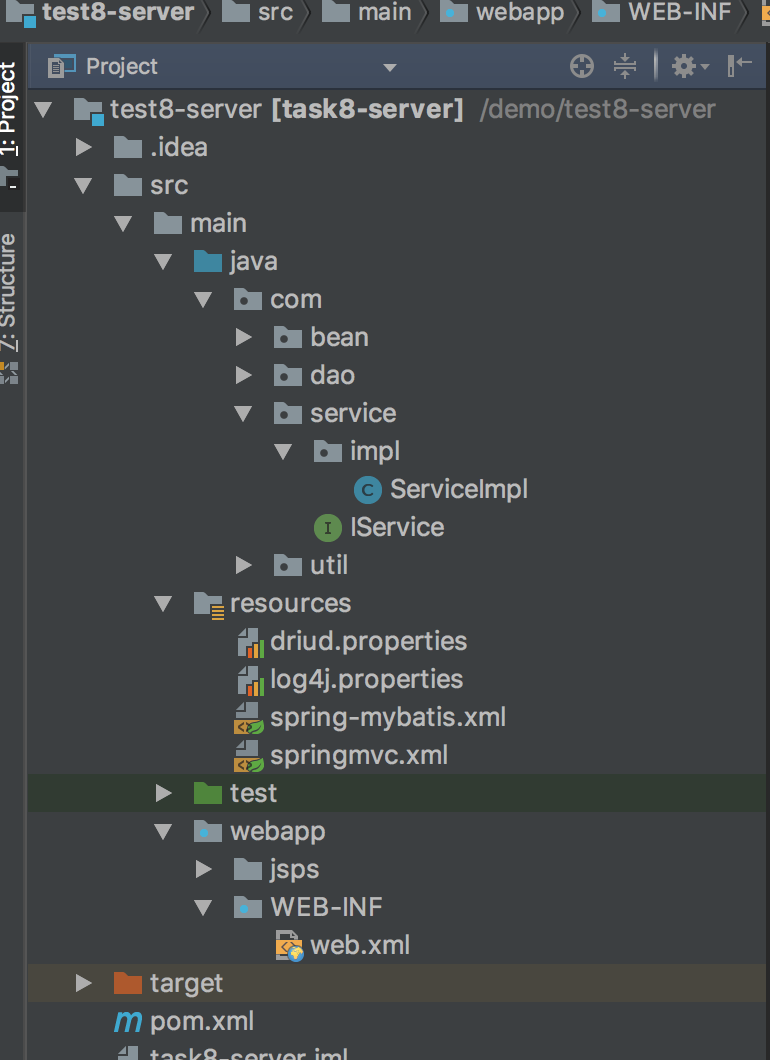
先看一下项目结构,
服务端
 明天
明天
可以看到service已经没有了controller
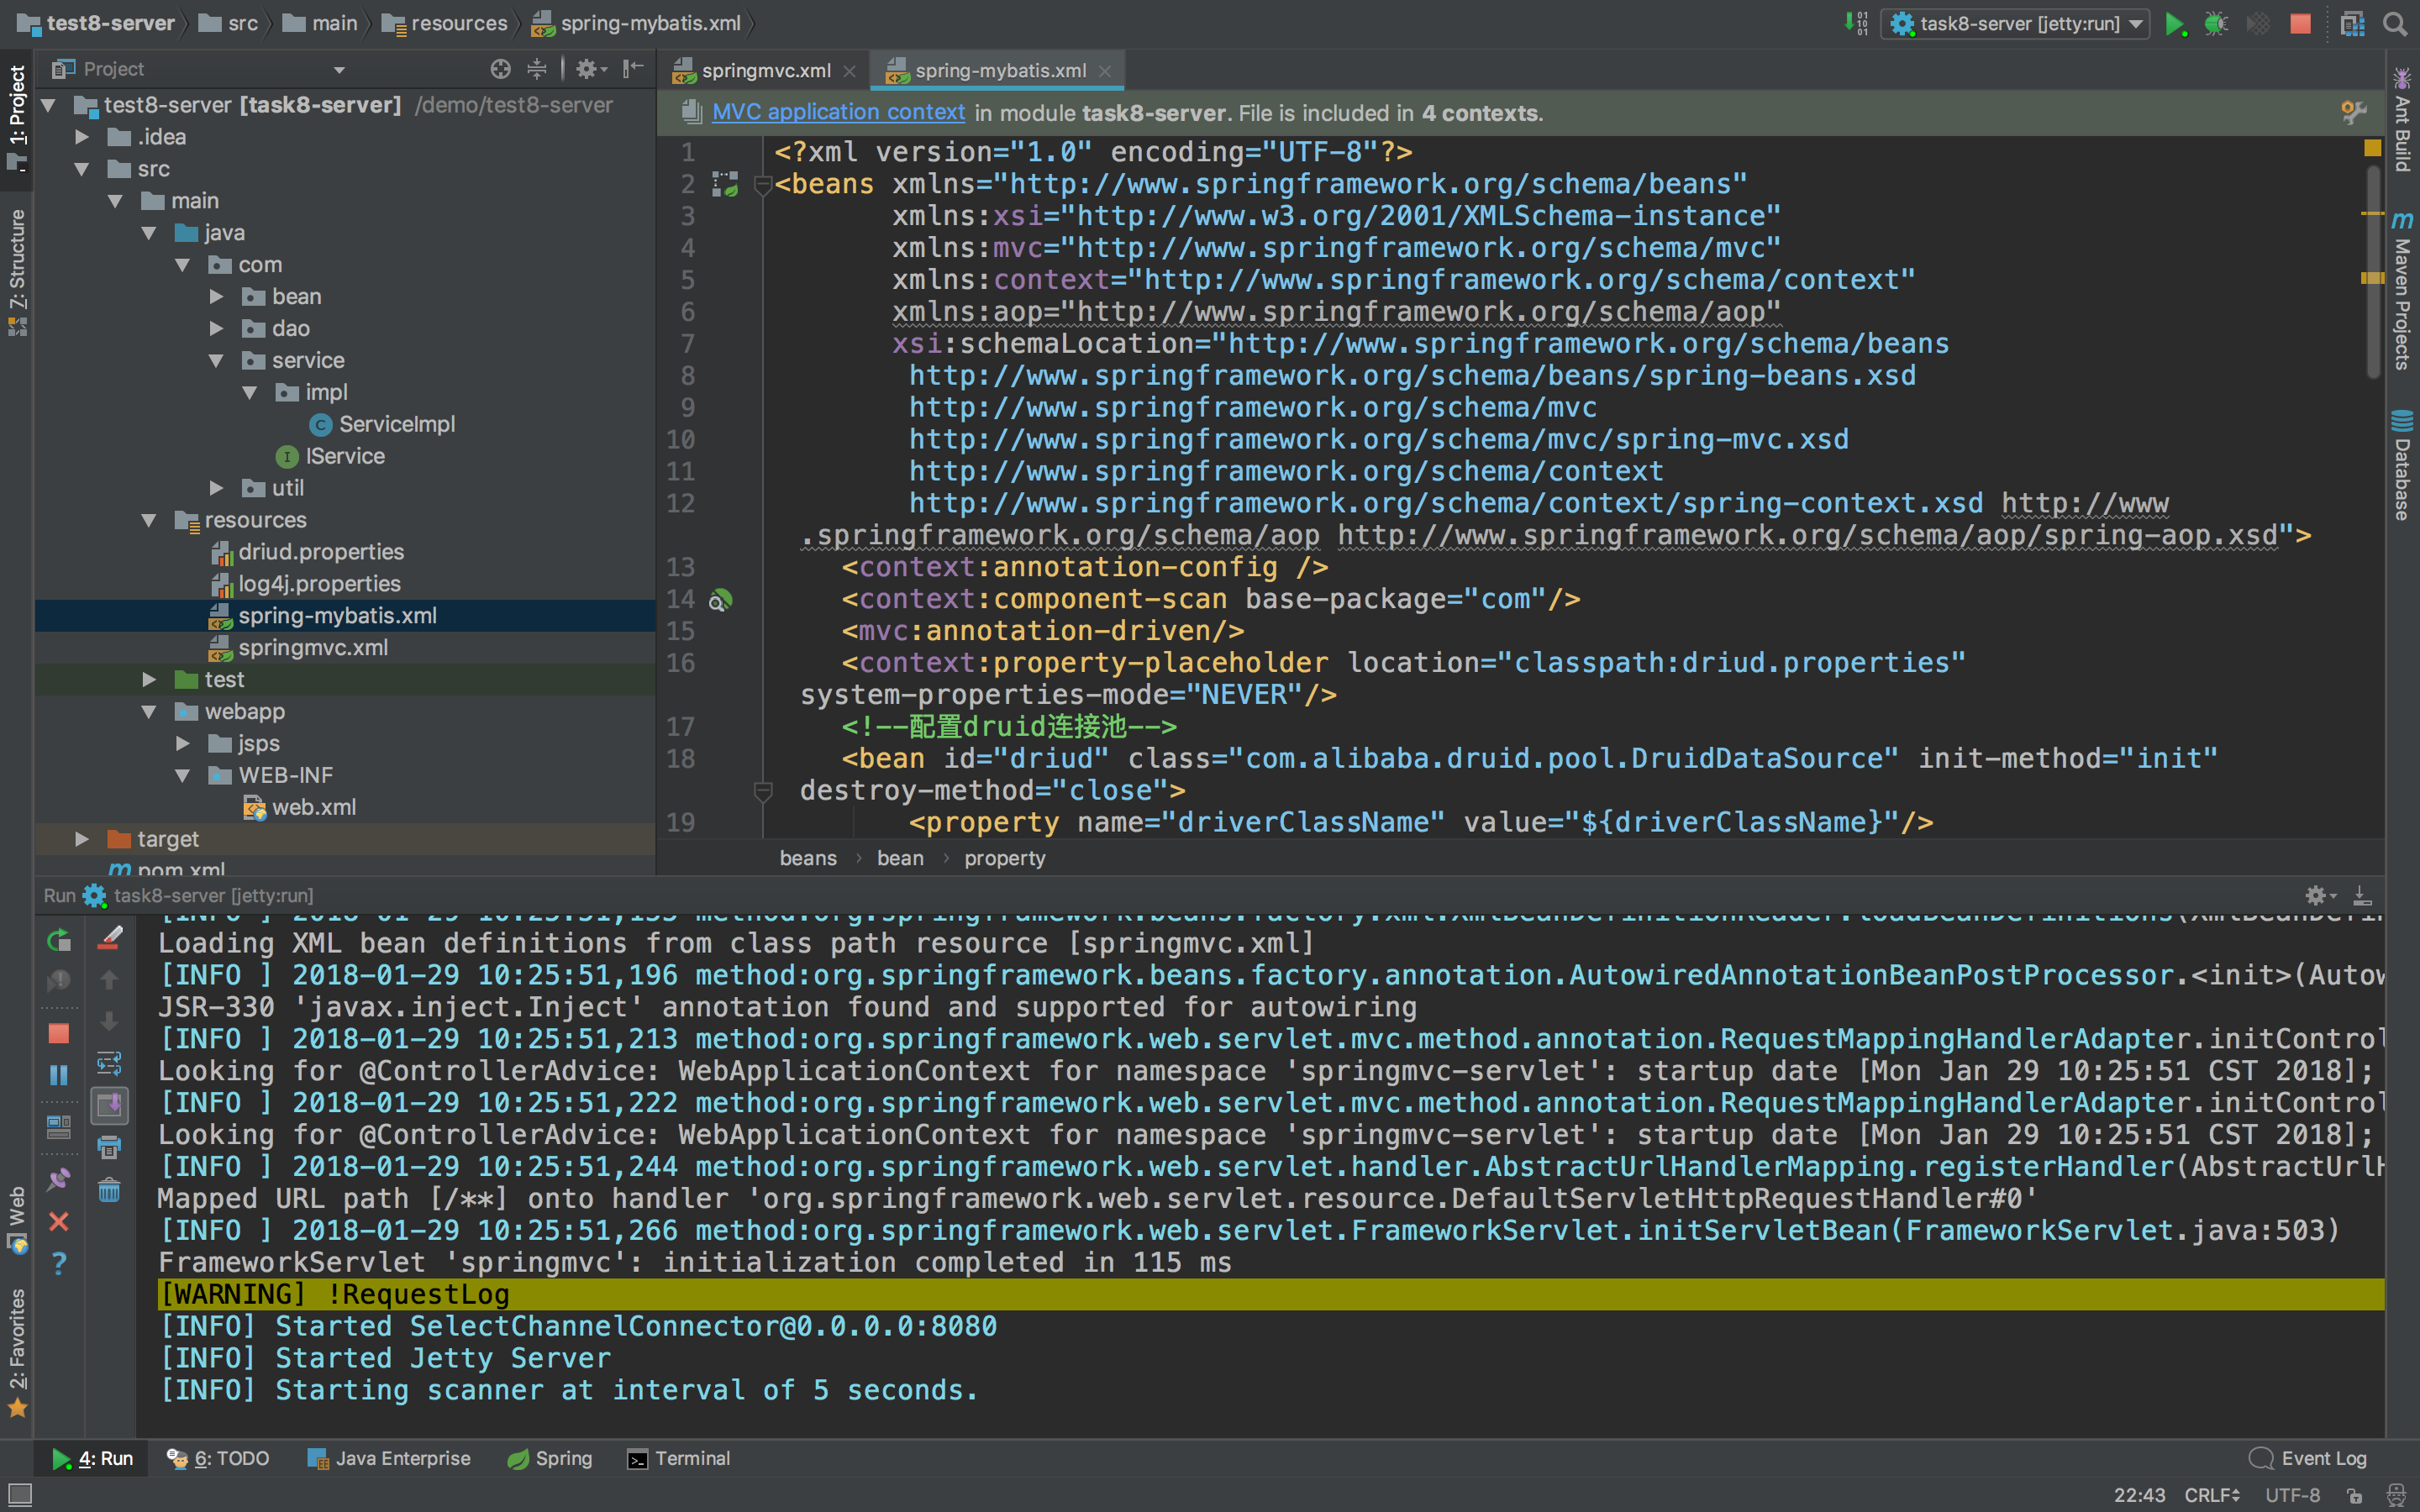
相应的配置文件:
<!-- 将一个类发布为一个RMI服务 -->
<bean id="myRMIServer"  class="org.springframework.remoting.rmi.RmiServiceExporter">
    <property name="serviceName" value="RMI"/>
    <property name="service" ref="serviceImpl"/>
    <property name="serviceInterface" value="com.service.IService"/>
    <property name="registryPort" value="1099"/>
</bean>
服务端需要将我们想要暴漏出的方法接口配置进去,并配置相应的端口号以及service的别名.
客户端:
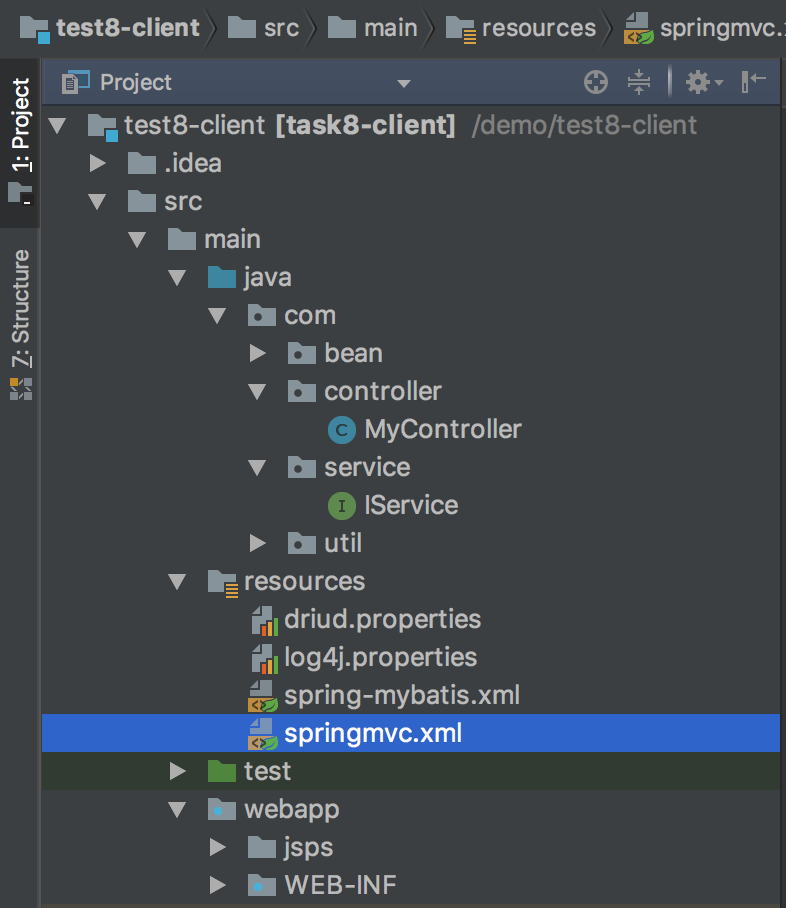
web层可以看到已经没有了service的实现类,仅仅留有一个接口作为方法的调用者.
看一下配置文件前后对比:
使用RMI之前:
<?xml version="1.0" encoding="UTF-8"?>
<beans xmlns="http://www.springframework.org/schema/beans"
       xmlns:xsi="http://www.w3.org/2001/XMLSchema-instance"
       xmlns:mvc="http://www.springframework.org/schema/mvc"
       xmlns:context="http://www.springframework.org/schema/context"
       xmlns:aop="http://www.springframework.org/schema/aop"
       xsi:schemaLocation="http://www.springframework.org/schema/beans
      http://www.springframework.org/schema/beans/spring-beans.xsd
      http://www.springframework.org/schema/mvc
      http://www.springframework.org/schema/mvc/spring-mvc.xsd
      http://www.springframework.org/schema/context
      http://www.springframework.org/schema/context/spring-context.xsd http://www.springframework.org/schema/aop http://www.springframework.org/schema/aop/spring-aop.xsd">
    <context:annotation-config />
    <context:component-scan base-package="com"/>
    <mvc:annotation-driven/>
    <context:property-placeholder location="classpath:driud.properties" system-properties-mode="NEVER"/>
    <!--配置druid连接池-->
    <bean id="driud" class="com.alibaba.druid.pool.DruidDataSource" init-method="init" destroy-method="close">
        <property name="driverClassName" value="${driverClassName}"/>
        <property name="username" value="${username}"/>
        <property name="password" value="${password}"/>
        <property name="url" value="${url}"/>
        <!-- 初始化连接大小 -->
        <property name="initialSize" value="${initialSize}"/>
        <!-- 连接池最大数量 -->
        <property name="maxActive" value="${maxActive}"/>
        <!-- 连接池最大空闲 -->
        <!--<property name="maxIdle" value="${maxIdle}"/>-->
        <!-- 连接池最小空闲 -->
        <property name="minIdle" value="${minIdle}"/>
        <!-- 获取连接最大等待时间 -->
        <property name="maxWait" value="${maxWait}"/>
    </bean>
    <!--以下是给mybatis的配置,数据库对话工厂,mapper映射-->
    <bean id="sqlSessionFactory" class="org.mybatis.spring.SqlSessionFactoryBean">
        <!-- 指定数据源 -->
        <property name="dataSource" ref="driud" />
        <!-- 指定mybatis配置文件 -->
        <!--<property name="configLocation" value="classpath:mybatis-config.xml" />-->
        <!-- 指定需要别名的类所在的包名 ,或者在mybatis中配置-->
        <property name="typeAliasesPackage" value="com.bean"/>
        <!-- 扫描所有xml文件,或者在mybatis中配置 -->
        <property name="mapperLocations" value="classpath:com/dao/*.xml"/>
    </bean>
    <!-- DAO接口所在包名,Spring会自动查找其下的类 -->
    <bean class="org.mybatis.spring.mapper.MapperScannerConfigurer">
        <property name="basePackage" value="com.dao" />
    </bean>


    <!-- 将一个类发布为一个RMI服务 -->
    <bean id="myRMIServer"  class="org.springframework.remoting.rmi.RmiServiceExporter">
        <property name="serviceName" value="RMI"/>
        <property name="service" ref="serviceImpl"/>
        <property name="serviceInterface" value="com.service.IService"/>
        <property name="registryPort" value="1099"/>
    </bean>

</beans>
使用了RMI之后:
<?xml version="1.0" encoding="UTF-8"?>
<beans xmlns="http://www.springframework.org/schema/beans"
       xmlns:xsi="http://www.w3.org/2001/XMLSchema-instance"
       xmlns:mvc="http://www.springframework.org/schema/mvc"
       xmlns:context="http://www.springframework.org/schema/context"
       xmlns:aop="http://www.springframework.org/schema/aop"
       xsi:schemaLocation="http://www.springframework.org/schema/beans
      http://www.springframework.org/schema/beans/spring-beans.xsd
      http://www.springframework.org/schema/mvc
      http://www.springframework.org/schema/mvc/spring-mvc.xsd
      http://www.springframework.org/schema/context
      http://www.springframework.org/schema/context/spring-context.xsd http://www.springframework.org/schema/aop http://www.springframework.org/schema/aop/spring-aop.xsd">
    <context:annotation-config />
    <context:component-scan base-package="com"/>
    <mvc:annotation-driven/>

    <!-- 客户端 -->
    <bean id="rmiClient"  class="org.springframework.remoting.rmi.RmiProxyFactoryBean">
        <property name="serviceInterface" value="com.service.IService"/>
        <property name="serviceUrl" value="rmi://127.0.0.1:1099/RMI"/>
    </bean>

</beans>
在之前繁琐的bean类配置里可以看到,客户端仅仅需要配置对应RMI服务相应的客户端即可.
这样所有的Dao以及数据库的连接已经是放在service端了
然后因为要启动2个服务器的原因,在本地测试的时候需要改一下jetty的端口配置.
<plugin>
  <groupId>org.mortbay.jetty</groupId>
  <artifactId>jetty-maven-plugin</artifactId>
  <version>8.1.16.v20140903</version>
  <configuration>
    <stopPort>9977</stopPort>
    <stopKey>foo</stopKey>
    <scanIntervalSeconds>5</scanIntervalSeconds>
    <connectors>
      <connector implementation="org.eclipse.jetty.server.nio.SelectChannelConnector">
        <port>8181</port>
        <maxIdleTime>60000</maxIdleTime>
      </connector>
    </connectors>
    <webAppConfig>
      <contextPath>/</contextPath>
    </webAppConfig>
  </configuration>
</plugin>
这样就可以在本地开启2个服务进行测试.
另外,因为有了server和client的的区别了, 我们需要优先启动服务端,再启用客户端,不然客户端是启动不成功的.
服务端在8080端口启动成功.
客户端在8181端口启动成功.
我们访问客户端进行测试:
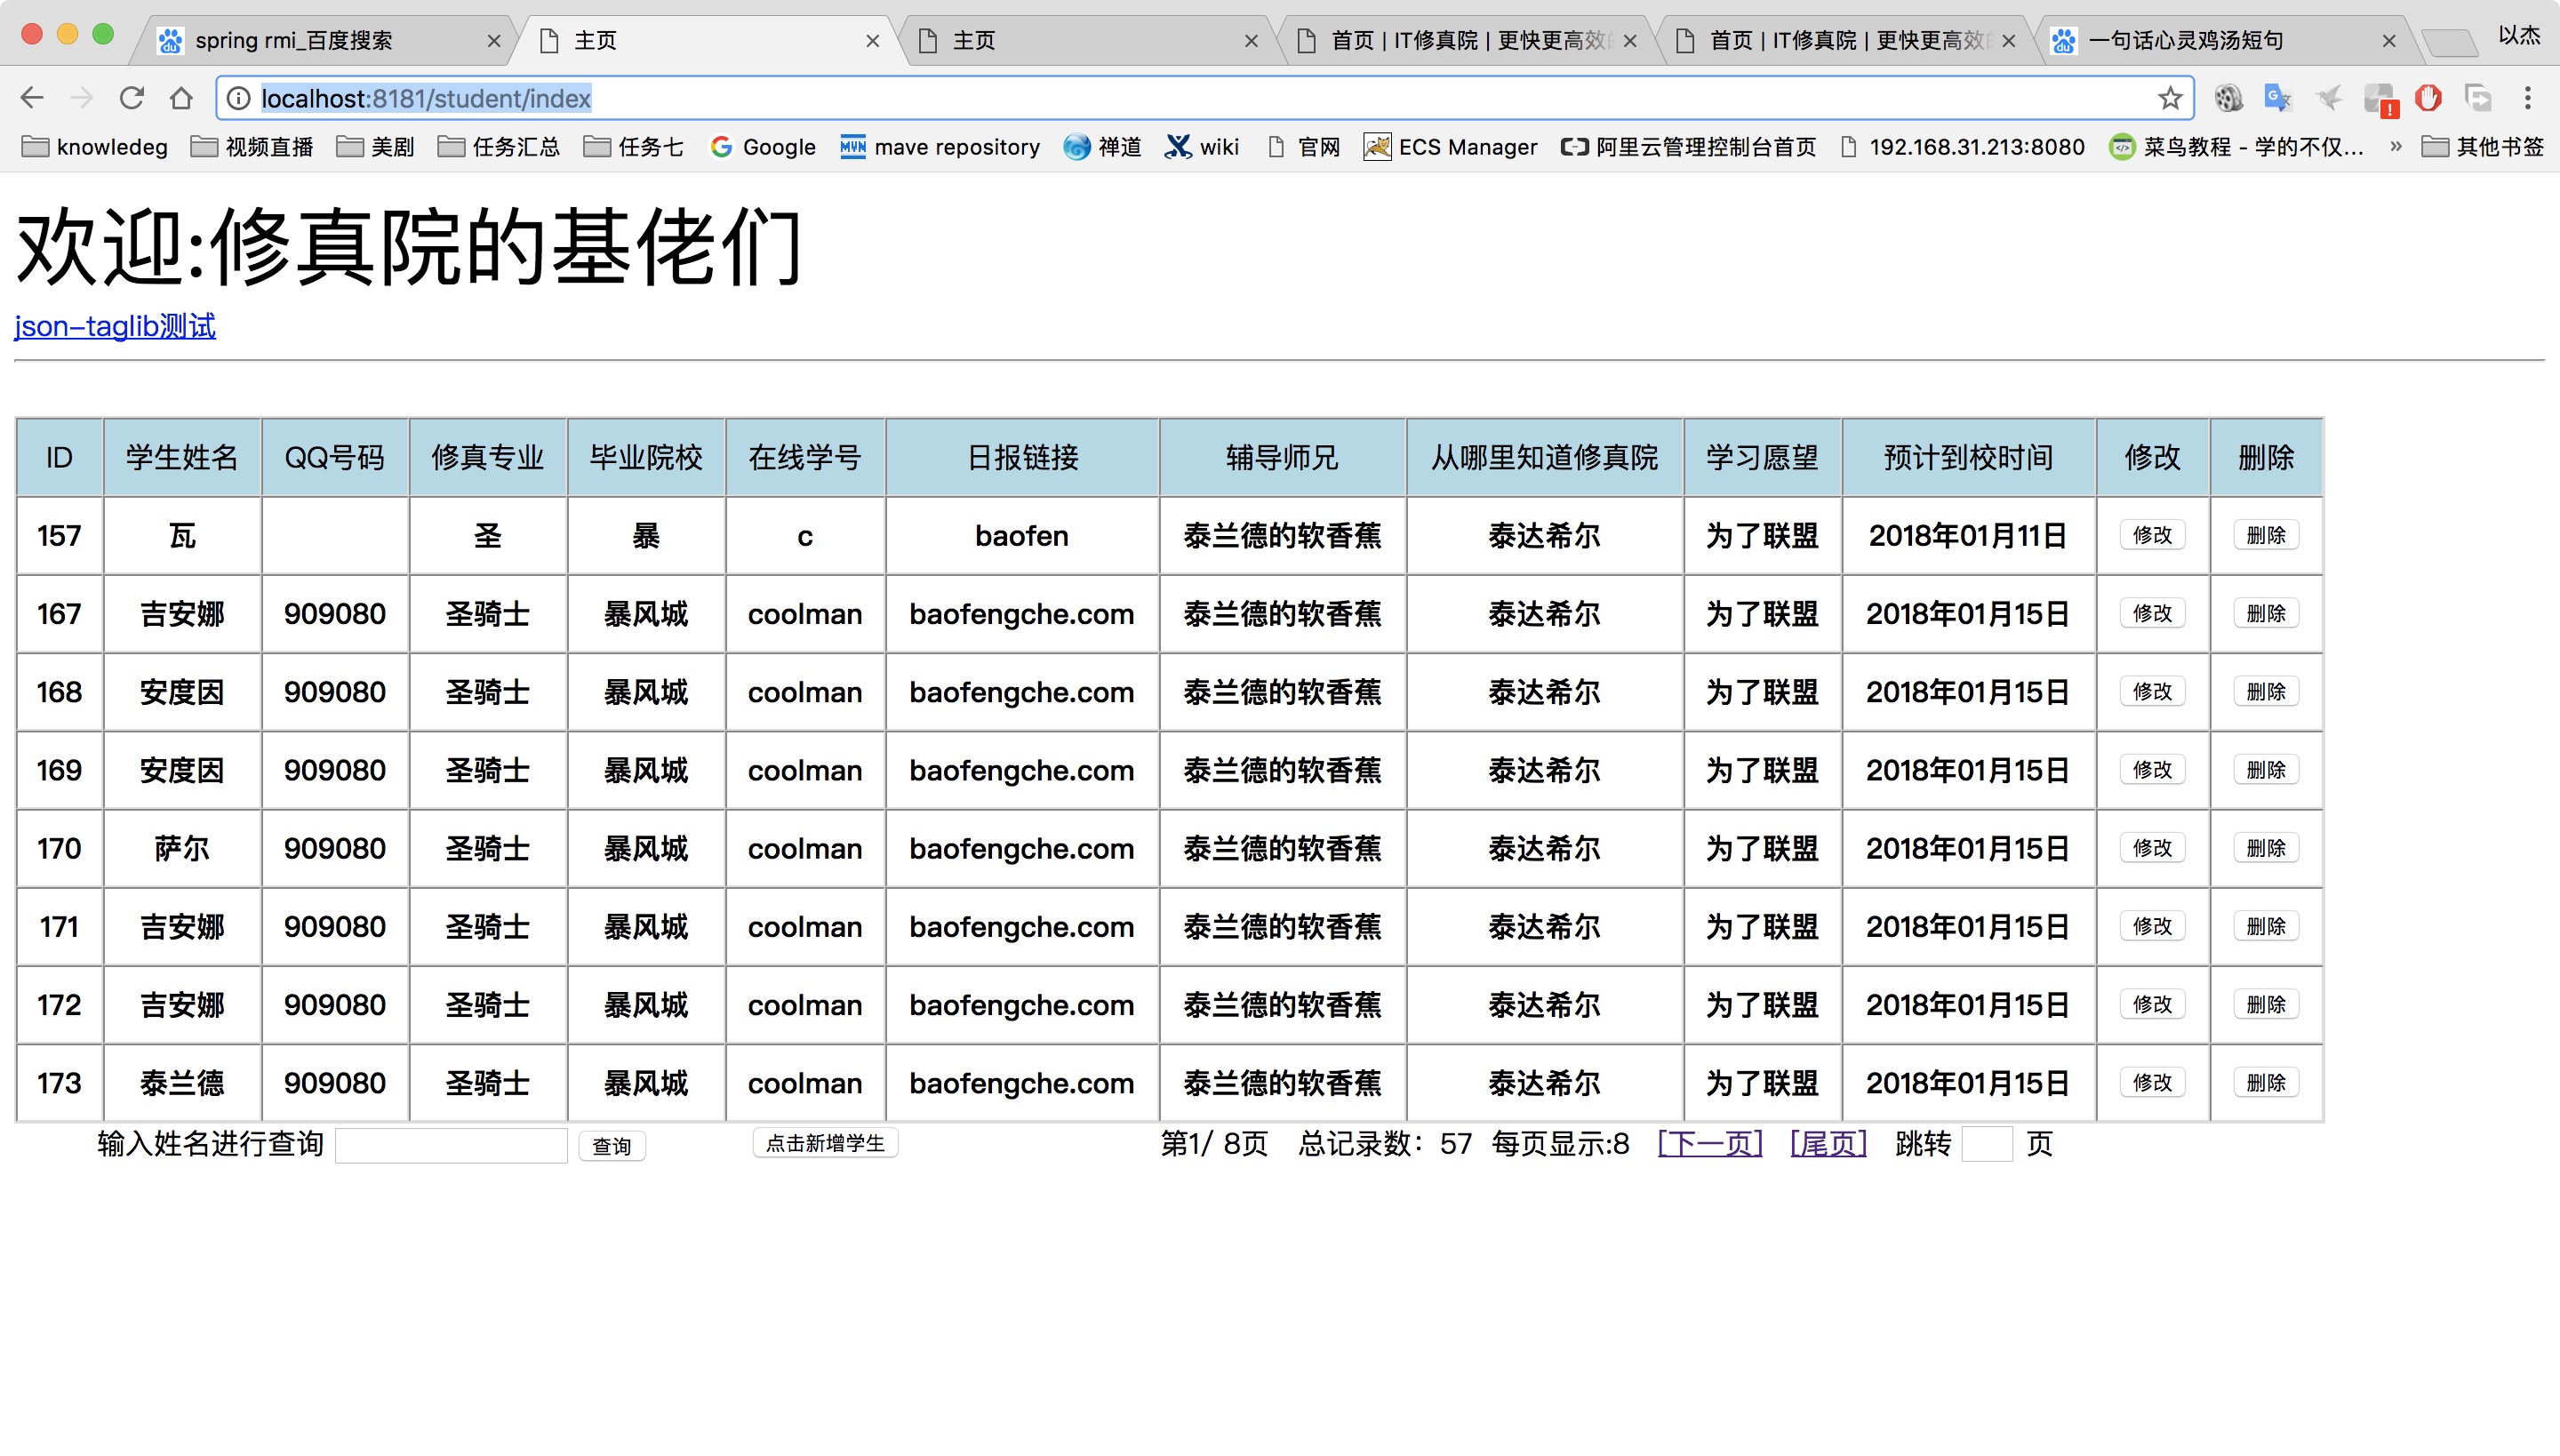
访问成功.
明天计划的事情:(一定要写非常细致的内容)
用java原生的方式完成以下RMI分离.再配置多台服务,用以测试.然后提交任务8的深度思考.
遇到的问题:(遇到什么困难,怎么解决的)
在使用RMI分离之后,我任务2的代码因为没有使用到缓存,所以实体类并未进行序列化,在使用RMI的时候会报IO流的错误,可以知道RMI本身多半也是依赖了IO流来进行数据的传输.
让所有实体类都实现Serializable接口即可解决
public class PageBean<T> implements Serializable
收获:(通过今天的学习,学到了什么知识)
学会了如何使用Spring集成的RMI进行项目分离.


评论