发表于: 2018-01-26 19:54:27
1 611
今日完成
1.将service与web完全分离。
(1)自动注入RmiProxyFactoryBean,这里也遇到一个坑,因为RmiProxyFactoryBean获得是代理接口所有使用@autowire的时候也不一样,得到的实例就是代理的service 接口了。
@Autowired
@Qualifier("indexServiceProxy")
IndexService indexService;
(2)这里使用了@Qualifier注解,他的作用是但定义了相同类型的bean类的时候,注入的时候就要申明对应的name或者id。
<bean id="studentServiceProxy" class="org.springframework.remoting.rmi.RmiProxyFactoryBean">
    <property name="serviceInterface" value="lujing.service.StudentService"/>
    <property name="serviceUrl" value="rmi://localhost:8562/StudentService"/>
</bean>

<bean id="indexServiceProxy" class="org.springframework.remoting.rmi.RmiProxyFactoryBean">
    <property name="serviceInterface" value="lujing.service.IndexService"/>
    <property name="serviceUrl" value="rmi://localhost:8562/IndexService"/>
</bean>

<bean id="goodStudentServiceProxy" class="org.springframework.remoting.rmi.RmiProxyFactoryBean">
    <property name="serviceInterface" value="lujing.service.GoodStudentService"/>
    <property name="serviceUrl" value="rmi://localhost:8562/GoodStudentService"/>
</bean>

<bean id="jobListServiceProxy" class="org.springframework.remoting.rmi.RmiProxyFactoryBean">
    <property name="serviceInterface" value="lujing.service.JobListService"/>
    <property name="serviceUrl" value="rmi://localhost:8562/JobListService"/>
</bean>

<bean id="userServiceProxy" class="org.springframework.remoting.rmi.RmiProxyFactoryBean">
    <property name="serviceInterface" value="lujing.service.UserService"/>
    <property name="serviceUrl" value="rmi://localhost:8562/UserService"/>
</bean>
(3)服务端也是一样的。将service的实现类交给RMI代理。在在加载容器的时候,就会将这些RMIservice注入。
<!--配置spring的RMI启动服务-->
<bean id="exporter1" class="org.springframework.remoting.rmi.RmiServiceExporter">
   <property name="serviceName" value="StudentService"/>
   <property name="service" ref="studentServiceImpl"/>
   <property name="serviceInterface" value="lujing.service.StudentService"/>
   <property name="registryPort" value="8562"/>
</bean>

   <bean id="exporter2" class="org.springframework.remoting.rmi.RmiServiceExporter">
       <property name="serviceName" value="IndexService"/>
       <property name="service" ref="indexServiceImpl"/>
       <property name="serviceInterface" value="lujing.service.IndexService"/>
       <property name="registryPort" value="8562"/>
   </bean>

<bean id="exporter3" class="org.springframework.remoting.rmi.RmiServiceExporter">
   <property name="serviceName" value="GoodStudentService"/>
   <property name="service" ref="goodStudentServiceImpl"/>
   <property name="serviceInterface" value="lujing.service.GoodStudentService"/>
   <property name="registryPort" value="8562"/>
</bean>

<bean id="exporter4" class="org.springframework.remoting.rmi.RmiServiceExporter">
   <property name="serviceName" value="JobListService"/>
   <property name="service" ref="jobListServiceImpl"/>
   <property name="serviceInterface" value="lujing.service.JobListService"/>
   <property name="registryPort" value="8562"/>
</bean>

<bean id="exporter5" class="org.springframework.remoting.rmi.RmiServiceExporter">
   <property name="serviceName" value="UserService"/>
   <property name="service" ref="userServiceImpl"/>
   <property name="serviceInterface" value="lujing.service.UserService"/>
   <property name="registryPort" value="8562"/>
</bean>
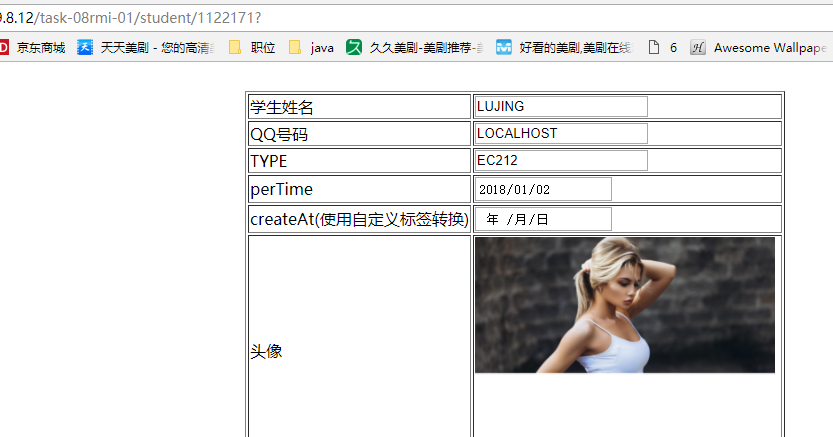
2.同时启动两边的容器,就可以通讯了。。
3.将两个项目都打包好,放在tomcat下面。实现分离,一个作为服务端,一个作为客户端。

4.再配置一个相同的tomcat容器。配置nginx实现负载均衡。
这样就可以访问了。。

5.挂掉其中一台的service,也可以访问的哦。
遇到问题
1.RMI无法传输session,看网上说rmi本来就是有状态的。所以还是自己的层次有问题,session不应该进入service的。
明日计划
1,提交任务8,整理代码。
收获
对分布式有了一定的了解。


评论