发表于: 2018-01-22 21:06:50
1 506
今日完成
1.下课堂整理提交
2.手机号注册全部完成了,先看看效果。
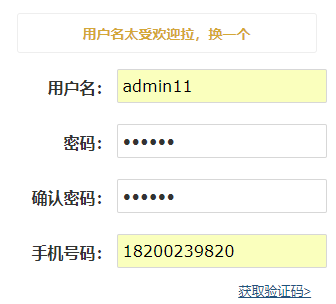
(1)验证用户名
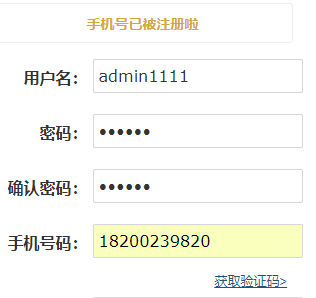
(2)验证手机号
实现代码
1.jquery写一个点击事件触发的一步请求。
$.post("/phonecode", {
    phoneNum: $('#phoneNum').val(),
    name: $('#puser').val()
}, function (data, status) {
    if (data == 1) {
        $('#userCue').html
        ("<font color= '#D4A838'><b>手机号已被注册啦</b></font>");
    }
    if (data == 2) {
        $('#userCue').html
        ("<font color= '#D4A838'><b>用户名太受欢迎拉,换一个</b></font>");
    }

    if (data == 0) {
        $('#userCue').html
        ("<font color= '#D4A838'><b>验证码发送成功</b></font>");
    }
    if (data != 1 & data != 0 & data != 2) {
        $('#userCue').html
        ("<font color= '#D4A838'><b>发送失败 </b></font>");
2.验证接口———— 1代表手机号已被注册,0代表可以注册,2代表用户名已被注册,3代表邮箱已被注册。
 /**
     * 发送手机验证码接口
     *
     * @param session
     * @param
     * @return 响应:1代表手机号已被注册。0:发送成功。其他,发送失败
     * 2代表用户名已被注册
     */

    @RequestMapping("/phonecode")
    public @ResponseBody
    int phoneCode(HttpSession session, User record) {

        /**判断是否已注册.findUserCustom返回值:
         1代表手机号已被注册,0代表可以注册,2代表用户名已被注册,3代表邮箱已被注册。
         */

        int a = userServiceImpl.findUserCustom(record);

        String phoneCode = SaltGenerate.random(6);

        if (a == 0) {
            Integer res = SMSUtil.sendSMS(phoneCode, record.getPhoneNum());
            if (res == 0) {
                session.setAttribute("phoneCode", phoneCode);

//                session.setMaxInactiveInterval(60 * 15);
                return 0;
            } else {
                return res;
            }
        }
        return a;
    }
3.邮箱注册界面验证
(1)使用jquery的失去焦点事件触发验证用户名与邮箱
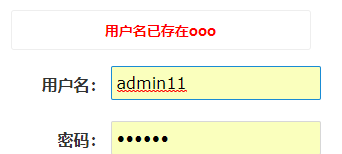
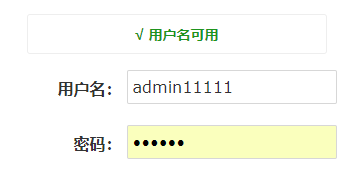
效果——用户名验证
1.事件触发ajax,获取返回码。
//用户名输入框失去焦点
$('#euser').blur(function () {

    if ($('#euser').val() != '') {
        $.ajax({
            type: 'POST',
            url: '/checkNameAndEmail',
            dataType: 'json',
            data: {name: $('#euser').val(), email: $('#email').val()},
            async: true,
            success: function (data) {
                if (data == 2) {
                    $('#euser').focus();
                    $('#euserCue').html("<font color='red'><b>用户名已存在ooo</b></font>");
                }
                if (data == 0) {
                    $('#euserCue').html("<font color='#1e941e'><b>√ 用户名可用 </b></font>");
                }
            }
        })
    }
})
2.对应的接口
/**
 * 校验邮件注册时用户名与邮箱状态
 * @return 0:可以注册,2:用户名已被注册,3:邮箱已被注册。
 */
@RequestMapping("/checkNameAndEmail")
public @ResponseBody int checkNameAndEmail(User userRecord){

    int a = userServiceImpl.findUserCustom(userRecord);

    return a ;
}
在服务层实现数据的验证
/**
     * 验证用户是否存在
     *
     * @param userRecord
     * @return 1代表手机号已被注册,0代表可以注册,2代表用户名已被注册,3代表邮箱已被注册。
     */
    @Override
    public int findUserCustom(User userRecord) {
        String name = userRecord.getName();
        String phoneNum = userRecord.getPhoneNum();
        String email = userRecord.getEmail();
        User test = new User();
        test.setName(name);

        if (null != userMapper.findUserCustom(test)) {
            return 2;
        } else {
            if (null != phoneNum & phoneNum != "") {
                //清空用户名
                test.setName("");
                test.setPhoneNum(phoneNum);
                if (null != userMapper.findUserCustom(test)) {
                    return 1;
                }
            }
            if (null != email & email != "") {
                //清空用户名
                test.setName("");
                test.setEmail(email);
                if (null != userMapper.findUserCustom(test)) {
                    return 3;
                }
            }
        }
        return 0;
    }
}
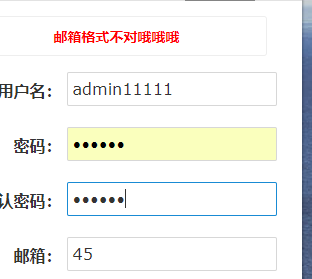
4.邮箱的验证,一样,失去焦点事件的触发,使用正则表达式匹配邮件的格式是否正确。
//邮箱输入框失去焦点
$('#email').blur(function () {
if ($('#email').val() != '') {
var myRegEmail = /^([a-zA-Z0-9_-])+@([a-zA-Z0-9_-])+((\.[a-zA-Z0-9_-]{2,3}){1,2})$/
if (!myRegEmail.test($('#email').val())) {
$('#euserCue').html("<font color='red'><b>邮箱格式不对哦哦哦</b></font>");
return false;
} else {
$.ajax({
type: 'POST',
url: '/checkNameAndEmail',
dataType: 'json',
data: {name: $('#euser').val(), email: $('#email').val()},
async: true,
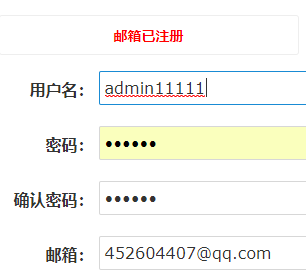
success: function (data) {
if (data == 3) {
$('#euserCue').html("<font color='red'><b>邮箱已注册</b></font>");
}
if (data == 0) {
$('#euserCue').html("<font color='#1e941e'><b>√ 邮箱可用 </b></font>");
}
}
})
}
}
})
})
效果——
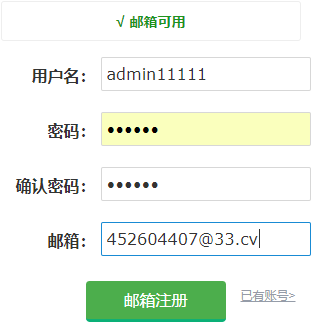
5.邮箱注册接口
@RequestMapping("/sigwithemail")
public String sigwithemail(User record, String password, Model model){

    String result = userServiceImpl.siginUser(record, password);
    if (result == Constant.signSuccess) {
        //发送激活连接


        model.addAttribute("message","快去邮箱激活吧");
        return "/login/sigSuccess";
    }
    return null;
}
明日计划
1.邮箱激活连接的完成。
2.任务7提交。
遇到问题
1.功能实现起来还是不难,难得是相互之间需要解决的逻辑与冲突。
收获
1.最后编程需要解决的事情都是解决实际问题的。


评论