发表于: 2018-01-17 21:32:25
1 578
今日完成
1.看第三方对象存储的API。
2.编写上传图片的工具类
/**
 * @author lujing
 * Create_at 2018/1/17 10:55
 */
public class FileUtils {
    // 1 初始化用户身份信息(secretId, secretKey)
    static COSCredentials cred =
            new BasicCOSCredentials("AKIDxxxxxxx", "DID6xxxxxxx");
    // 2 设置bucket的区域, COS地域的简称请参照 https://cloud.tencent.com/document/product/436/6224
    static ClientConfig clientConfig =
            new ClientConfig(new Region("ap-chengdu"));
    // 3 生成cos客户端
    static COSClient cosClient = new COSClient(cred, clientConfig);
    // 4 bucket的命名规则为{name}-{appid} ,此处填写的存储桶名称必须为此格式
    static String bucketName = "lujing0613-1255932852";

    /**
     *
     * @param picFile 前端的传回来文件
     * @return 返回一个保存后的路径
     */
    public static String uploadxx(MultipartFile picFile) {
        if (picFile != null) {
            //获得文件的原始名字
            String originalFileName = picFile.getOriginalFilename();
            //新的文件名称=uuid+原始名字的后缀.xxx
            String newFlieName = UUID.randomUUID() + originalFileName.substring(originalFileName.indexOf("."));
            //储存地址
            String key = "student/" + newFlieName;
            //服务器根目录
            String rootPATH = "https://lujing0613-1255932852.cos.ap-chengdu.myqcloud.com/";
            //将MultipartFile转换为file.
            try {
                //创建一个临时文件
                File temp = File.createTempFile("temp", null);
                //将MultipartFile 写入临时文件
                picFile.transferTo(temp);
                PutObjectRequest putObjectRequest = new PutObjectRequest(bucketName, key, temp);
                PutObjectResult putObjectResult = cosClient.putObject(putObjectRequest);
                return rootPATH + key;
            } catch (IOException e) {
                e.printStackTrace();
            }
        }
        return null;
    }
}
3.工具类写好了,调试完成后就可以写controller了。
(1)在springmvc上配置一个文件的解析器。对应配置最大的文件大小
<!--配置文件解析器-->
<bean id="multipartResolver" class="org.springframework.web.multipart.commons.CommonsMultipartResolver">
    <property name="maxUploadSize" value="5242880"/>
</bean>
(2)在controller里面使用MultipartFile picFile 来接收页面传过来的图片。直接调用工具类
@RequestMapping(value = "/studentOne", method = RequestMethod.POST)
public String addStudentSubmit(StudentCustom studentCustom, MultipartFile picFile) {
    //调用第三方的上传接口,返回服务器的图片路径
    String newFilePath = FileUtils.uploadxx(picFile);
    //将路径保存在该学生信息中
    studentCustom.setPic(newFilePath);
    //存入该学生信息
    studentService.addStudent(studentCustom);
    return "redirect:studentslist";
}
(3)测试一下
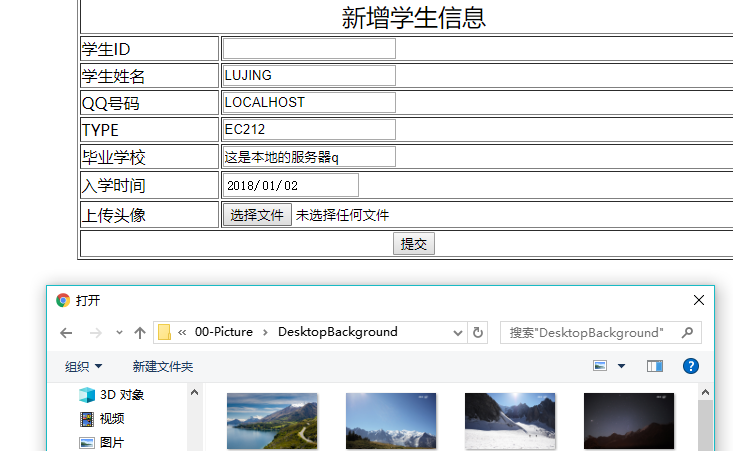
(4)正常上传
(5)修改页面加上回显功能。
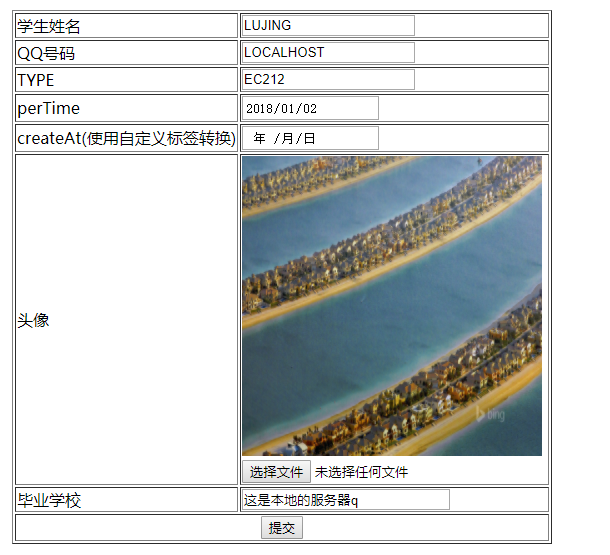
代码实现
</tr>
   <tr>
      <td>头像</td>
      <td><c:if test="${student.pic!=null}">
         <img src="${student.pic}" width="300" height="300">
      </c:if><br>
         <input type="file" name="pic">
      </td>
   </tr>
修改提交的代码。
//修改提交
@RequestMapping(value = "/{id}", method = RequestMethod.PUT)
public String editStudentSubmit(@PathVariable("id") Integer id, StudentCustom studentCustom, MultipartFile picFile ){
    //执行上传
   String newFilePath = FileUtils.uploadxx(picFile);
   //得到原图片路径
    String oldFilePath = studentCustom.getPic();
    //删除原图片
    FileUtils.deleteObject(oldFilePath);
   //set新的图片路径
   studentCustom.setPic(newFilePath);
    //更新信息
    studentService.updateStudent(id, studentCustom);
    return "redirect:studentslist";

}
遇到问题
1.无
明日计划
1.注册验证,短信与邮件的验证码加到代码里面。
收获
1.图片上传功能的实现。


评论