发表于: 2018-01-06 23:07:40
2 1083
今天完成的事:
git仓库的简单使用,编写微信跳一跳辅助(手动版)
git:
使用git之前
git config --global user.name "名字"
git config --global user.email "邮箱"
在某个文件夹下创建git仓库
git init
将新创建的文件或修改了文件加入仓库
git add file1 或者
git add file2 file3
然后都要
git commit -m "必要的说明"
将本地git仓库加入或者修改到github
首先注册GitHub账号,创建远程仓库,比如lerngit
本地仓库与远程仓库关联
git remote add origin https://github.com/你的账户名/lerngit.git
origin就代表了远程仓库
本地仓库推送到远程仓库
git push -u origin master
微信跳一跳辅助(手动):
原理:游戏界面,截图,显示在电脑屏幕,鼠标点击起点和终点,计算两点的距离,距离与手机屏幕时间有一个比例,需调试。计算出时间,由adb命令控制手机按压屏幕的时间即可。
代码如下:
import os
import math
from tkinter import Tk,Label,PhotoImage
import time
#截屏
def screen():
os.system('C:\\Users\DELL\Downloads\\platform-tools-latest-windows\\platform-tools\\adb shell screencap -p /sdcard/screenshot.png')
os.system('C:\\Users\DELL\Downloads\\platform-tools-latest-windows\\platform-tools\\adb pull /sdcard/screenshot.png ./screen.png')
os.system('C:\\Users\DELL\Downloads\\platform-tools-latest-windows\\platform-tools\\adb shell rm /sdcard/screenshot.png')
#跳
def jump(times):
os.system('C:\\Users\DELL\Downloads\\platform-tools-latest-windows\\platform-tools\\adb shell input swipe 187 171 187 171 %d'%times)
#
def callback(event):
global isFirst,x1,y1,x2,y2
if isFirst:
x1,y1=event.x,event.y
print(x1,y1)
isFirst=False
else:
x2,y2=event.x,event.y
print(x2,y2)
times=math.sqrt((x1-x2)**2+(y1-y2)**2)
times=int(times/0.325)
jump(times)
time.sleep(0.7)
screen()
#print(1)
#time.sleep(5)
im=PhotoImage(file='./screen.png')
label.configure(image=im)
label.image=im
isFirst=True
isFirst=True
screen()
tk=Tk()
im=PhotoImage(file='./screen.png')
i_x,i_y=im.width(),im.height()
label=Label(tk,image=im,width=i_x,height=i_y)
#label.image=im
label.bind('<Button-1>',callback)
label.pack()
tk.mainloop()
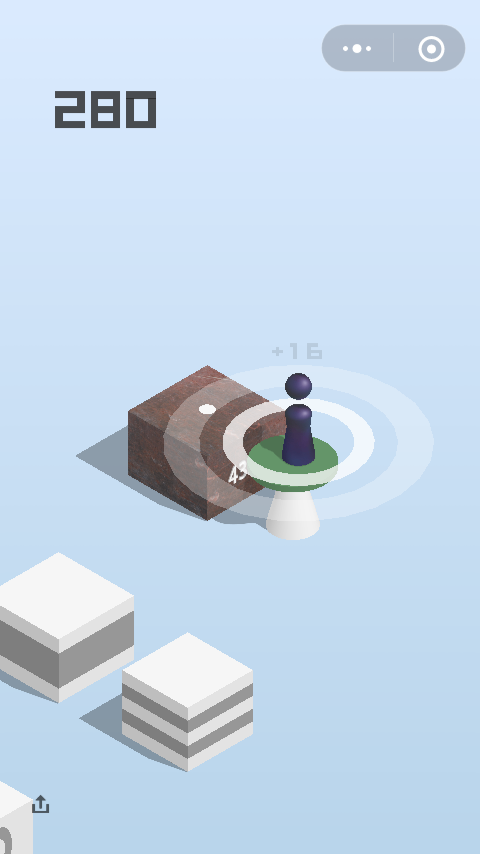
截图如下:

明天计划的事:
学习mangodb
遇到的困难:
微信跳一跳辅助,有时候会有一点偏差,可能是长和宽的比例没有处理好
学到的经验:
git本地仓库推送到远程仓库,tkinter.Label的使用,
Label里图片的更新:
......
im=PhotoImage(file='yourpath')
label.configure(image=im)
label.image=im


评论