发表于: 2017-11-21 22:49:21
1 735
今天完成的事情
完成上传头像的功能
利用spring mvc内置的MultipartResolver实现图片的上传
需要引用jar包:
<dependency>
  <groupId>commons-fileupload</groupId>
  <artifactId>commons-fileupload</artifactId>
  <version>1.3.1</version>
</dependency>
在spring mvc的配置文件中设置:
<!-- 定义文件解释器 -->
<bean id="multipartResolver" class="org.springframework.web.multipart.commons.CommonsMultipartResolver">
    <!-- 设置默认编码 -->
    <property name="defaultEncoding" value="utf-8"></property>
    <!-- 上传图片最大大小5M-->
    <property name="maxUploadSize" value="5242440"></property>
</bean>
利用form表单进行上传,需要设定号编码类型enctype:
<form method="post" action="/userhead" enctype="multipart/form-data">
    <input type="file" name="file" width="120px"><br>
    <input type="hidden" name="user_id" value="${user.user_id}"><br>
    <input type="submit" value="上传头像">
</form>
在控制器中调用api进行上传,并将头像路径存入数据库:
 @RequestMapping(value = "userhead",method = RequestMethod.POST)
    public String updateUserHead(String user_id,Model model,  MultipartFile file)throws IOException{
        System.out.println("222222");
       String imgName = file.getOriginalFilename();
        String suffix = imgName.substring(imgName.lastIndexOf(".")+1);
        if (suffix.equals("jpg")||suffix.equals("gif")){
        //将文件名改为
            String fileName = user_id + imgName;
            System.out.println(fileName);
            //以字节流的方式上传到七牛云
            qiniu.send1(file.getBytes(),fileName);
           //更新用户头像路径
            String headinfo = "http://ozm5tmk8m.bkt.clouddn.com/"+fileName;
            User temp = userService.getById(user_id);
            temp.setUserHead(headinfo);
            userService.update(temp);
            //覆盖sesison中的记录
          model.addAttribute(userService.getById(user_id));
       }
        return "21";
    }
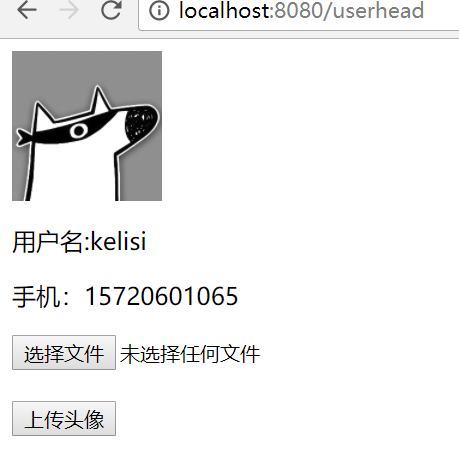
执行结果,之前的默认头像:
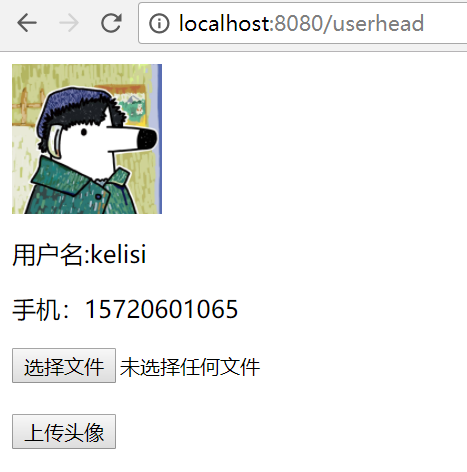
上传后:
完成邮箱验证模块
同样是利用ajax来实现获取邮箱地址,以便于发送验证信息,其流程与短信验证基本一致:
<script type="text/javascript">
    function sendnum() {
        var userEmail = document.getElementById("userEmail").value;
        if (userEmail!=""){
               $.ajax({
               url:"/email",
                data:{"userEmail":userEmail},
                type:"post",
                success: function(){
               alert("发送成功");
                }
               });
        }else{
           alert("请输入您的邮箱地址");
        }
}
</script>
同一页面的表单:
<form method="post" action="/Email">
    邮箱地址<input type="text" name="userEmail" id="userEmail"><br>
    <input type="button" value="发送验证码" onclick="sendnum()"><br>
    验证码:<input type="text" name="checkNumber"><br>
    <input type="submit" value="验证邮箱">
    <input type="hidden" name="userId" value="${user.user_id}">
</form>
后台中用于调用api发送邮件的控制器:
@RequestMapping(value = "email",method = RequestMethod.POST)
public void saveEmail(String userEmail)throws IOException {
//防攻击,查询5分钟内发送是否超过5次
Email em = new Email();
em.setEmail_time(System.currentTimeMillis());
em.setEmail_address(userEmail);
if (emailService.count(em) <= 5) {
//随机生成6位数字,改为字符串
String num = new Random().nextInt(999999) + "";
//将数据保存到数据库
Email email = new Email(System.currentTimeMillis(), num, userEmail);
emailService.add(email);
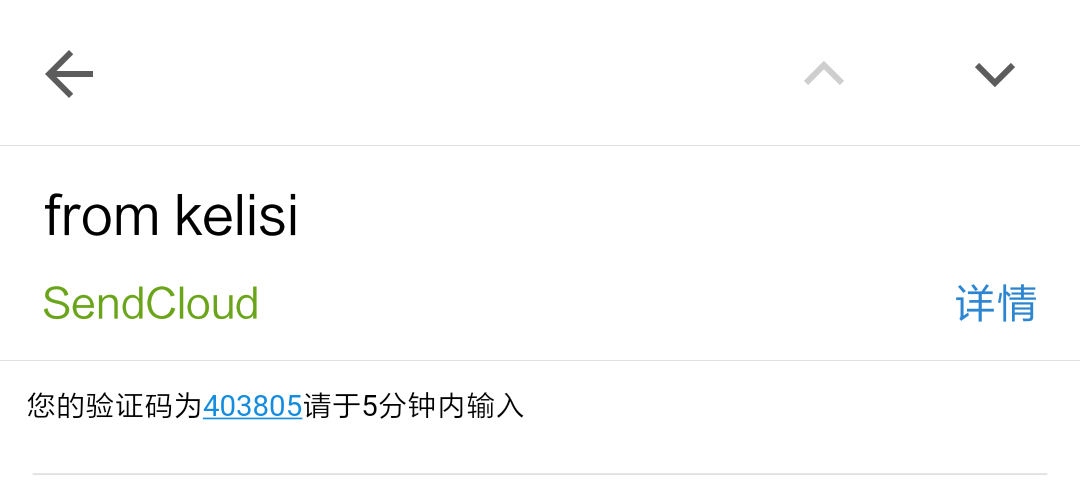
//将验证码发送到用户邮箱
sendEmail.send_common(userEmail, num);
System.out.println(num);
}
}
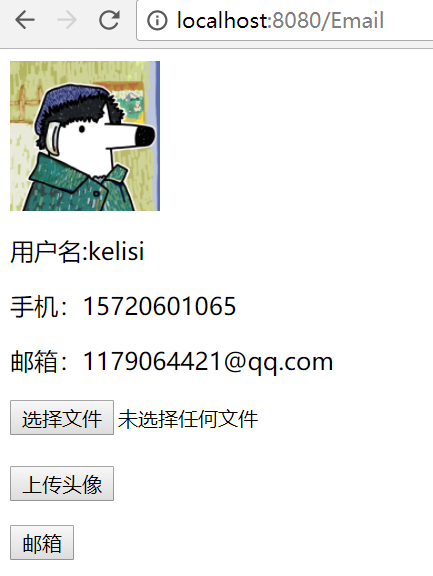
通过验证信息,可以添加或更换邮箱:
执行后:
在spring的配置文件中设置,以实现通过简单的修改,就能在阿里云和七牛云之间切换
可以写一个类,引用阿里云和七牛云的发送方法:
public String updateHead(byte[] data, String fileName){
    if (choose==1){
        aliyun.send(data,fileName);
        return "http://task13.oss-cn-beijing.aliyuncs.com/";
    }else{
        qiniu.send1(data,fileName);
        return "http://ozm5tmk8m.bkt.clouddn.com/";
    }
}
设置一个类属性choose,并提供get和set方法,在spring配置文件中进行注入,当choose为1时,使用阿里云,其他情况使用七牛云:
<!--设置头像存储平台,1为阿里云,2为七牛云-->
<bean id="picture" class="com.jnshu.util.Picture">
    <property name="choose" value="1"/>
</bean>
后台上传图片的部分代码可以改写为:
 if (suffix.equals("jpg")||suffix.equals("gif")){
            //将文件名改为
            String fileName = user_id + imgName;
            System.out.println(fileName);
          String domain = picture.updateHead(file.getBytes(),fileName);
          String headinfo = domain+fileName;
            User temp = userService.getById(user_id);
            temp.setUserHead(headinfo);
            userService.update(temp);
调用相应的方法时,就可以返回相应的url前缀,不必在控制器中进行判断
短信及邮件的防攻击,规定5分钟内不可以超过5条,直接直接参照师兄的做法了,直接通过sql语句,获取在5分钟内发送的次数,在控制器中进行判断,如果大于5,就不再发送短信
sql语句:
<select id="count" parameterType="Email" resultType="int">
    SELECT count(*) FROM email
    WHERE email_address=#{email_address}
    AND (email_time BETWEEN #{email_time}-(1000*300) AND #{email_time})
</select>
在dao层中提供相应的count方法,之后可以通过方法获取到在5分钟内发送给此邮箱地址的次数,控制器中进行判断:
@RequestMapping(value = "email",method = RequestMethod.POST)
public void saveEmail(String userEmail)throws IOException {
    //防攻击,查询5分钟内发送是否超过5次
    Email em = new Email();
    em.setEmail_time(System.currentTimeMillis());
    em.setEmail_address(userEmail);
    if (emailService.count(em) <= 5) {
判断通过之后,才进行发送邮件的操作
明天的计划
图片数据迁移
遇到的问题
无
收获
了解了图片上传,防攻击,对象存储


评论