今天完成的事情:
1. 安装jetty独立版,把tomcat换为7版本的
2. 分别在这三个容器上用war部署运行,对其进行比较
明天计划的事情:
1. update的数据绑定方式需要换 ,否者只能在jetty上接受到数据
2. 学习shell语言
3. 开始配置Nginx,学习使用
遇到的问题:
1. tomcat9不能响应PUT和DELETE的请求
把tomcat9换为tomcat7
收获:
1. 对jetty,tomcat7,resin的运行比较
1. jetty
war包放到wabapps下
端口号:
根目录的start.ini

启动jetty
在安装目录下cmd
java -jar start.jar
GET
http://localhost:15200/springmvcweb/task2/a/student/select/JAVA-4433

POST
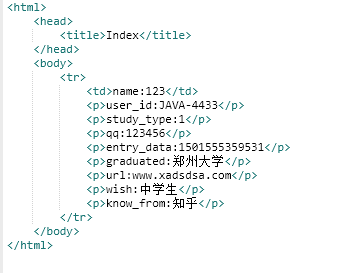
http://localhost:15200/springmvcweb/task2/a/student/insert
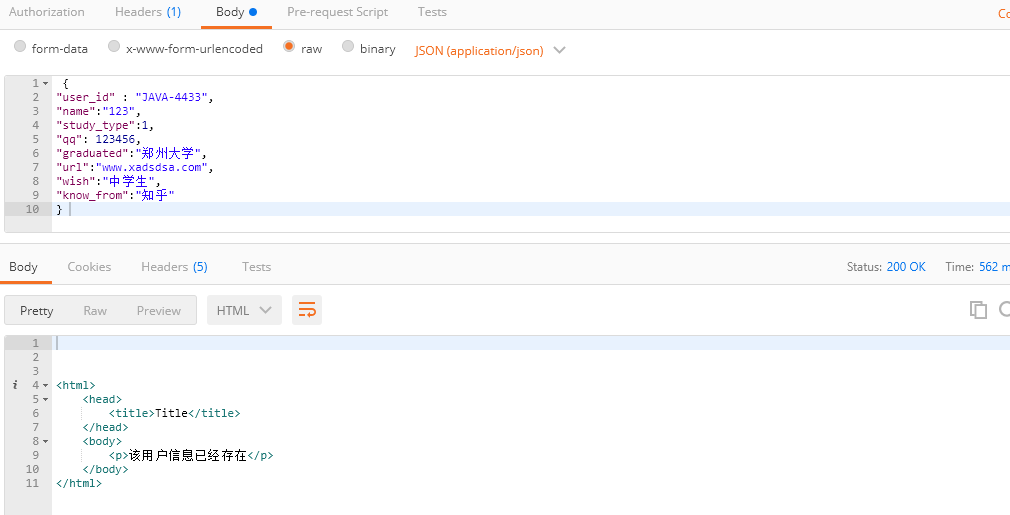
{
"user_id" : "JAVA-4433",
"name":"123",
"study_type":1,
"qq": 123456,
"graduated":"郑州大学",
"url":"www.xadsdsa.com",
"wish":"中学生",
"know_from":"知乎"
}
PUT
http://localhost:15200/springmvcweb/task2/a/student/update
DELETE
http://localhost:15200/springmvcweb/task2/a/student/delete/JAVA-4433
resin
将war包放入webapps
改变端口:
conf/resin.properties

如果war不在webapp下,而是指定目录则conf/resin.xml配置如下

在第二行的root-directory写上绝对路径
启动resin.exe
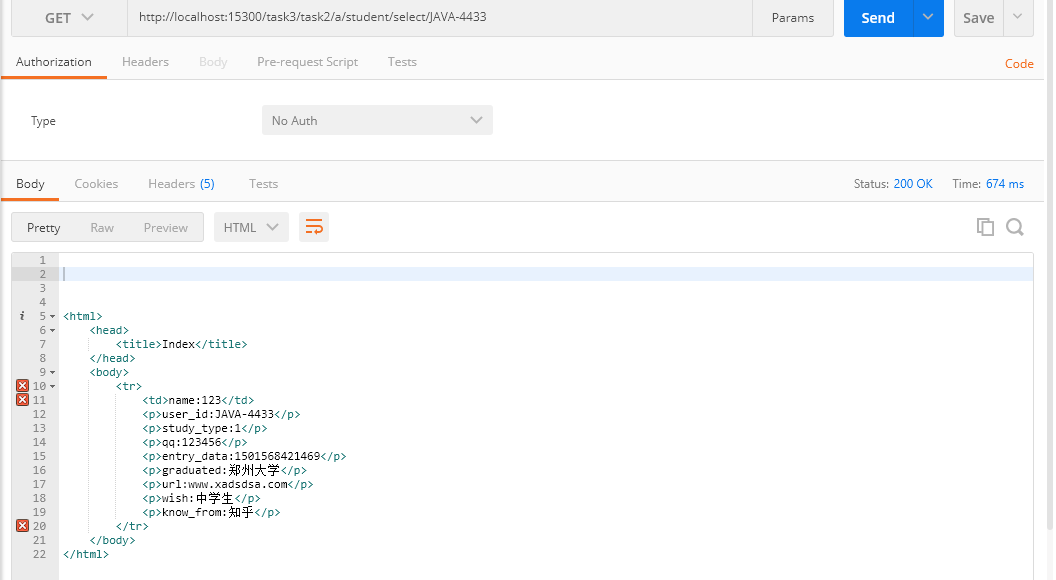
GET
http://localhost:15300/task3/task2/a/student/select/JAVA-4433
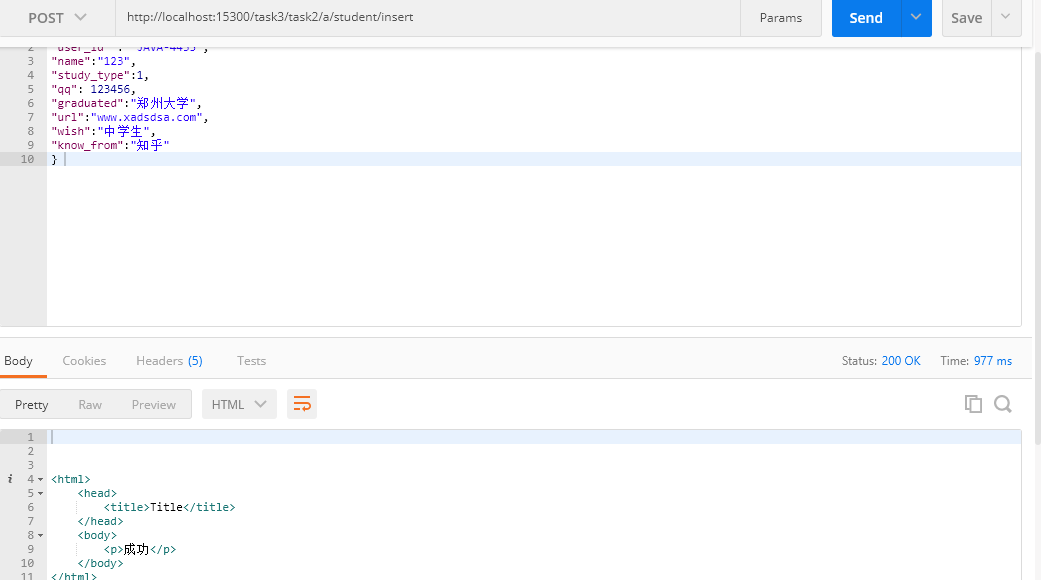
POST
http://localhost:15300/task3/task2/a/student/insert
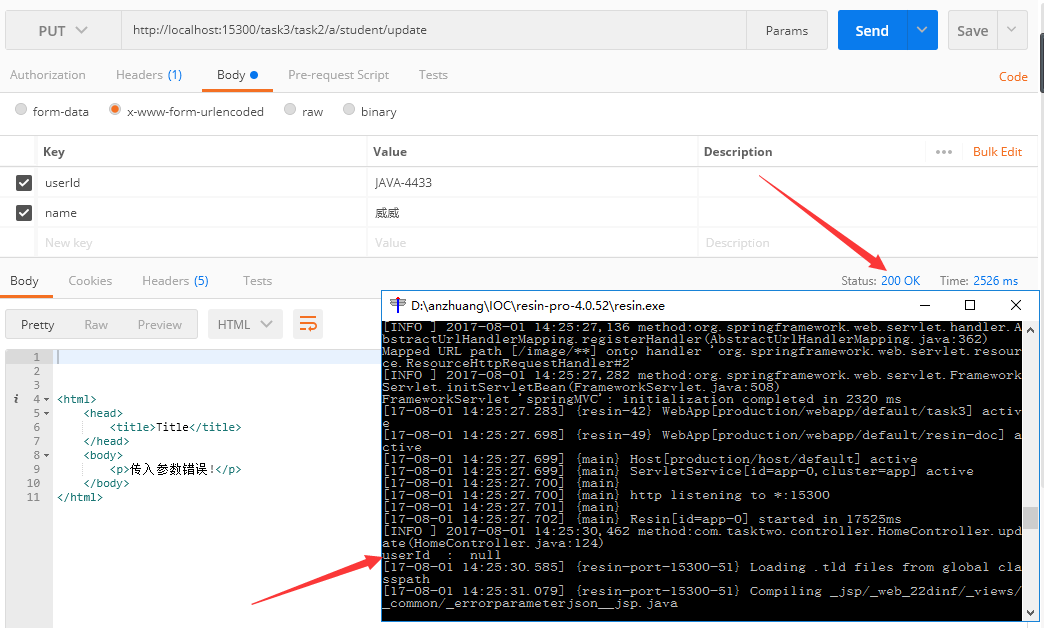
PUT
http://localhost:15300/task3/task2/a/student/update
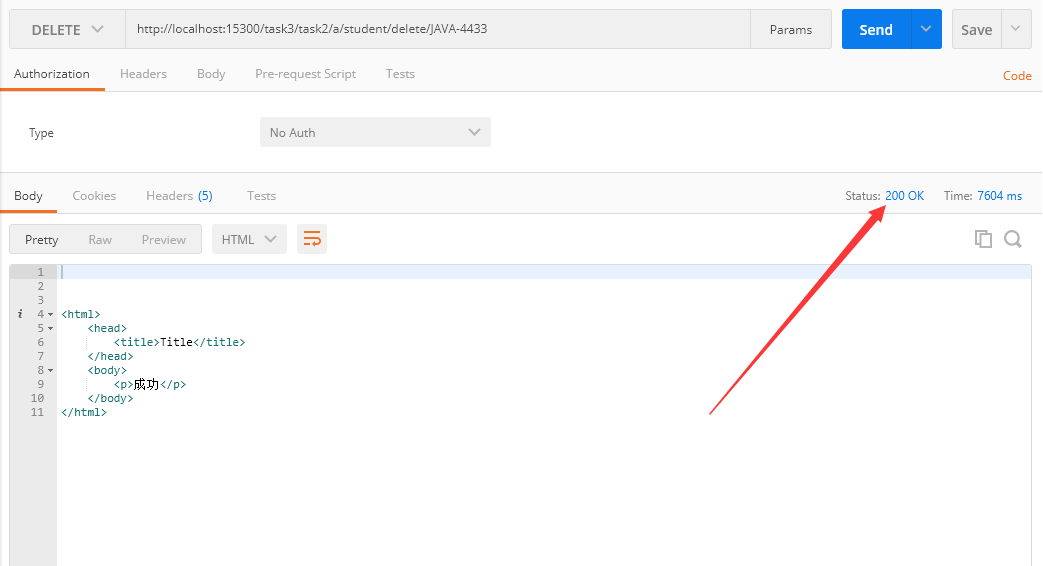
DELETE
http://localhost:15300/task3/task2/a/student/delete/JAVA-4433
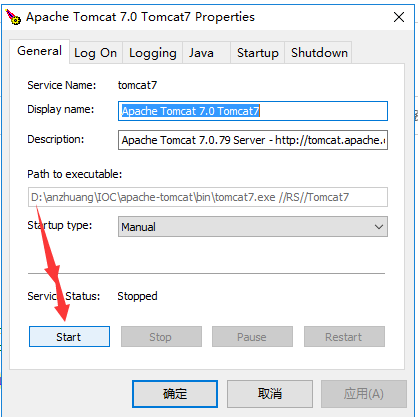
tomcat
在cmd中打开bin中的service.bat
service.bat install
点击bin下的tomcat7x.exe
点击
包放入webapps
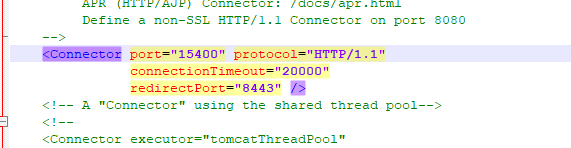
改变端口号:
apache-tomcat\conf\server.xml中
如果war不想放在webapps下
指定war的路径

/task3为url后紧跟的端口
tomcat会创建一个task3,和springmvcweb文件夹
但task3才是真正的被访问的文件
springmvcweb是tomcat在启动时自动扫描解包的
任何一个包都会在tomcat启动后自动解包

启动:
在bin中点击startup.bat
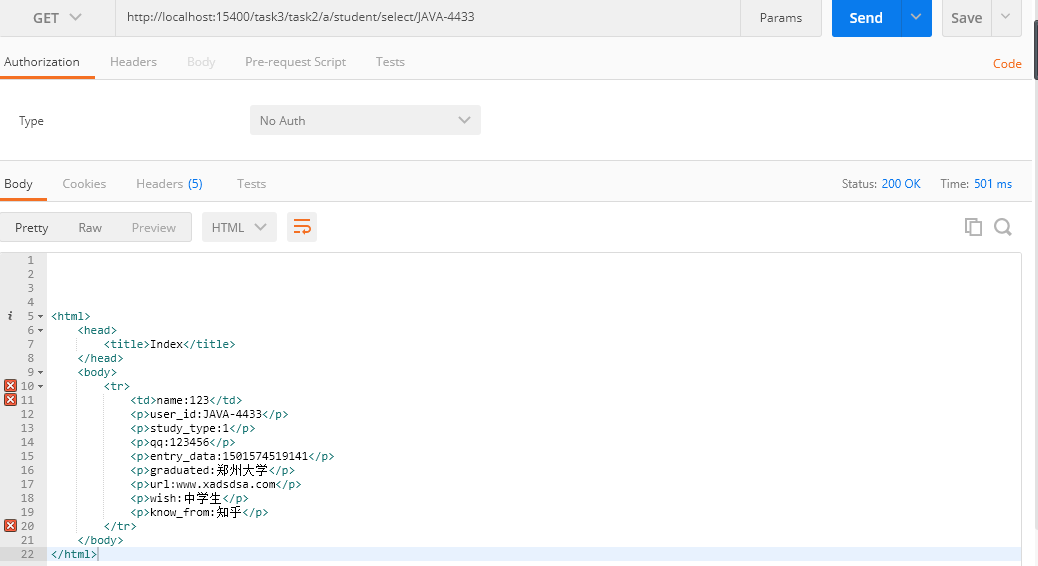
GET
http://localhost:15400/task3/task2/a/student/select/JAVA-4433
POST
http://localhost:15400/task3/task2/a/student/insert
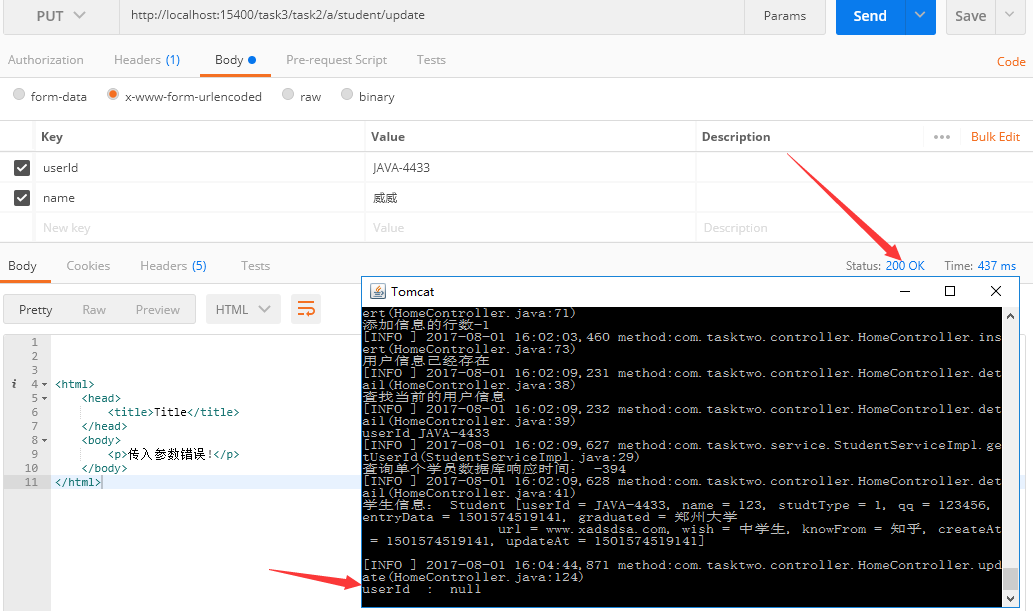
PUT
http://localhost:15400/task3/task2/a/student/update
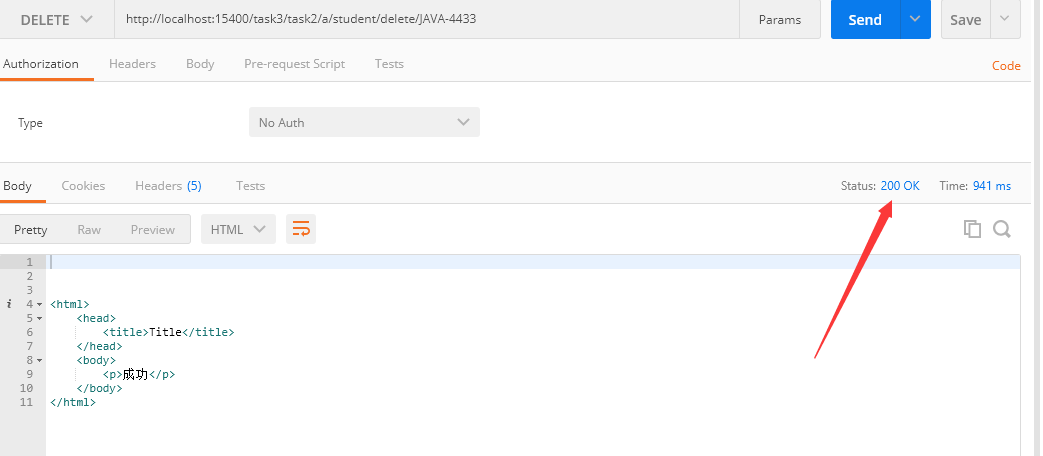
DELETE
http://localhost:15400/task3/task2/a/student/delete/JAVA-4433
总结对比分析:
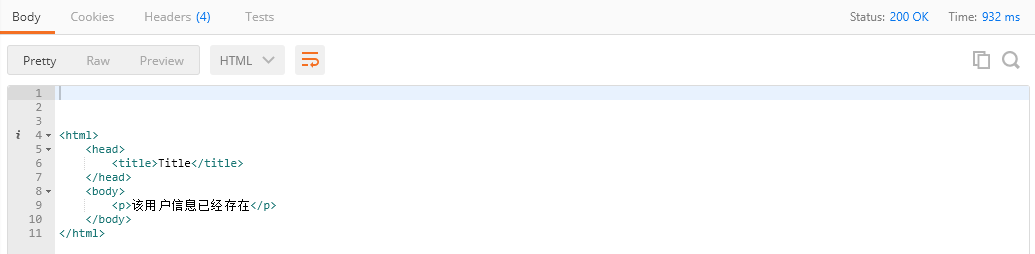
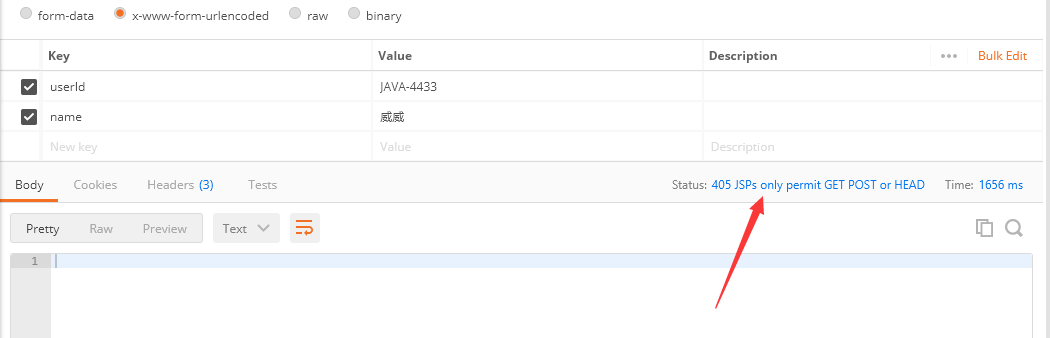
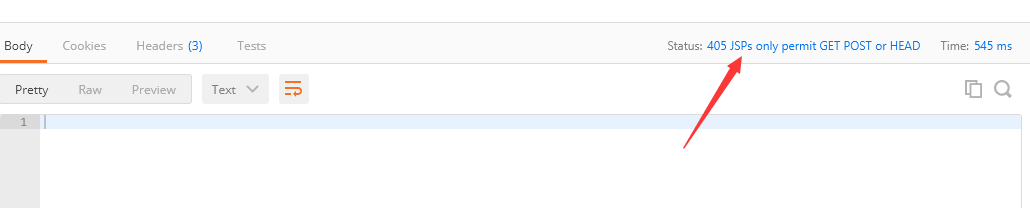
jetty可以接受PUT,DELETE的数据以及在代码里进行操作,但不会返回页面,且状态码为405, 显示不接受
而tomcat7和resin无法接受到数据,返回状态码为200,
原因为@RequestParam, 用来处理Content-Type: 为 application/x-www-form-urlencoded编码的内容,提交方式GET、POST
变为@RequestBody就可以了
参考资料:
@RequestParam @RequestBody @PathVariable 等参数绑定注解详解
PS:对比了几个容器的差异,稍微了解了几个容器的区别,不能再拖了,明天必须进入下一个阶段


评论