发表于: 2017-03-27 00:03:39
3 1537
一.今天完成的
1.将memcached重装了
2.将task5项目与memcached初步集成
二.明天计划
1.解决今天遇到的问题
2.完成task5与memcached集成
3.重新进行jmeter测试
三.今天的收获
1.如何解决memcached依赖包报错的问题
<dependency>
    <groupId>com.danga</groupId>
    <artifactId>java-memcached</artifactId>
    <version>2.6.6</version>
</dependency>
我大名鼎鼎的memcached依赖包居然在中央仓库和公司私服中都找不到,网上也找不到,最后只能找师兄复制过来
解决办法是
将jar包下载到电脑中
然后在命令行手动添加
mvn install:install-file -Dfile=C:/Users/hujin/Desktop/java-memcached-2.6.6.jar -DgroupId=com.danga -DartifactId=java-memcached -Dversion=2.6.6 -Dpackaging=jar
2.集成memcached后需要将bean序列化
什么是序列化?
序列化:就是把一个对象用二进制的表示出来,这样才能把对象写入到输出流中,用来存储或传输, 类似说我第一个字节表示什么属性名词,第二个字节表示什么属性值,第几个字段表示有几个属性等的意思;
对应到项目中就是说,user这个bean实现了序列化之后,才能保存在memcached缓存中,
拓展:什么是反序列化?
反序列化:就是通过序列化后的字段还原成这个对象本身。但标识不被序列化的字段是不会被还原的。
如一般人员的密码信息等属性需要标识不被序列化。防止网络传输被窃取,特别是web程序。
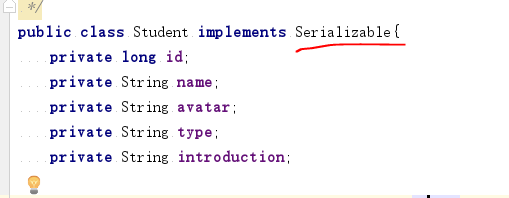
如何实现序列化?
实现对象的序列化有两种方式:(1)实现Serializable接口 (2)实现Externalible接口
接口仅为标记接口,不包含任何方法定义,表示实现了该接口的类可以被序列化,且实现该接口的类的所有子类都可以被序列化。而且实现了该接口的类默认为自动序列化,即对象中的所有字段都将被可序列化。
如图:
3.项目集成memcached方法:
项目结构如图,对比task5需要新建MemcachedUtils工具类,新建memcached.properties和spring-memcachedxml配置文件

其中MemcachedUtils工具类封装了set,add,get,delete方法
memcached.properties如图

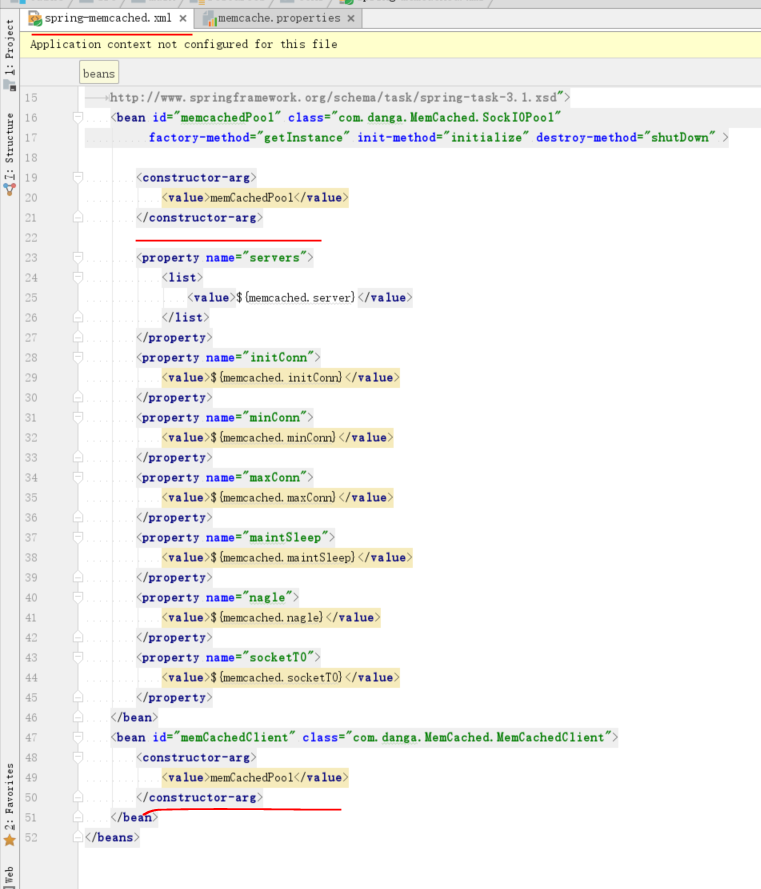
spring-memcachedxml配置文件如图
然后StudentServiceImpl类中重新定义查找学生方法,改为两种情况,一种是当memcached缓存中存在所需数据则从缓存中取,否则从数据库取,并添加至缓存
@Service
public class StudentServiceImpl implements StudentService {
    @Resource
    private StudentDao studentDao;
    public List<Student> select() {
        return studentDao.select();
    }
    public List<Student> getAllStudent() {
        List<Student> listStudent = null;
        if (MemcachedUtils.get("listStudent") !=null){
            listStudent = (List<Student>) MemcachedUtils.get("listStudent");
            System.out.print("所请求数据是从缓存中取出");
            return listStudent;
        }
        listStudent = studentDao.select();
        MemcachedUtils.add("listStudent",listStudent);
        System.out.print("所请求数据是从数据库中查询取出,已添加至缓存中");
        return listStudent;
    }
}
然后在spring中加载spring-memcached配置文件
<import resource="classpath:conf/spring-memcached.xml"/>
Controller类index稍作修改测试首页数据从缓存中取
public class TaskController {

    @Autowired
    private StudentService studentService;
    @Autowired
    private UserService userService;

    @RequestMapping(value = "/index.html", method = RequestMethod.GET)
    public String index(Model model, HttpServletRequest request) {
        List<Student> studentList = studentService.getAllStudent();
        String contextPath = request.getScheme() + "://" + request.getServerName() + ":"
                + request.getServerPort() + request.getContextPath();
        model.addAttribute("contextpath", contextPath);
        model.addAttribute("studentList", studentList);
        return "index";
    }
记得在web.xml中添加spring-memcached.xml加载

然后就可以部署到tomcat运行测试了
四.今天遇到的问题
1.集成memcached之后打不开首页了

报错信息如下
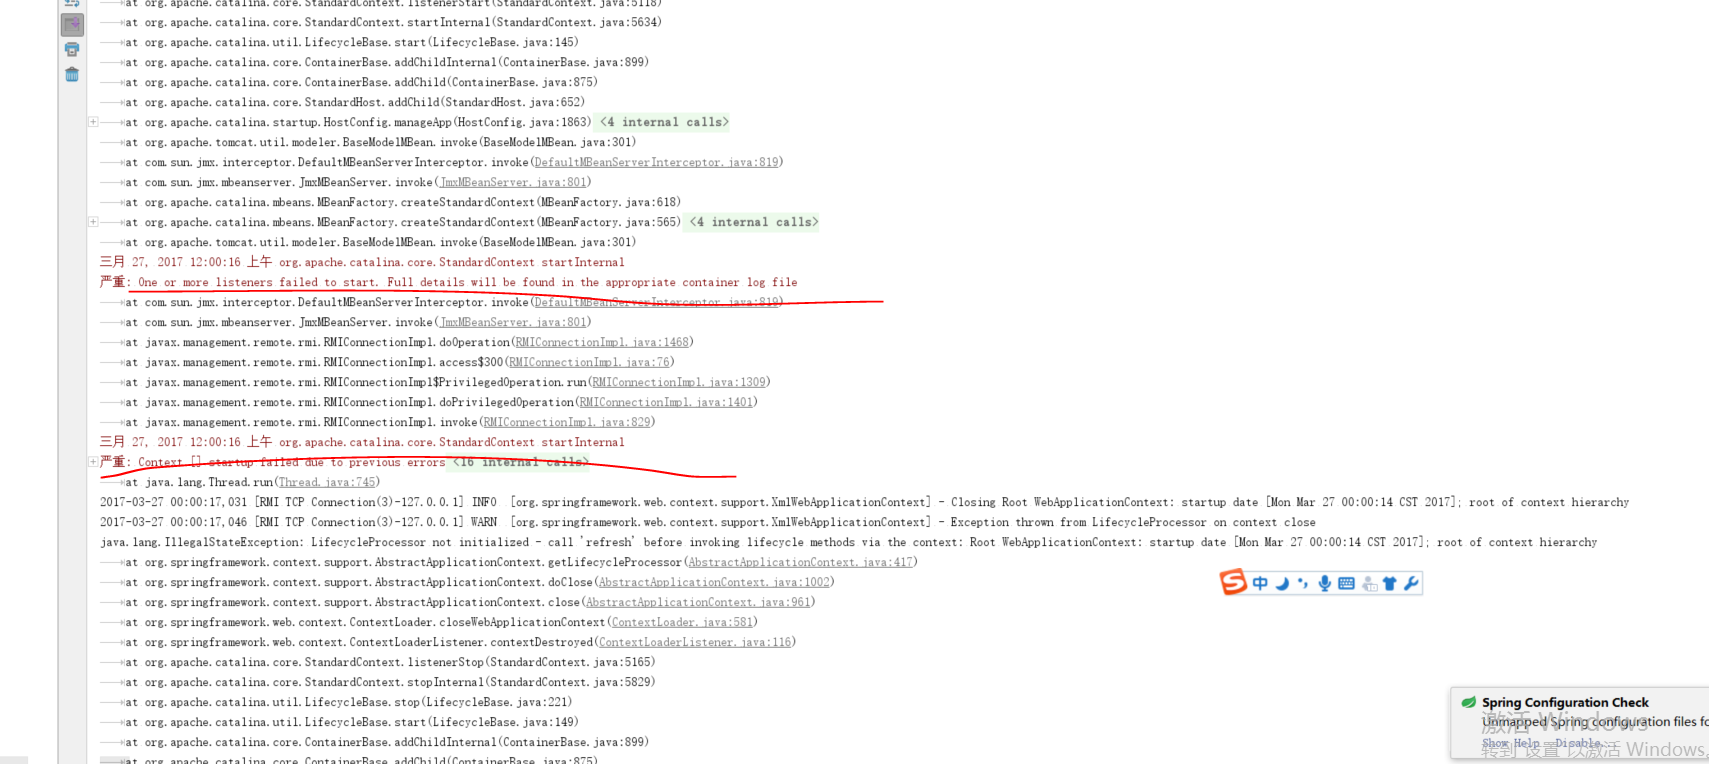
怀疑人生,help


评论