发表于: 2022-06-10 19:26:58
2 1237
git clone 命令
1、拷贝一个 Git 仓库到本地,本地目录名称与Git 仓库同名
git clone <版本库的网址>
2、拷贝一个 Git 仓库到本地,重新定义本地目录名称
git clone <版本库的网址> <本地目录名>
3、 拷贝一个指定分支到本地,本地目录名称与分支同名
git clone -b 分支名 <版本库的网址>
4、拷贝一个指定分支到本地,重新定义本地目录名称
git clone -b 分支名 <版本库的网址> <本地目录名>
命令 说明
git init 初始化仓库
git clone 拷贝一份远程仓库,也就是下载一个项目。
命令 说明
git add 添加文件到暂存区
git status 查看仓库当前的状态,显示有变更的文件。
git diff 比较文件的不同,即暂存区和工作区的差异。
git commit 提交暂存区到本地仓库。
git reset 回退版本。
git rm 将文件从暂存区和工作区中删除。
git mv 移动或重命名工作区文件。
命令 说明
git log 查看历史提交记录
git blame <file> 以列表形式查看指定文件的历史修改记录
远程操作
命令 说明
git remote 远程仓库操作
git fetch 从远程获取代码库
git pull 下载远程代码并合并
git push 上传远程代码并合并
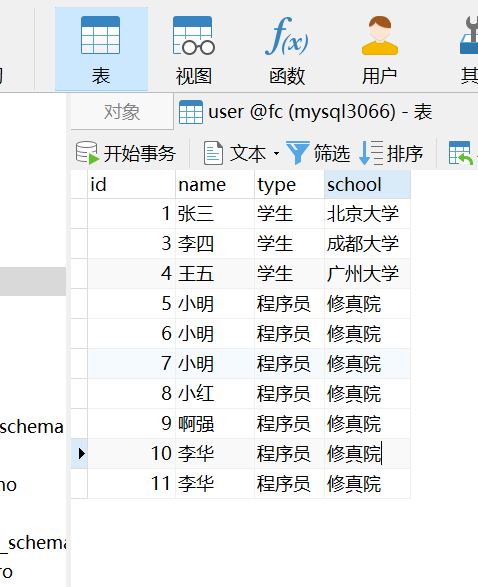
在数据库的表中创建一个user类
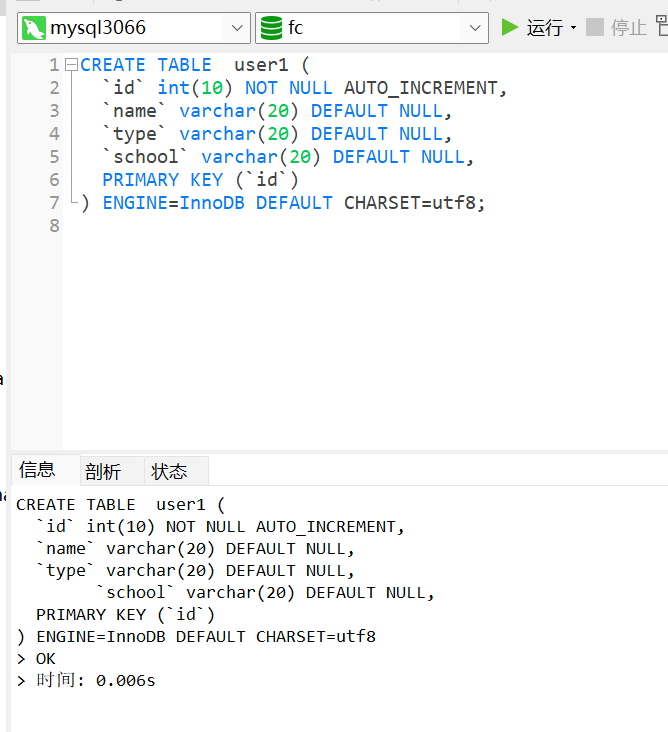
在idea中创一个maven项目,resources中创建一个applicationContext.xml文件:
添加配置
<?xml version="1.0" encoding="UTF-8"?>
<beans xmlns="http://www.springframework.org/schema/beans"
       xmlns:xsi="http://www.w3.org/2001/XMLSchema-instance"
       xmlns:context="http://www.springframework.org/schema/context"
       xsi:schemaLocation="http://www.springframework.org/schema/beans
       http://www.springframework.org/schema/beans/spring-beans.xsd
       http://www.springframework.org/schema/context
       http://www.springframework.org/schema/context/spring-context.xsd">

    <!--启用spring的一些annotation -->
    <context:component-scan base-package="weixiao02.service"/>


    <!--引入数据库配置文件-->
    <context:property-placeholder location="classpath:db.properties"/>
    <!--配置数据源-->
    <!--  这里用的是dbcp连接池,也可以换成druid、c3p0  -->
    <bean id="dataSource1" class="org.apache.commons.dbcp.BasicDataSource">
        <property name="driverClassName" value="${db.driver}" />
        <property name="url" value="${db.url}"/>
        <property name="username" value="${db.username}"/>
        <property name="password" value="${db.password}"/>
        <property name="maxActive"  value="10"/>
        <property name="maxIdle" value="5"/>
    </bean>


    <!--jdbc配置-->
    <bean id="UserDao" class="weixiao02.JdbcTemplateTest"/>
    <bean id="UserService" class="weixiao02.JdbcTemplateTest"/>


    <!--系统默认配置的连接池-->
    <bean id="dataSource" class="org.springframework.jdbc.datasource.DriverManagerDataSource">
        <property name="username" value="root"></property>
        <property name="password" value="adbrk"></property>
        <property name="url" value="jdbc:mysql://localhost:3306/fc"></property>
        <property name="driverClassName" value="com.mysql.jdbc.Driver"></property>
    </bean>

    <bean id="jdbcTemplate" class="org.springframework.jdbc.core.JdbcTemplate">
        <property name="dataSource" ref="dataSource"></property>
    </bean>


</beans>
创建user类:
public class User implements Serializable {

    private Integer Id;
    private String Name;
    private String Type;
    private String School;

    public Integer getId() {
        return Id;
    }

    public void setId(Integer id) {
        Id = id;
    }

    public String getName() {
        return Name;
    }

    public void setName(String name) {
        Name = name;
    }

    public String getType() {
        return Type;
    }

    public void setType(String type) {
        this.Type = type;
    }

    public String getSchool() {
        return School;
    }

    public void setSchool(String school) {
        this.School = school;
    }


    public User() {
    }
    public User(Integer id, String name, String type,String school){
        this.Id = id;
        this.Name = name;
        this.Type = type;
        this.School = school;

    }


    @Override
    public String toString() {
        return "User{" +
                "id=" + Id +
                ", name='" + Name + '\'' +
                ", type=" + Type +
                ", school='" + School + '\'' +
                '}';
    }
}
创建一个接口:
public interface UserDao {

    //添加用户
    int add(User u1);

}
使用jdbctemplate连接数据源:
public class JdbcTemplateTest implements UserDao {

    @Autowired
    private JdbcTemplate jdbcTemplate;

    //数据库中需要添加的变量值
    @Override
    public int  add(User user) {
        String sql="INSERT INTO User(name,type,school ) VALUES(?,?,?)";
        Object[] args={user.getName(),user.getType(),user.getSchool()};
        int update = jdbcTemplate.update(sql, args);
        return update;


    }
}
service层:
public class UserService extends JdbcTemplateTest {

    private User user;

    public void setUser(User user) {
        this.user = user;
    }


    public int add(User user){
        System.out.println("添加业务逻辑处理。。。");
        return add(user);
    }
}
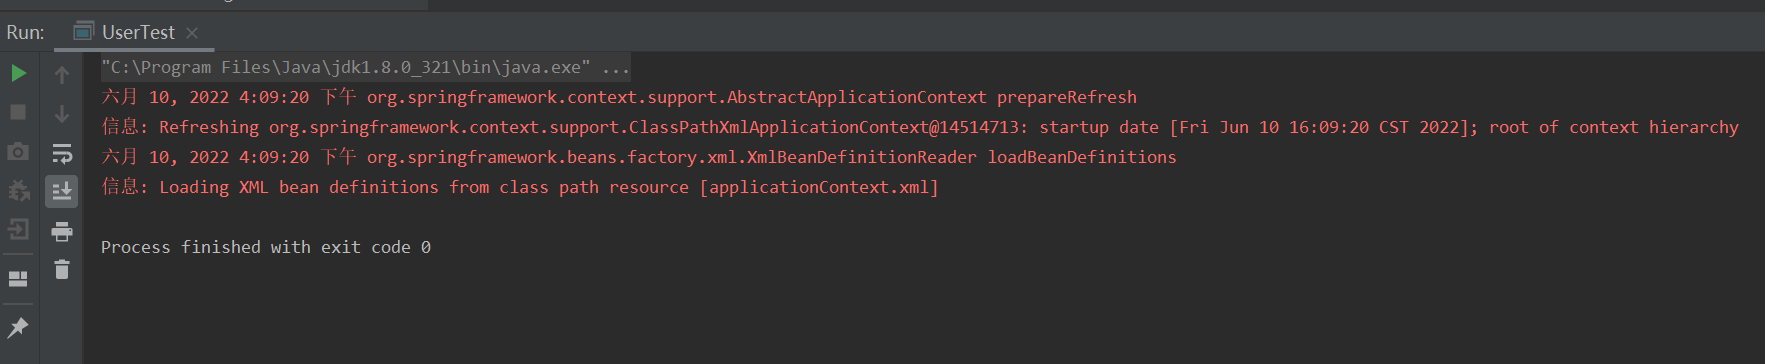
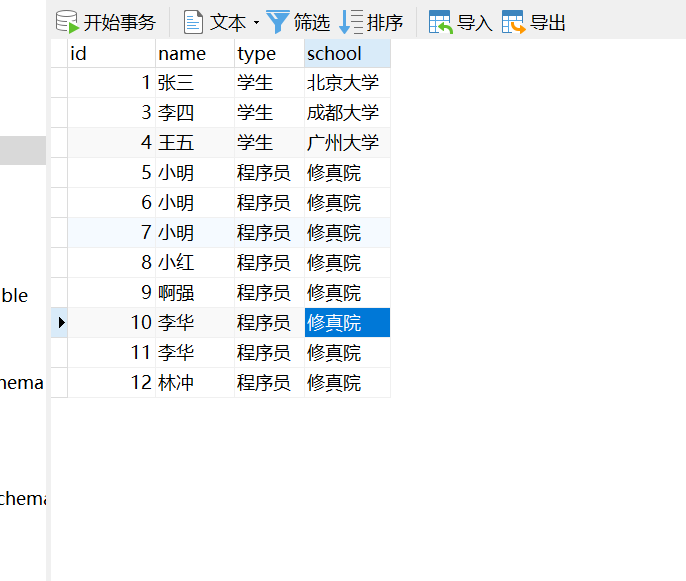
插入数据:
public class UserTest {
    public static void main(String[] args) {

        //扫描applicationContext.xml文件
        ApplicationContext context =
                new ClassPathXmlApplicationContext("applicationContext.xml");

        JdbcTemplateTest UserService = context.getBean("UserService",JdbcTemplateTest.class);


        User u1 = new User();

            u1.setName("林冲");
            u1.setType("程序员");
            u1.setSchool("修真院");


        UserService.add(u1);


    }
}
收获:以上
明天计划:将接下来的任务完成


评论