发表于: 2021-09-14 22:43:50
1 1969
一,今天完成的事情
任务六。Memcached在本地使用,windows操作系统。
1,补充昨天的JMeter,测试很可能就是为了找到瓶颈。Jmeter可以安装插件监控i/o,CPU,内存等资源
JMeter看这些的插件可以看https://jmeter-plugins.org/install/Install/
还有:perfmon-agent,可以看看https://github.com/undera/perfmon-agent
我的JMeter是5之后的版本,使用jmeter-plugin-manager
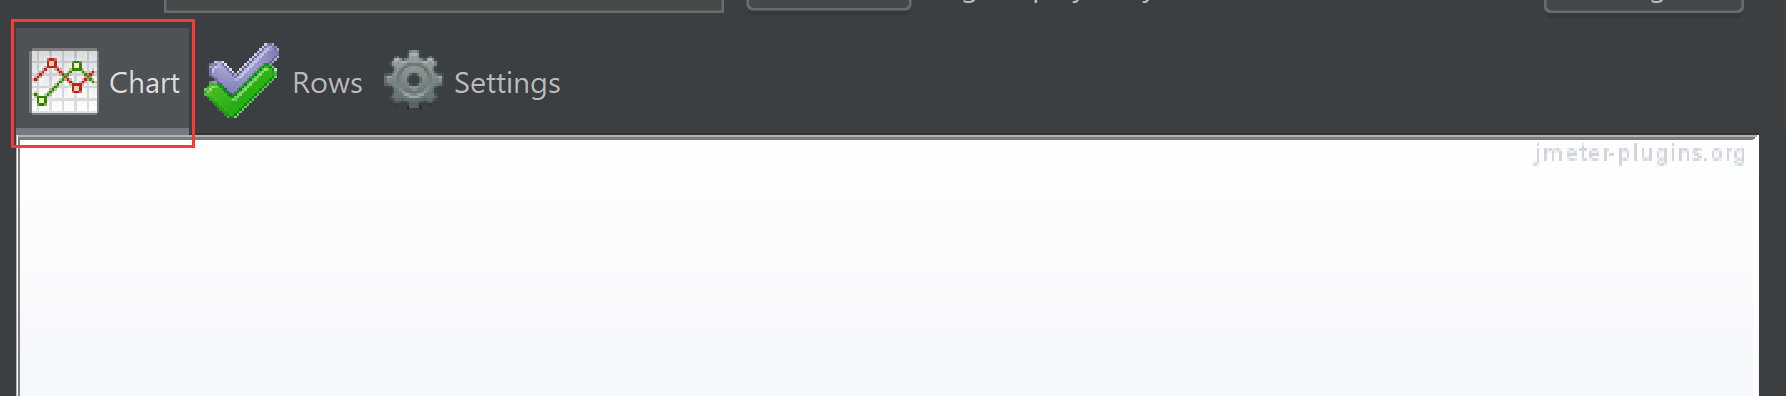
apache-jmeter-5.4.1\bin,jmeter.bat 来启动。果然多了我希望有的jp@gc系列。选择 Perfmon metrics collector。

果然出现了chart界面
2,接下里就是ServerAgent解压了,找了一个以后方便找回的目录解压。因为是windows,那么直接运行startAgent.bat文件即可,文件就在解压的第一级目录下。一定要启动才能用。
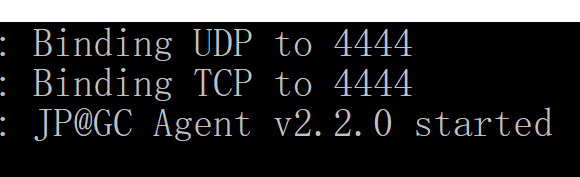
如果没启动,报的典型错误就是 java.net.ConnectException: Connection refused
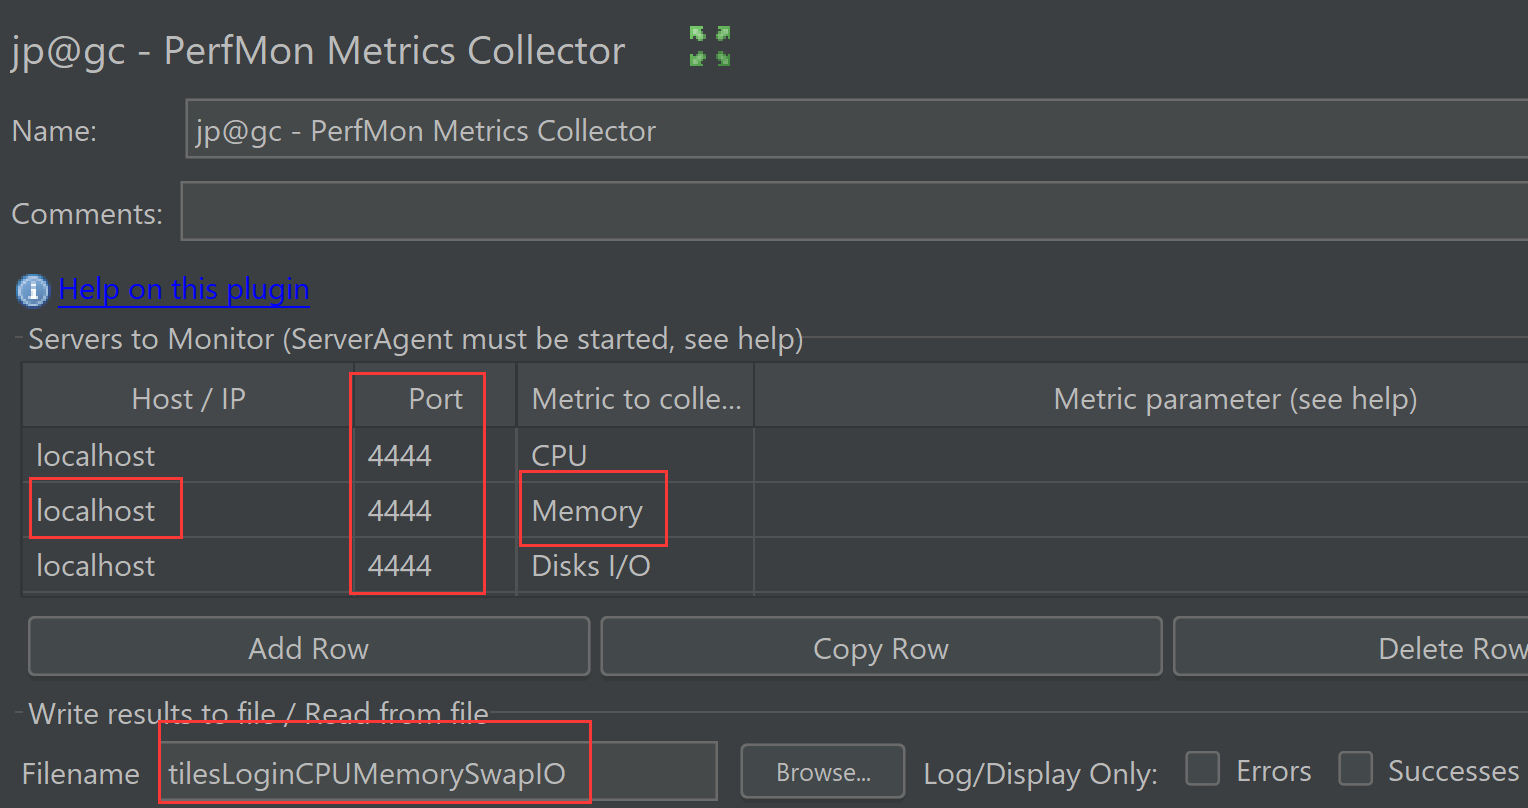
设置,截图圈出可以设置的地方。都是我在windows本地感兴趣的。注意文件名一定要改!一定不能和目前的脚本名称一致。
2,安装。使用Memcached整合项目,帮助Mysql。我也选择了memCachedClient来做演示。
windows功能开启 telnet
control panel ...勾选telnet client,千万不要安装服务器。
关闭cmd的情况下,安装telnet client。打开cmd。测试 telnet -help。能显示,成功。telnet 默认端口是23。
windows自测选用memcached-1.4.5-amd64.zip 。 windows下可靠的Memcached使用方法有限。
解压到本地电脑,打开memcached-amd64文件夹。
cmd执行管理员命令
schtasks /create /sc onstart /tn memcached /tr "'c:\memcached-amd64\memcached.exe' -m 512"
结果
SUCCESS: The scheduled task "memcached" has successfully been created.
查看是否正常启动,没改变端口。telnet 127.0.0.1 11211
Ctrl+] 进入
还是使用任务五结束的代码为基础。
我的习惯是先加入dependency入pom.xml,记得reload project。
<!--memcached-->
<dependency>
  <groupId>commons-pool</groupId>
  <artifactId>commons-pool</artifactId>
  <version>1.5.6</version>
</dependency>
<dependency>
  <groupId>com.whalin</groupId>
  <artifactId>Memcached-Java-Client</artifactId>
  <version>3.0.2</version>
</dependency>
memcached和spring有关的项目排名比较前的有 https://github.com/boeboe/spring-memcache-sample ,但是如果想明白如何加入memcached,这个代码还是复杂了一点。而且项目最后一次pull request是7年前。
这里的
<groupId>com.whalin</groupId>
就是Memcached习惯用的类
3,加入Memcached有关的resource
加入memcached.properties,注意Memcached默认端口11211
#memcached
memcached.server = 127.0.0.1:11211
memcached.initConn=20
memcached.minConn=10
memcached.maxConn=50
memcached.maintSleep=3000
memcached.nagle=false
memcached.socketTO=3000
memcached.aliveCheck= true
#memcached.failover=true;

##pool.setServers(servers);
##pool.setWeights(weights);
##pool.setHashingAlg(SockIOPool.CONSISTENT_HASH);
##pool.setInitConn(5);
##pool.setMinConn(5);
##pool.setMaxConn(250);
##pool.setMaxIdle(1000 * 60 * 60 * 6);
##pool.setMaintSleep(30);
##pool.setNagle(false);
##pool.setSocketTO(3000);
##pool.setSocketConnectTO(0);
加入
memcached.xml
<?xml version="1.0" encoding="UTF-8"?>
<beans xmlns="http://www.springframework.org/schema/beans"
       xmlns:xsi="http://www.w3.org/2001/XMLSchema-instance"
       xmlns:context="http://www.springframework.org/schema/context"
       xsi:schemaLocation="http://www.springframework.org/schema/beans http://www.springframework.org/schema/beans/spring-beans.xsd http://www.springframework.org/schema/context https://www.springframework.org/schema/context/spring-context.xsd">

    <context:property-placeholder location="classpath:memcached.properties" ignore-unresolvable="true"/>

    <bean id="memcachedPool" class="com.whalin.MemCached.SockIOPool" factory-method="getInstance"
          init-method="initialize" destroy-method="shutDown">
        <constructor-arg>
            <value>nicoleMemcachedPool</value>
        </constructor-arg>
        <property name="servers">
            <!--可以配置多个 server-->
            <list>
                <value>${memcached.server}</value>
            </list>
        </property>
        <property name="initConn" value="${memcached.initConn}"/>
        <property name="minConn" value="${memcached.minConn}"/>
        <property name="maxConn" value="${memcached.maxConn}"/>
        <property name="maintSleep" value="${memcached.maintSleep}"/>
        <property name="nagle" value="${memcached.nagle}"/>
        <property name="socketTO" value="${memcached.socketTO}"/>
        <property name="aliveCheck" value="${memcached.aliveCheck}"/>
    </bean>

    <bean id="memcachedClient" class="com.whalin.MemCached.MemCachedClient">
        <constructor-arg>
            <value>nicoleMemcachedPool</value>
        </constructor-arg>
    </bean>
</beans>
和数据库有关,所以是配置spring-mybatis.xml。加入
<!-- 加载memcached.xml -->
<import resource="classpath:memcached.xml"/>
接下来很多测试都是围绕memcached.xml中的
bean id="memcachedClient"
进行
4,
在没有controller的时候先进行测试,MemcacheTest
注意测试中的上下文配置改变
@ContextConfiguration({"classpath:memcached.xml"})
package com.nicole.tileslogin;

import com.whalin.MemCached.MemCachedClient;
import org.junit.Test;
import org.junit.runner.RunWith;
import org.springframework.beans.factory.annotation.Autowired;
import org.springframework.test.annotation.Rollback;
import org.springframework.test.context.ContextConfiguration;
import org.springframework.test.context.junit4.SpringJUnit4ClassRunner;
import org.springframework.transaction.annotation.Transactional;


@RunWith(SpringJUnit4ClassRunner.class)
@ContextConfiguration({"classpath:memcached.xml"})
public class MemcacheTest {
    //从classpath:memcached.xml得到
    @Autowired
    MemCachedClient memCachedClient;

    @Test
    public void setGetTest(){
        //插入方法有三种
        //1.set方法,如果key值已存在则直接覆盖重写。
        memCachedClient.set("username",12);
        memCachedClient.set("username",23);
        System.out.println("Result : "+memCachedClient.get("username"));
    }

    @Test
    public void addTest(){
        //2.add方法,这种方式只会添加,如果key已存在则返回false,添加不成功
        memCachedClient.add("username",45);

        System.out.println("Result : "+ memCachedClient.add("username",54));

    }

    @Test
    public void replaceTest(){
        memCachedClient.add("username","abc");
        //3把key对应的value替换
        memCachedClient.replace("username","def");
        System.out.println("Result : "+memCachedClient.get("username"));
    }

    @Test
    public void deleteTest(){
        memCachedClient.set("username","g12");
        System.out.println("Result : "+memCachedClient.get("username"));
        memCachedClient.delete("username");
        System.out.println("Result : "+memCachedClient.get("username"));
    }
}
利用memCachedClient的增删改查测试全部通过

二,今天问题
Memcached流行程度比Redis低,所以这个项目,我Memcached的使用参考的,能介绍的都更少。
加入上次日报被问的,深度思考要回答的TPS:
一个表达系统处理能力的性能指标,每秒处理的消息数(Transaction Per Second)
每秒事务处理量 - 性能测试的术语介绍
TPS(Transaction Per Second)
每秒钟系统能够处理的交易或事务的数量。它是衡量系统处理能力的重要指标。
三,今天的收获
Jmeter要给出硬件情况的时候,建议运行市场超过1s。所以我ramp-up时间设置超过1s。
Memcache本地启动,单项增删改查测试成功。
memCachedClient方式使用,需要在windows本地安装memcached。
吉林少年刑益凡,2021级北京航空航天大学新生,罕见病患病者。印证了“人要挑战自己”,人要抵制诱惑,做事要花时间很大。
四,明天的计划
任务6


评论