今天完成的事情:
理清Spring Cloud OAuth2 实现用户认证及单点登录的逻辑
明天计划的事情:
弄懂Spring Cloud OAuth2 授权码模式
任务9深度思考
遇到的问题:
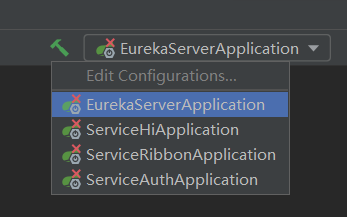
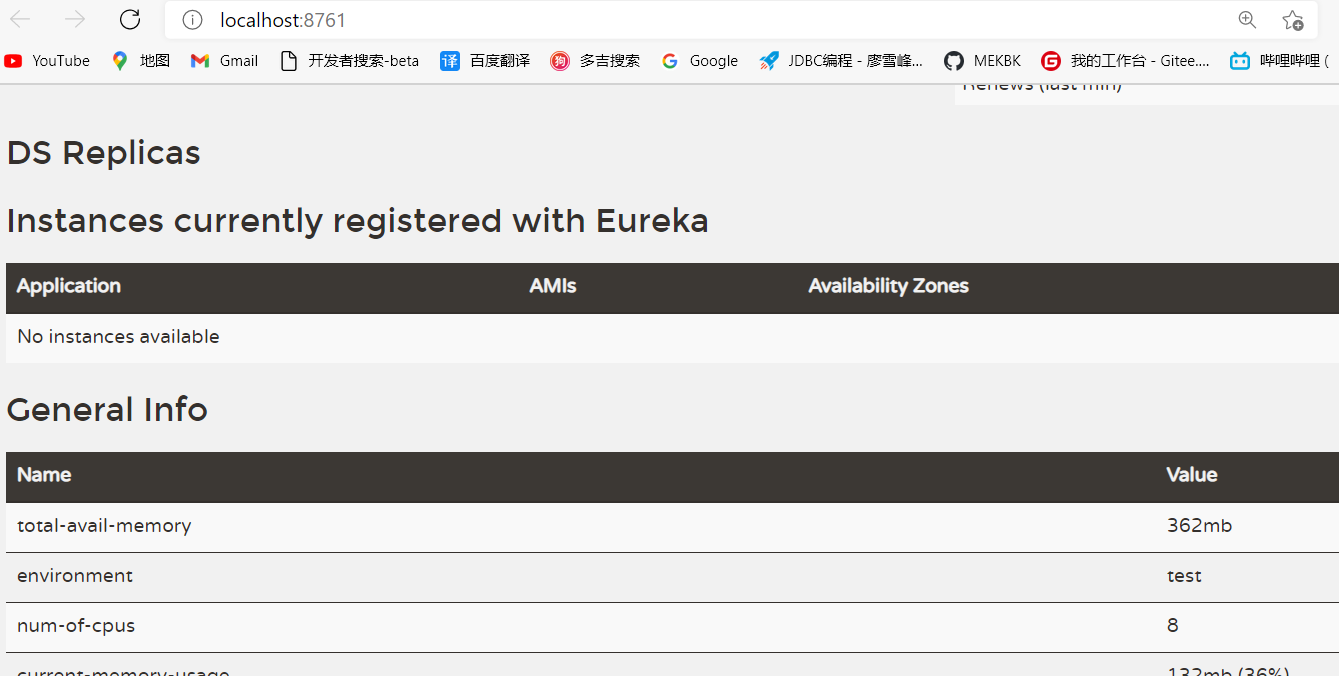
发生下列报错,但是可以成功运行 ,奇怪
Warning: Class 'com forez. Eurekaserverapplication' not found in module'eureka-server


收获:
Spring Cloud OAuth2 实现用户认证及单点登录
认证中心:
1.先来配置认证服务端(oauth2-auth-server),OAuth2 主要实现端,验证账号、密码,存储 token,检查 token ,刷新 token 等都是认证服务端的工作
第一步,先配置WebSecurityConfig,在这里开启所有请求访问,并声明 PasswordEncoder(对密码实现不可逆的加密) 和 AuthenticationManager(读取用户信息和权限)两个 Bean
@EnableWebSecurity
public class WebSecurityConfig extends WebSecurityConfigurerAdapter {
@Bean
//BCryptPasswordEncoder:密码加密工具类,它可以实现不可逆的加密
public PasswordEncoder passwordEncoder() {
return new BCryptPasswordEncoder();
}
@Bean
@Override
public AuthenticationManager authenticationManagerBean() throws Exception {
return super.authenticationManagerBean();
}
/**
* 允许匿名访问所有接口 主要是 oauth 接口
* @param http
* @throws Exception
*/
@Override
protected void configure(HttpSecurity http) throws Exception {
//登录接口
// http.formLogin()
// .and()
// .authorizeRequests()
// .antMatchers("/**").permitAll();
http.authorizeRequests()
.antMatchers("/**").permitAll();
}
}
2.实现 UserDetailsService, 传入一个用户名,返回一个UserDetails对象(return new org.springframework.security.core.userdetails.User(username,password, authorities);) 。这个过程没有从数据库中获取,而是直接在内存设置了。
UserDetailsService: UserDetailsService在这里相当于定一个规范,不管你的应用时怎么存储用户和权限信息的。只要你取出来的时候把它包装成一个UserDetails对象给我用就可以了。大概就是这个作用。 UserDetailsService只是用来存储信息的,这个信息会被注入到AuthenticationManager(接口)来进行认证
@Slf4j
@Component(value = "kiteUserDetailsService")
//UserDetailsService的核心就是 loadUserByUsername方法,它要接收一个字符串参数,也就是传过来的用户名,返回一个 UserDetails对象
public class KiteUserDetailsService implements UserDetailsService {
@Autowired
private PasswordEncoder passwordEncoder;
private RedisTokenStoreSerializationStrategy serializationStrategy = new JdkSerializationStrategy();
@Autowired
private TokenStore redisTokenStore;
@Override
public UserDetails loadUserByUsername(String username) throws UsernameNotFoundException {
log.info("username is:" + username);
// 查询数据库操作
if(!username.equals("admin")){
throw new UsernameNotFoundException("the user is not found");
}else{
// 用户角色也应在数据库中获取
String role = "ROLE_ADMIN";
List<SimpleGrantedAuthority> authorities = new ArrayList<>();
authorities.add(new SimpleGrantedAuthority(role));
// 线上环境应该通过用户名查询数据库获取加密后的密码,encode对传入的字符串进行加密
String password = passwordEncoder.encode("123456");
// 返回默认的 User
return new org.springframework.security.core.userdetails.User(username,password, authorities);
// 返回自定义的 KiteUserDetails
// User user = new User(username,password,authorities);
// return user;
}
}
}
3.创建一个OAuth2Config类 继承 AuthorizationServerConfigurerAdapter
需要重写三个 configure 方法
1.AuthorizationServerEndpointsConfigurer重写
AuthorizationServerEndpointsConfigurer是一个装载类,装载Endpoints所有相关的类配置(AuthorizationServer、TokenServices、TokenStore、ClientDetailsService、UserDetailsService)
将配置注入这个类里面,然后选择Token存储的方式
/**
* redis token 方式
*/
endpoints.authenticationManager(authenticationManager)
.tokenStore(redisTokenStore)
.userDetailsService(kiteUserDetailsService);
authenticationManage() 调用此方法才能支持 password 模式。
tokenStore() 指定 token 的存储方式
userDetailsService() 设置用户验证服务。
2.ClientDetailsServiceConfigurer重写
存储客户端的信息,配置信息可以放在内存中,也可以放在数据库中。这里测试方便直接放在内存中了
//使用 inMemory 方式存储的,将配置保存到内存中,相当于硬编码了
clients.inMemory()
.withClient("order-client")
//
.secret(passwordEncoder.encode("order-secret-8888"))
//授权码类型
.authorizedGrantTypes("refresh_token", "authorization_code", "password")
//token 的有效期
.accessTokenValiditySeconds(3600)
.scopes("all")
.and()
.withClient("user-client")
.secret(passwordEncoder.encode("user-secret-8888"))
.authorizedGrantTypes("refresh_token", "authorization_code", "password")
.accessTokenValiditySeconds(3600)
.scopes("all");
3.AuthorizationServerSecurityConfigurer重写:
这个类继承了SecurityConfigurerAdapter,SecurityConfigurerAdapter继承了SecurityConfigurer,所以这个类就和之前配置spring-Security很像,配置 tokenKeyAccess、checkTokenAccess访问权限,对一些请求进行过滤
/**
* 配置:安全检查流程,用来配置令牌端点(Token Endpoint)的安全与权限访问
* 默认过滤器:BasicAuthenticationFilter
* 1、oauth_client_details表中clientSecret字段加密【ClientDetails属性secret】
* 2、CheckEndpoint类的接口 oauth/check_token 无需经过过滤器过滤,默认值:denyAll()
* 对以下的几个端点进行权限配置:
* /oauth/authorize:授权端点
* /oauth/token:令牌端点
* /oauth/confirm_access:用户确认授权提交端点
* /oauth/error:授权服务错误信息端点
* /oauth/check_token:用于资源服务访问的令牌解析端点
* /oauth/token_key:提供公有密匙的端点,如果使用JWT令牌的话
**/
@Override
public void configure(AuthorizationServerSecurityConfigurer security) throws Exception {
//允许客户端访问 OAuth2 授权接口,否则请求 token 会返回 401
security.allowFormAuthenticationForClients();
//允许已授权用户访问 checkToken 接口
security.checkTokenAccess("isAuthenticated()");
//获取 token 接口
security.tokenKeyAccess("isAuthenticated()");
}
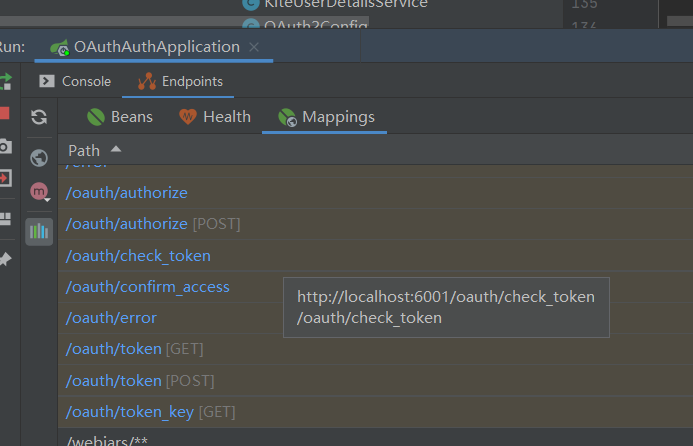
启动项目,在IDEA的 下方 Mapping 窗口中可以看到 oauth2 相关的 RESTful 接口

主要有下列几个请求:
POST /oauth/authorize 授权码模式认证授权接口
GET/POST /oauth/token 获取 token 的接口
POST /oauth/check_token 检查 token 合法性接口
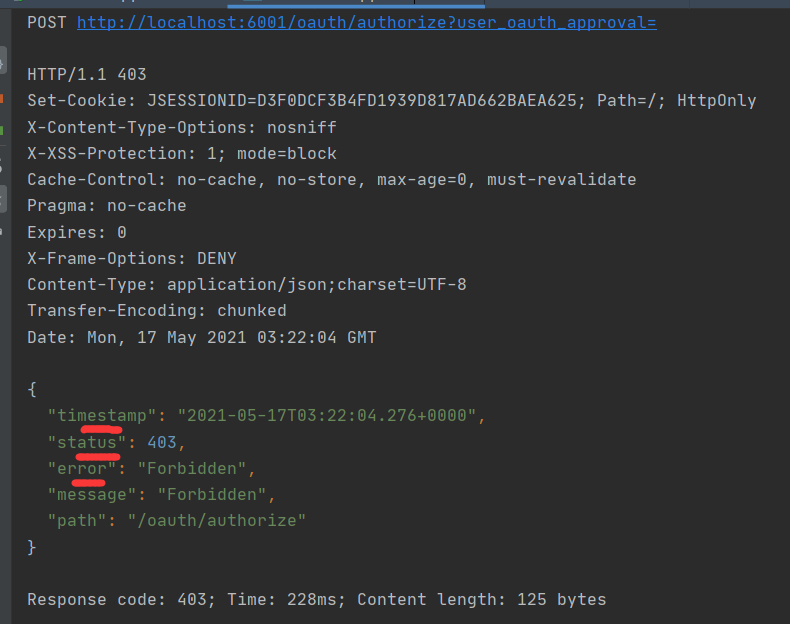
启动POST /oauth/authorize 授权码模式认证授权接口
可以看到并没有生成token,因为现在并没用传入值


评论