今天完成的事情:
了解spring-boot 为什么写一个启动类,运行 SpringApplication.run(AdminServer.class,args)
就可以运行,一直很好奇。
spring-boot配置文件
明天计划的事情:
学习spring Boot Securit和spring Cloud OAuth2
遇到的问题:
暂无
收获:
spring-boot运行过程初了解:
从pom.xml了解
进入 spring-boot-starter-parent
之前也点过,发现里面有很多依赖,依赖都带有版本号,且每次打开spring-boot项目,都看到maven导入依赖要花很长时间,这就是为什么之前在导入依赖的时候不用带版本号,这样也不容易出现版本冲突的情况出现
<dependency>
<groupId>org.springframework.boot</groupId>
<artifactId>spring-boot-starter-test</artifactId>
<scope>test</scope>
</dependency>
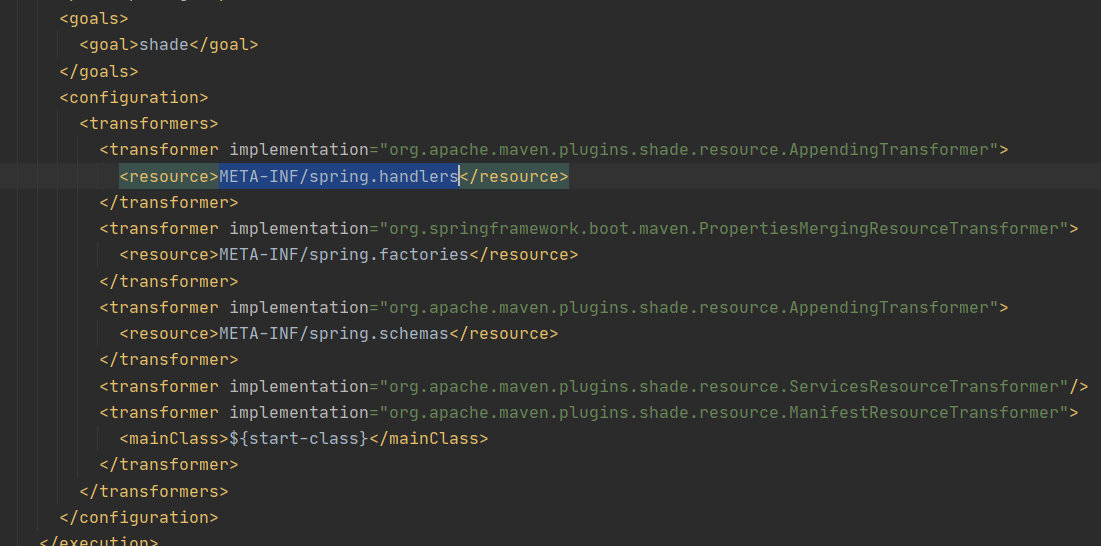
发现之前导入的配置(spring.handlers和spring.schemas,目的是串联起所有部件,之前没导入报错,好像是说找不到组件)

启动器 spring-boot-starter
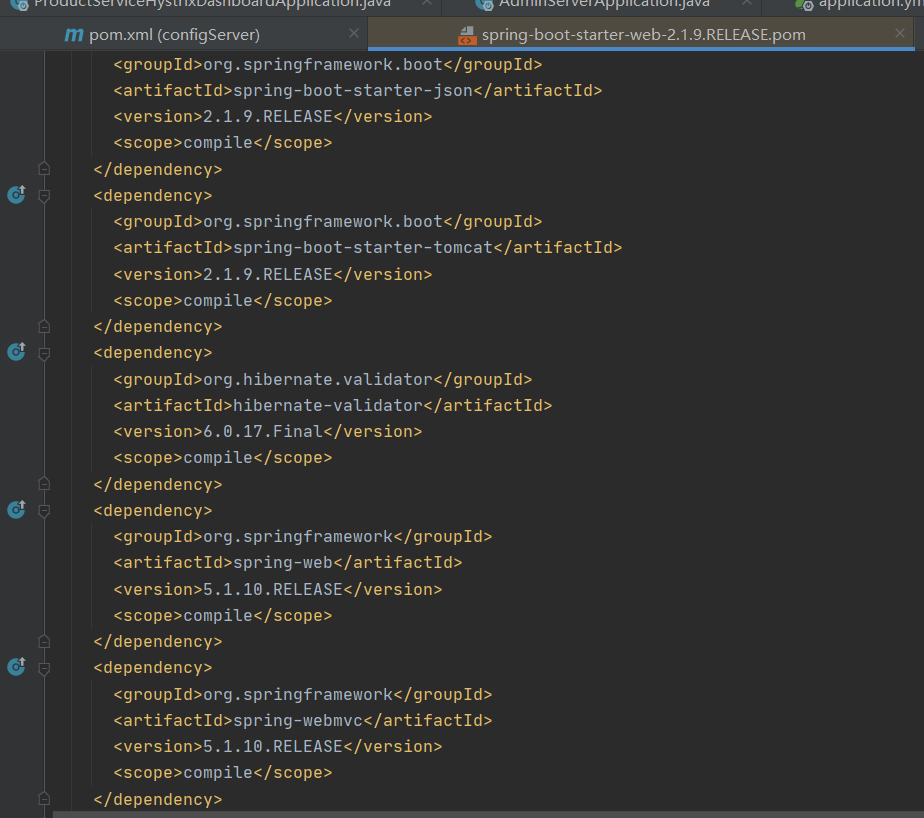
导入,它会帮我们导入许多和它相关的依赖,看里面有tomcat,这就是我们打包jar包的时候,也可以直接运行,不用放在tomcat中的,且jar包运行的时候,它属于一个进程,可以放在Docher容器中
<dependency>
<groupId>org.springframework.boot</groupId>
<artifactId>spring-boot-starter-web</artifactId>
</dependency>

=============
=============
下面来看这个代码,
之前一直在想,为什么我只启动了@SpringBootApplication,
web项目就运行了,毕竟之前是启动了web项目中的Controller类来运行web项目的
猜测,它把spring-mvc中的一整套都封装了在spring-boot框架中,springmvc需要的,它全帮它做了。
//@SpringBootApplication 来标注一个主程序类
//说明这是一个Spring Boot应用
@SpringBootApplication
@EnableAdminServer
@EnableEurekaClient
public class AdminServerApplication {
public static void main( String[] args )
{
//启动整个项目
SpringApplication.run(AdminServerApplication.class, args);
}
}
================
================
看网上分析@SpringBootApplication 看的很头晕,不过大概了解了@SpringBootApplication这个注解的作用
插一个题外话,在我去看了一下 java中对于注解定义:1.注解实际上是一个接口,通过反射获取注解中的元数据。2.不影响程序原本的运行
我注释了@SpringBootApplication注解,可以运行,但是会报错。现在注解已经影响程序的运行了。
=====
@SpringBootApplication注解的作用:
启动的时候从类路径下的META-INF/spring.factories中获取EnableAutoConfiguration指定的值,将这些值作为自动配置类导入容器中 , 自动配置类就生效 , 有了自动配置类 , 就免去了我们手动编写配置注入功能组件等的工作;
SpringApplication.run(SpringbootApplication.class, args);这个代码的运行过程。
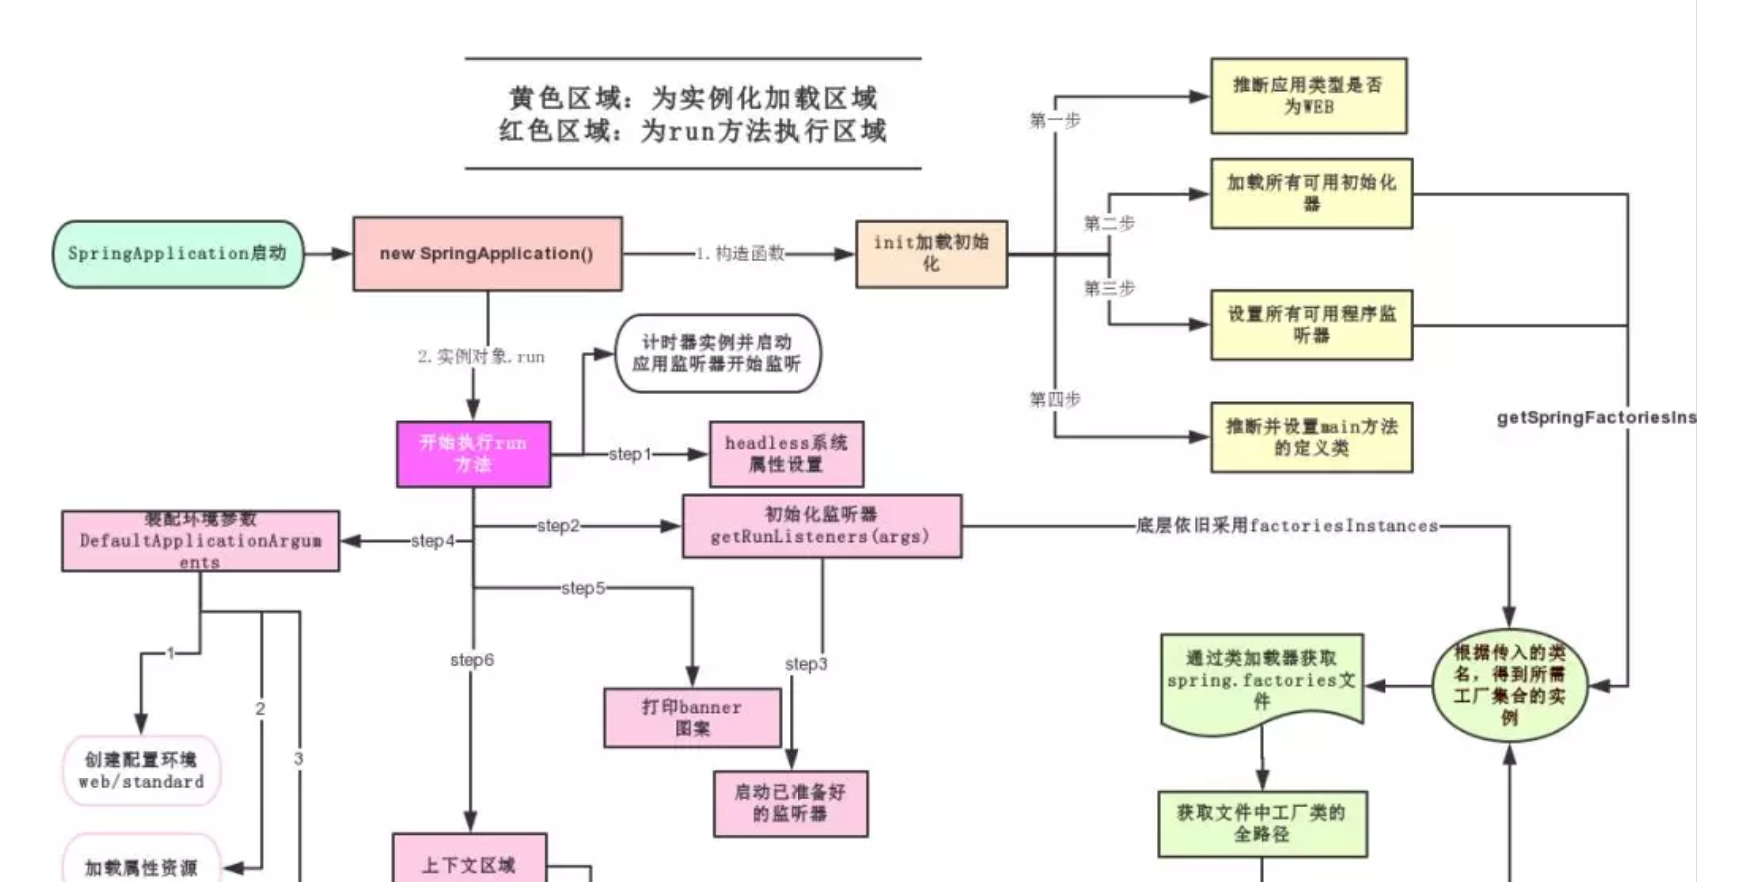
1.首先判断这个类是Java项目还是web项目
2.查找并加载所有可用初始化器 , 设置到initializers属性中
3.找出所有的应用程序监听器,设置到listeners属性中
4.推断并设置main方法的定义类,找到运行的主类
查看构造器:
public SpringApplication(Class<?>... primarySources) {
this((ResourceLoader)null, primarySources);
}
public SpringApplication(ResourceLoader resourceLoader, Class<?>... primarySources) {
this.sources = new LinkedHashSet();
this.bannerMode = Mode.CONSOLE;
this.logStartupInfo = true;
this.addCommandLineProperties = true;
this.addConversionService = true;
this.headless = true;
this.registerShutdownHook = true;
this.additionalProfiles = new HashSet();
this.isCustomEnvironment = false;
this.lazyInitialization = false;
this.resourceLoader = resourceLoader;
Assert.notNull(primarySources, "PrimarySources must not be null");
this.primarySources = new LinkedHashSet(Arrays.asList(primarySources));
this.webApplicationType = WebApplicationType.deduceFromClasspath();
this.setInitializers(this.getSpringFactoriesInstances(ApplicationContextInitializer.class));
this.setListeners(this.getSpringFactoriesInstances(ApplicationListener.class));
this.mainApplicationClass = this.deduceMainApplicationClass();
}
注意这两项:
this.webApplicationType = WebApplicationType.deduceFromClasspath();
this.mainApplicationClass = this.deduceMainApplicationClass();
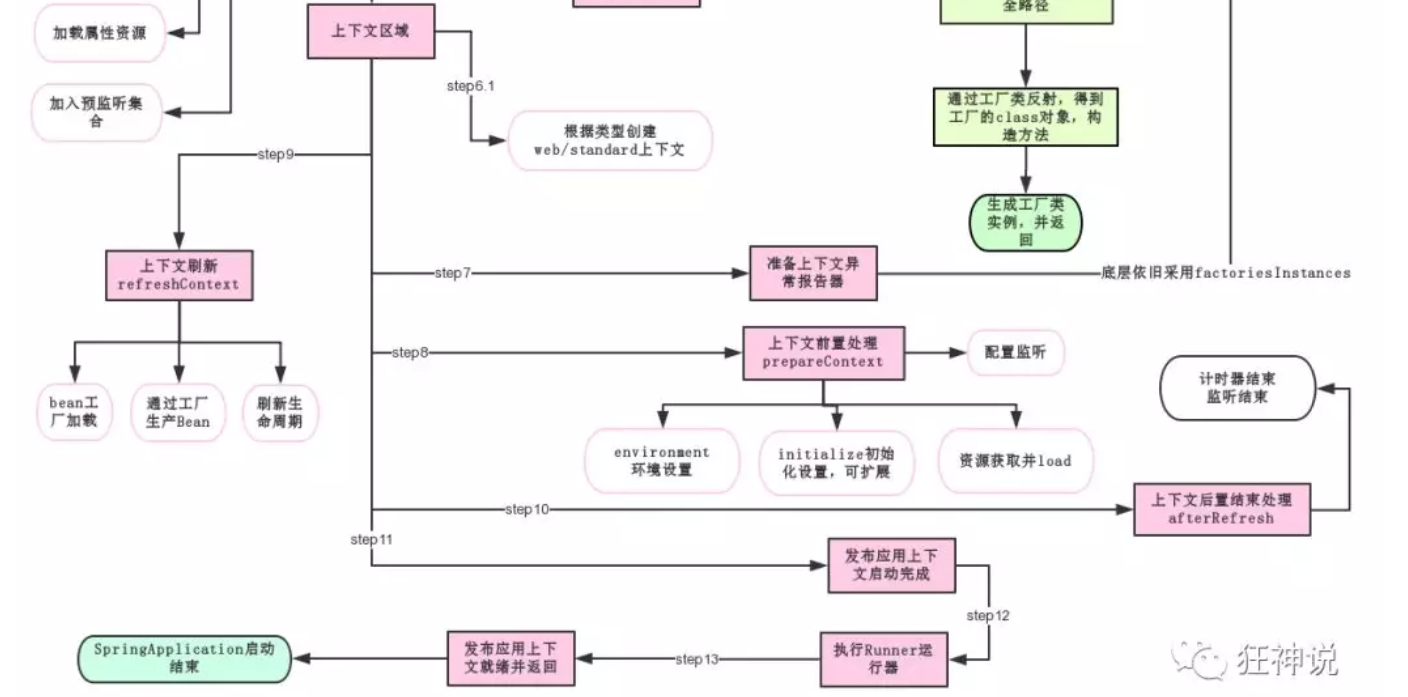
看了别人做的SpringApplication.run流程图,真的复杂,巧妙。但是都是运行伪代码的基本逻辑(顺序,循环,控制)


总结: 整个代码运行逻辑并没有细看,就大概了解了一下,不过还是觉得很麻烦,看的头皮发麻....
=========
=========
spring-boot配置文件:
全局的配置文件,目的 : 修改spring-boot配置的默认值
application.properties
语法结构 :key=value
application.yml
语法结构 :key:空格 value
YAML:
传统xml配置:
<server>
<port>8081<port>
</server>
yaml配置:
server:
prot: 8080
1.对空格要求十分高,因为它是缩进来控制层级关系,只要是左边对齐的一列数据都是同一个层级的
2.属性和值的大小写都是十分敏感
备注:一代版本一个yaml,很多旧版本的yaml配置规则到新版本就不适用了
例子:
person:
name: qinjiang
age: 3
happy: false
birth: 2000/01/01
maps: {k1: v1,k2: v2}
lists:
- code
- girl
- music
dog:
name: 旺财
age: 1
这样配置yaml,可以把值注入到实体类中,redis和mysql也可以这样配置
/*
@ConfigurationProperties作用:
将配置文件中配置的每一个属性的值,映射到这个组件中;
告诉SpringBoot将本类中的所有属性和配置文件中相关的配置进行绑定
参数 prefix = “person” : 将配置文件中的person下面的所有属性一一对应
*/
@Component //注册bean
@ConfigurationProperties(prefix = "person")
public class Person {
private String name;
private Integer age;
private Boolean happy;
private Date birth;
private Map<String,Object> maps;
private List<Object> lists;
private Dog dog;
}


评论