发表于: 2020-07-26 23:12:43
1 2527
今天完成的事情:
1.继续学习SpringCloud。
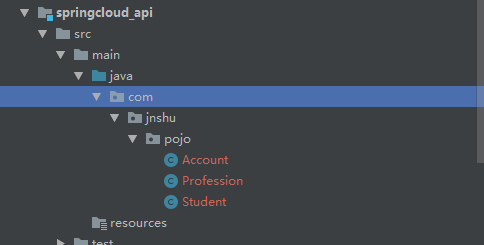
完善了之前的代码,将实体类也单独抽取出来形成一个服务,这个只提供实体类,其他服务要使用就导入这个依赖即可:
学习Ribbon负载均衡.
创建客户端。
导入依赖,客户端只需要实体类和Web:
<dependency>
    <groupId>com.jnshu</groupId>
    <artifactId>springcloud_api</artifactId>
    <version>1.0</version>
</dependency>
<dependency>
    <groupId>org.springframework.boot</groupId>
    <artifactId>spring-boot-starter-web</artifactId>
</dependency>
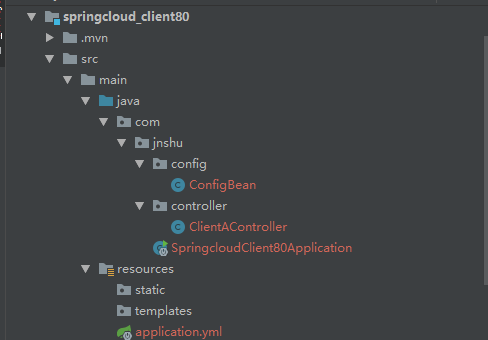
ConfigBean用来注入RestTemplate:
package com.jnshu.config;

import org.springframework.context.annotation.Bean;
import org.springframework.context.annotation.Configuration;
import org.springframework.web.client.RestTemplate;

@Configuration
public class ConfigBean {

    @Bean
    public RestTemplate getRestTemplate(){
        return new RestTemplate();
    }

}
ClientAController是客户端实际访问的Controller:
package com.jnshu.controller;

import com.jnshu.pojo.Student;
import org.springframework.beans.factory.annotation.Autowired;
import org.springframework.web.bind.annotation.*;
import org.springframework.web.client.RestTemplate;

import java.util.List;

@RestController
public class ClientAController {

    //客户端不应该有service层
    //RestTemplate,通过Restful风格请求

    @Autowired
    private RestTemplate restTemplate;

    private static final String REST_URL_PREFIX = "http://localhost:8080";

    @GetMapping("/clientA/Student/{id}")
    public Student get(@PathVariable("id")Long id){
        return restTemplate.getForObject(REST_URL_PREFIX+"/Student/" + id,Student.class);
    }

    @GetMapping(value = "/clientA/Student")
    public List<Student> getAll(){
        return restTemplate.getForObject(REST_URL_PREFIX+"/Student",List.class);
    }

    @DeleteMapping("/clientA/Student/{id}")
    public void del(@PathVariable("id")Long id){
        restTemplate.delete(REST_URL_PREFIX + "/Student/" + id);
    }

    @PutMapping("/clientA/Student/{id}")
    public void update(@PathVariable("id")Long id , Student student){
        restTemplate.put(REST_URL_PREFIX+"/Student/" + id,student);
    }

    @PostMapping("/clientA/Student")
    public String insert(Student student){
        return restTemplate.postForObject(REST_URL_PREFIX+"/Student" ,student,String.class );
    }
}
分别启动注册中心,服务端,客户端。浏览器输入:http://localhost/clientA/Student

使用springcloud实现service和web分离成功!
和之前任务八不同的是,这里使用的是Spring的RestTemplate来实现Restful远程接口调用。
接下来再加一台service和web。
只需要复制一份然后修改一下端口号即可,也要注册到eureka注册中心:

这里为了显示清楚才将application名写成不同的,一般是要设为一样的,后面需要通过名字来远程调用。
同时为了方便显示在controller中加入返回当前端口号:
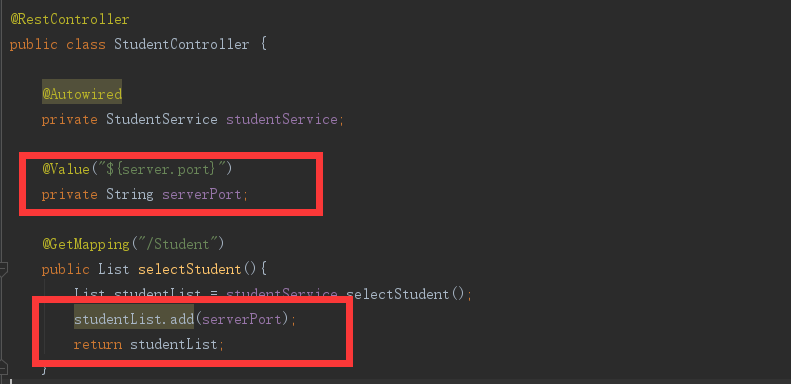
分别测试两台service是否生效:


可以看到两台service都可以正常请求。
接下来修改client客户端的controller,将地址改为用服务名:

eureka默认自带了ribbon,可以实现负载均衡。在ConfigBean配置类中添加@LoadBalanced注解,使用默认的轮询机制:
package com.jnshu.config;

import org.springframework.cloud.client.loadbalancer.LoadBalanced;
import org.springframework.context.annotation.Bean;
import org.springframework.context.annotation.Configuration;
import org.springframework.web.client.RestTemplate;

@Configuration
public class ConfigBean {

    @Bean
    @LoadBalanced
    public RestTemplate getRestTemplate(){
        return new RestTemplate();
    }

}
重启客户端,再次访问:
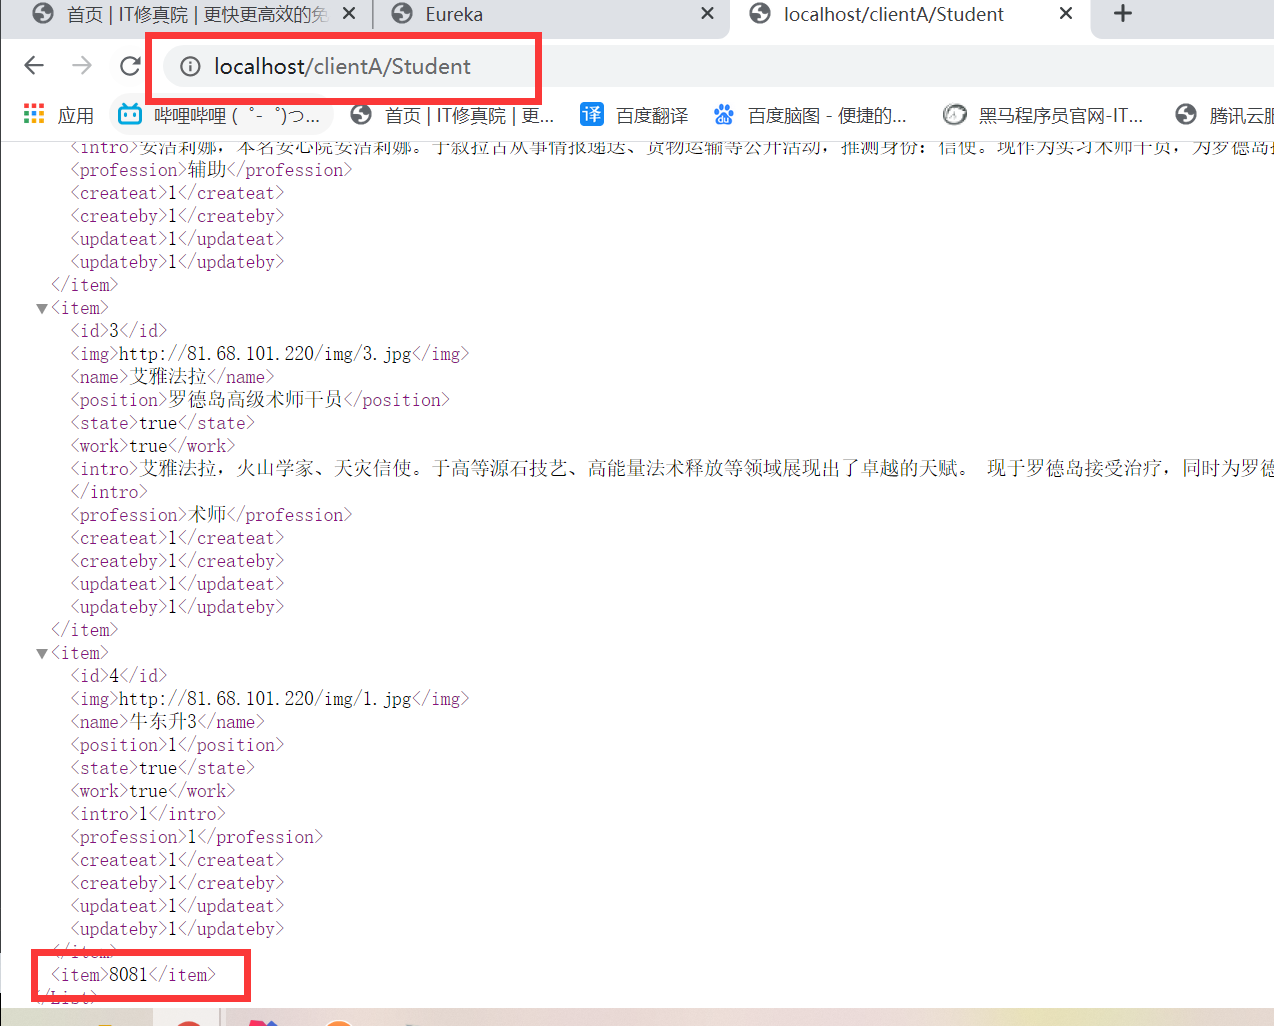
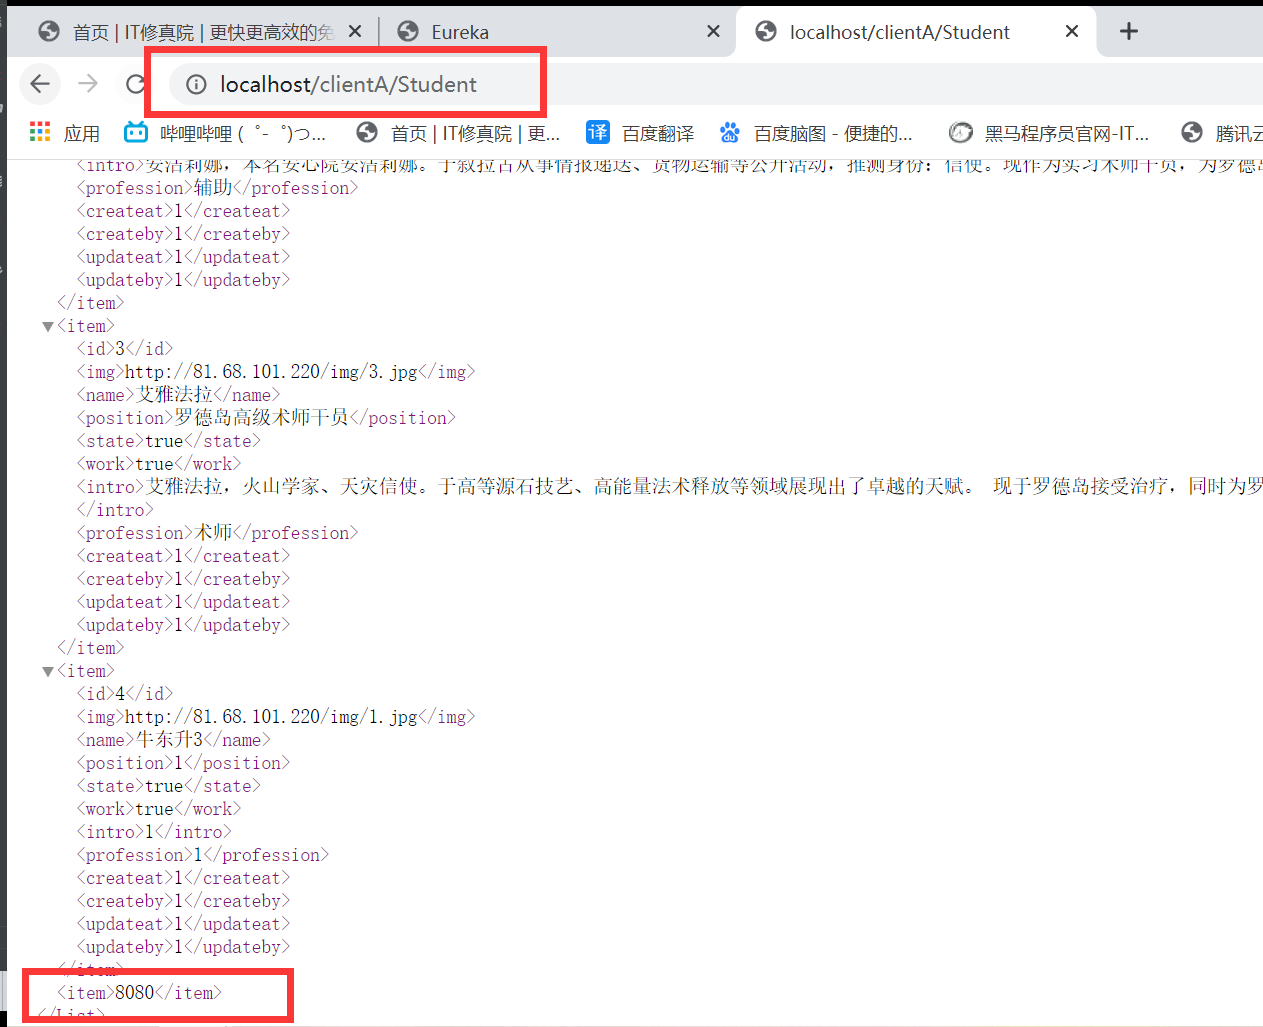
可以看到端口在交替出现,使用一台web可以访问任意一台service。
ribbon的负载均衡策略有以下几种:
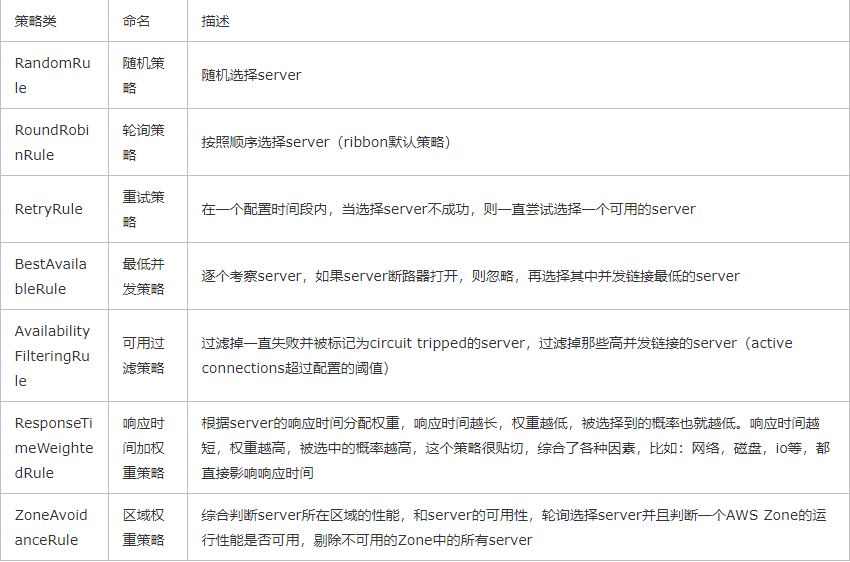
但是此时由于使用的是默认的轮询机制,如果有一台service挂掉,还是会访问它然后报错,可以把负载均衡策略改为AvailabilityFilteringRule,但是还是不能完全解决。有一种方法是关闭eureka的自我保护机制,当服务挂掉第一时间剔除出问题的节点,这样就不会访问到它而报错了,不过不推荐使用这种方法。
学习Feign负载均衡。
feign是声明式的web service客户端,它让微服务之间的调用变得更简单,类似controller调用service。SpringCloud集成了Ribbon和Eureka,可在使用Feign时提供负载均衡的http客户端。只需创建一个接口,然后添加注解即可。
Ribbon:通过微服务名字
Feign:通过接口和注解
不过由于feign已经停止更新,这里使用跟它一样的openfeign。
导入依赖:
<dependency>
    <groupId>org.springframework.cloud</groupId>
    <artifactId>spring-cloud-starter-openfeign</artifactId>
</dependency>
编写yml:
server:
  port: 1111

spring:
  application:
    name: CLIENT_Feign

#Eureka\u7684\u914D\u7F6E\uFF0C\u670D\u52A1\u6CE8\u518C\u5230\u54EA\u91CC
eureka:
  client:
    register-with-eureka: true
    fetch-registry: true
    service-url:
      defaultZone: http://localhost:8888/eureka/
  instance:
    instance-id: springcloud_service8888
编写接口:
package com.jnshu.service;

import com.jnshu.pojo.Student;
import org.springframework.cloud.openfeign.FeignClient;
import org.springframework.stereotype.Component;
import org.springframework.web.bind.annotation.*;

import java.util.List;


@Component
@FeignClient(value = "SERVICE")
public interface FeignStudentService {

    @GetMapping("/Student/{id}")
    public Student get(@PathVariable("id")Long id);

    @GetMapping(value = "/Student")
    public List<Student> getAll();

    @DeleteMapping("//Student/{id}")
    public void del(@PathVariable("id")Long id);

    @PutMapping("/Student/{id}")
    public void update(@PathVariable("id")Long id , Student student);

    @PostMapping("/Student")
    public String insert(Student student);
}
编写controller:
package com.jnshu.controller;

import com.jnshu.pojo.Student;
import com.jnshu.service.FeignStudentService;
import org.springframework.web.bind.annotation.*;

import javax.annotation.Resource;
import java.util.List;

@RestController
public class ClientBController {

    @Resource
    private FeignStudentService feignStudentService;

    @GetMapping(value = "/clientB/Student")
    public List<Student> getAll(){
        return feignStudentService.getAll();
    }
}
相当于调用本地的接口一样。
启动.


注册中心:

相当于配置了两台web和两台service,两台web都可以分别访问两台service。
图解:

可以在最上面使用nginx对webA和webB进行负载均衡。
收获:学习了Eureka注册中心使用方法,如何将服务注册到注册中心,学习了Ribbon和Feign负载均衡。
明天计划完成的事情:
学习Hystrix服务熔断。


评论