发表于: 2020-07-17 23:32:38
1 2129
今天完成的事情:
昨天的SpringRmi只是在本地测试的,要想在服务器部署的话必须在spring配置文件中发布服务时加个属性registryHost:
<!-- RMI服务端 -->
<!-- RMI服务端远程接口实现类 -->
<bean id="accountServiceImpl" class="com.jnshu.service.AccountServiceImpl" scope="prototype"/>
<bean class="com.jnshu.Rmi.OwnRmi">
    <!-- 将远程接口实现类对象设置到RMI服务中 -->
    <property name="service" ref="accountServiceImpl"/>
    <!-- 设置RMI服务名,为RMI客户端依据此服务名获取远程接口实现类对象引用奠定基础 -->
    <property name="serviceName" value="AccountServiceImpl"/>
    <!-- 将远程接口设置为RMI服务接口 -->
    <property name="serviceInterface" value="com.jnshu.service.AccountService"/>
    <property name="registryHost" value="localhost"/>
    <!-- 为RMI服务端远程对象注册表设置端口号-->
    <property name="registryPort" value="1111"/>
</bean>
但是这里还有一个问题,如果只是加了这个的话会报错:Connection refused to host。原因是在不设置registryHost属性的时候,源码中首先会创建一个Registry返回,如果设置了registryHost属性的时候,源码中就不创建Registry,而是直接去获取,可是我们自己也没有创建,所以就会报连接不上。
具体可以看这个:https://blog.csdn.net/renchenglin118/article/details/52803766
解决办法有两个:
一:写个类继承RmiServiceExporter,重写其getRegistry的方法,然后使用你自己写的这个类发布RMI。
二:不直接设置registryHost和registryPort属性,自己写个获取Registry的工厂bean,赋值给RmiServiceExporter的reistry属性。
这里我使用的是第一个办法:
package com.jnshu.Rmi;

import org.springframework.remoting.rmi.RmiServiceExporter;

import java.rmi.RemoteException;
import java.rmi.registry.LocateRegistry;
import java.rmi.registry.Registry;
import java.rmi.server.RMIClientSocketFactory;
import java.rmi.server.RMIServerSocketFactory;

public class OwnRmi extends RmiServiceExporter {
    @Override
    protected Registry getRegistry(String registryHost, int registryPort, RMIClientSocketFactory clientSocketFactory, RMIServerSocketFactory serverSocketFactory) throws RemoteException {

        if (registryHost != null) {
            // Host explictly specified: only lookup possible.
            if (logger.isInfoEnabled()) {
                logger.info("Looking for RMI registry at port '" + registryPort + "' of host [" + registryHost + "]");
            }
            try {
                //把spring源代码中这里try起来,报异常就创建一个
                Registry reg = LocateRegistry.getRegistry(registryHost, registryPort, clientSocketFactory);
                testRegistry(reg);
                return reg;
            } catch (RemoteException ex) {
                LocateRegistry.createRegistry(registryPort);
                Registry reg = LocateRegistry.getRegistry(registryHost, registryPort, clientSocketFactory);
                testRegistry(reg);
                return reg;
            }
        }


        else {
            return getRegistry(registryPort, clientSocketFactory, serverSocketFactory);
        }
    }
}
跟昨天的一样,部署到服务器时,要加一句设置hostname:
package com.jnshu.Rmi;

import org.springframework.context.support.ClassPathXmlApplicationContext;

public class Server {

    public static void main(String[] args) {
        System.setProperty("java.rmi.server.hostname","81.68.101.220");
        new ClassPathXmlApplicationContext("classpath:applicationContext.xml");
        System.out.println("Rmi Server is ready.....");
    }
}
将项目打包成jar包上传到服务器启动:

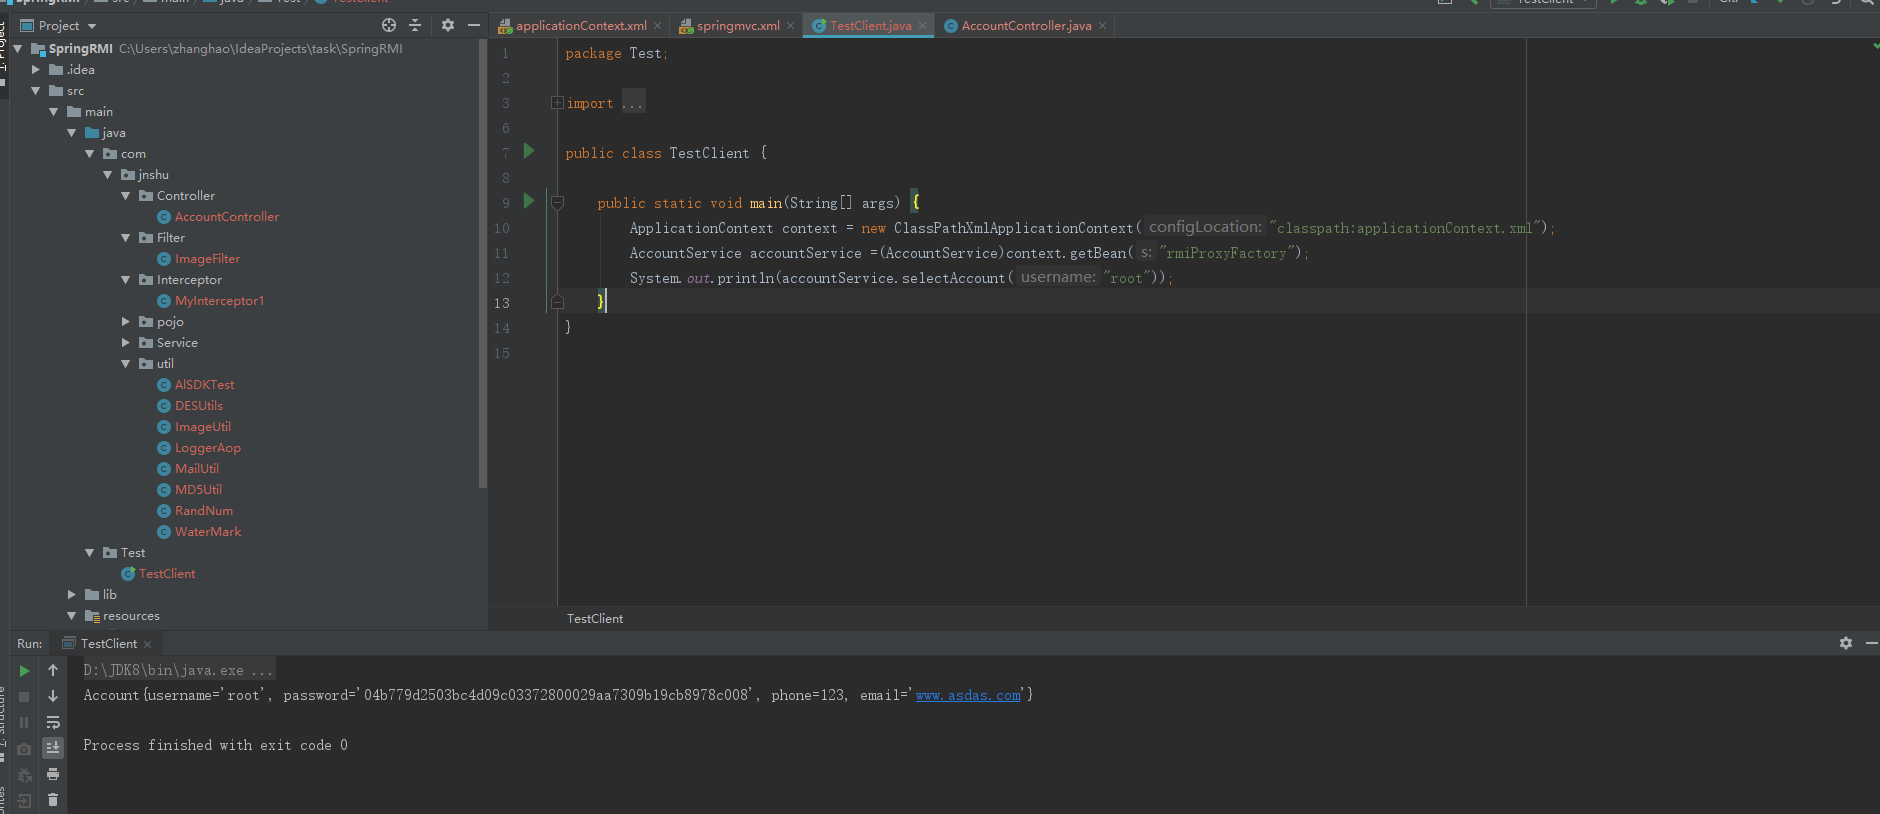
然后本地调用:

同时服务端输出了日志:

至此大致理解了SpringRmi的使用方法。
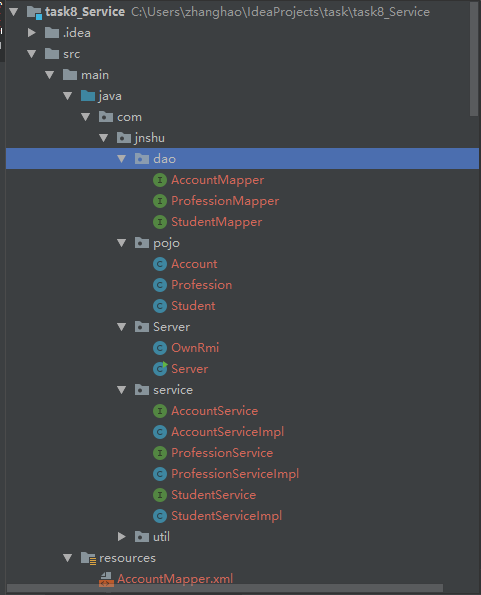
将原有学员系统中Service拆出来:
这是目录:

在spring配置文件里注册服务:
<!-- RMI服务端 -->
<!-- RMI服务端远程接口实现类 -->
<bean id="accountServiceImpl" class="com.jnshu.service.AccountServiceImpl" scope="prototype"/>
<bean class="com.jnshu.Server.OwnRmi">
    <!-- 将远程接口实现类对象设置到RMI服务中 -->
    <property name="service" ref="accountServiceImpl"/>
    <!-- 设置RMI服务名,为RMI客户端依据此服务名获取远程接口实现类对象引用奠定基础 -->
    <property name="serviceName" value="AccountServiceImpl"/>
    <!-- 将远程接口设置为RMI服务接口 -->
    <property name="serviceInterface" value="com.jnshu.service.AccountService"/>
    <property name="registryHost" value="localhost"/>
    <!-- 为RMI服务端远程对象注册表设置端口号-->
    <property name="registryPort" value="1111"/>
</bean>
<bean class="com.jnshu.Server.OwnRmi">
    <property name="service" ref="studentServiceImpl"/>
    <property name="serviceName" value="StudentServiceImpl"/>
    <property name="serviceInterface" value="com.jnshu.service.StudentService"/>
    <property name="registryHost" value="localhost"/>
    <property name="registryPort" value="1111"/>
</bean>
<bean class="com.jnshu.Server.OwnRmi">
    <property name="service" ref="professionServiceImpl"/>
    <property name="serviceName" value="ProfessionServiceImpl"/>
    <property name="serviceInterface" value="com.jnshu.service.ProfessionService"/>
    <property name="registryHost" value="localhost"/>
    <property name="registryPort" value="1111"/>
</bean>
Server程序:
package com.jnshu.Server;

import org.springframework.context.support.ClassPathXmlApplicationContext;

public class Server {
    public static void main(String[] args) {
        System.setProperty("java.rmi.server.hostname","81.68.101.220");
        new ClassPathXmlApplicationContext("classpath:applicationContext.xml");
        System.out.println("Rmi Server is ready.....");
    }
}
部署到服务器运行:

明天计划完成的事情:
在原来的WEB中调用Service


评论