发表于: 2020-07-13 23:24:20
1 2029
今天完成的事情:
使用ajxa上传图片:
<script type="text/javascript">
    function postData() {
        var formData = new FormData();
        formData.append("image",$("#image")[0].files[0]);

        $.ajax({
            type: 'POST',
            url: "${pageContext.request.contextPath}/uploadImage",
            data: formData,
            processData: false,
            contentType: false,
            success: function (data) {
                console.log(data);
                console.log(status);
                var a = document.getElementById("msg");
                a.innerText = data
            }
        });
    }
</script>
<p>图片 <input type="file" name="image" id="image"></p>
<input type="button" onclick="postData()" value="提交"><span id="msg"></span>
现在上传图片不会跳转页面了。
然后是完成发送邮件接口:
首先注册sendcloud,注册完进入官网下载javaSDK,使用idea打开:
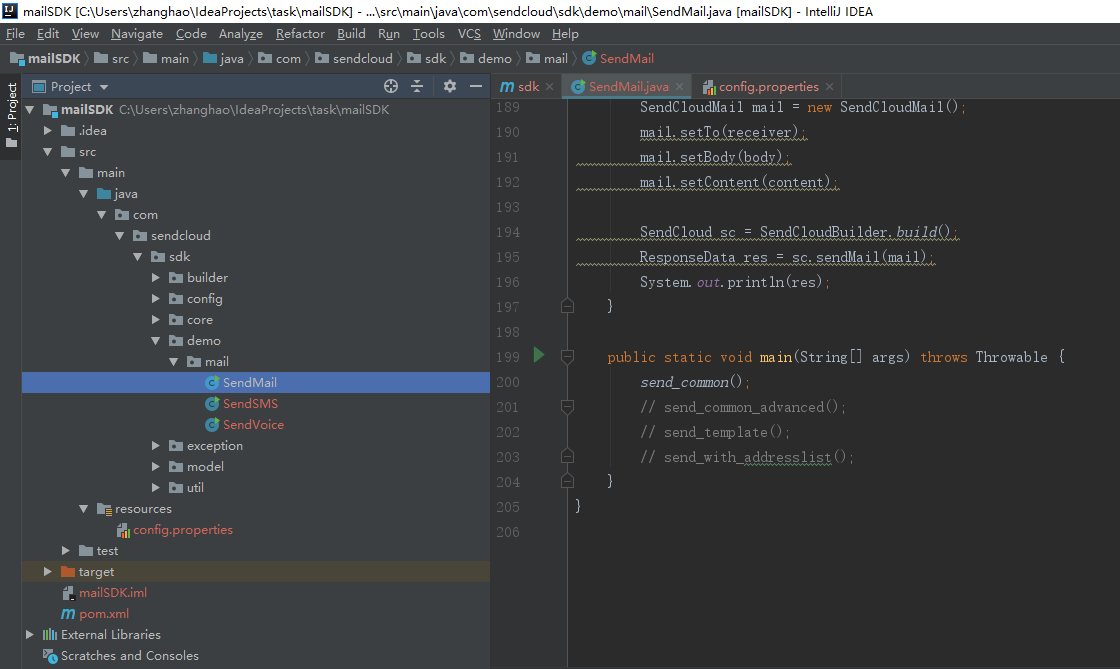
这就是测试demo
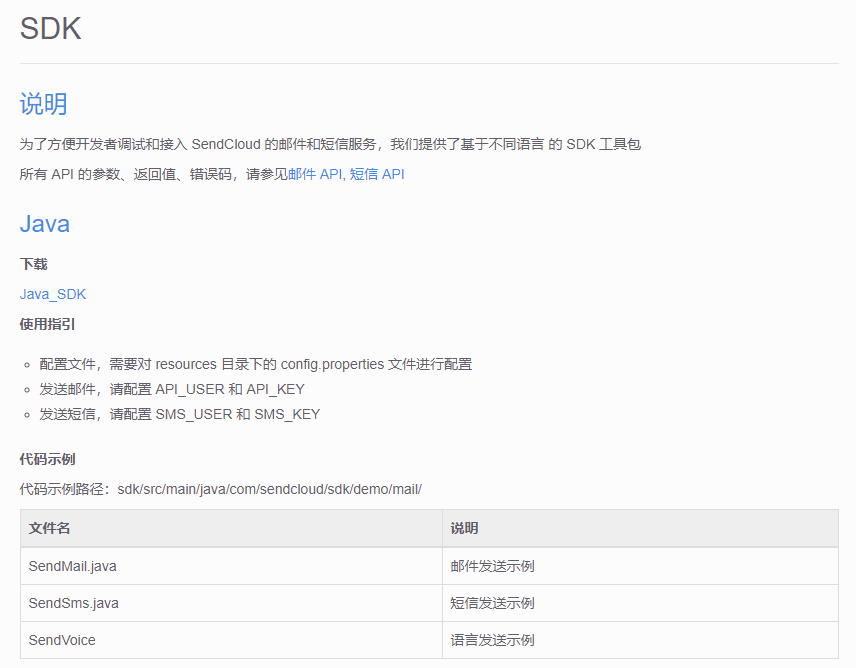
官网文档修改resources下的配置文件,修改测试demo中的收件人:
receiver.addTo("435706286@qq.com");
运行测试一下:
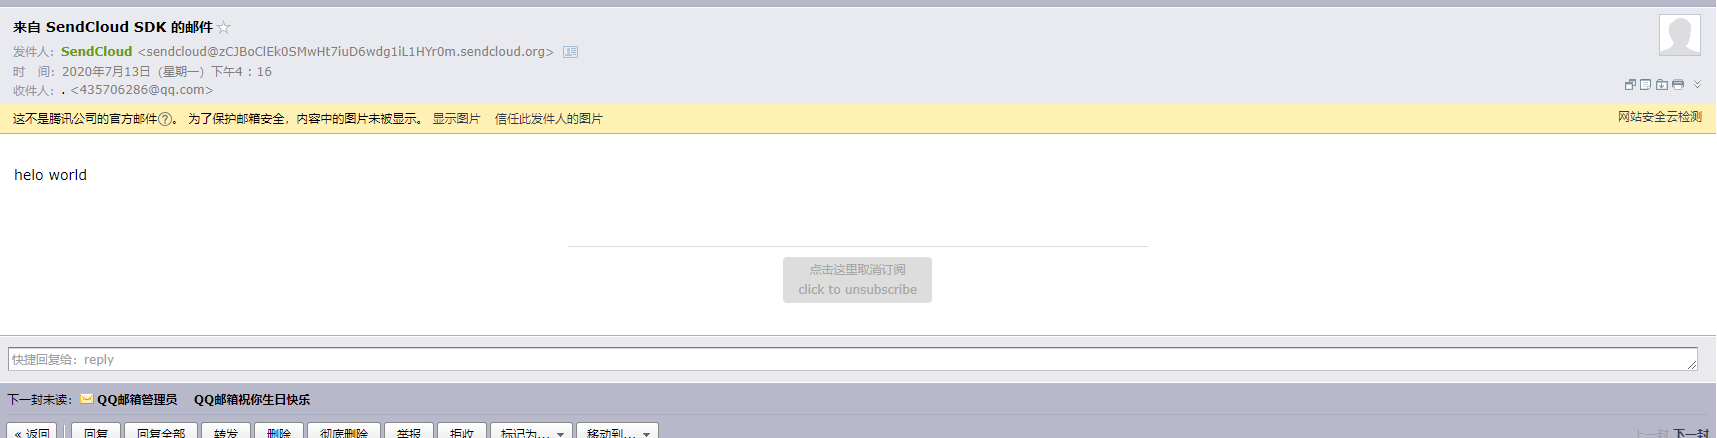
成功接收到邮件。
接下来只需要整合到项目中即可。
将官网下的SDK项目打成jar包,然后导入自己的项目中就可以用了。
自己写了一个邮件发送验证码工具类:
package com.jnshu.util;
import com.sendcloud.sdk.builder.SendCloudBuilder;
import com.sendcloud.sdk.core.SendCloud;
import com.sendcloud.sdk.model.MailAddressReceiver;
import com.sendcloud.sdk.model.MailBody;
import com.sendcloud.sdk.model.SendCloudMail;
import com.sendcloud.sdk.model.TextContent;
import com.sendcloud.sdk.util.ResponseData;
public class MailUtil {
public boolean send(String address) throws Throwable {
MailAddressReceiver receiver = new MailAddressReceiver();
receiver.addTo(address);
MailBody body = new MailBody();
// 设置 From
body.setFrom("zhanghaotask7@jnshu.com");
// 设置 FromName
body.setFromName("task7mail");
// 设置 ReplyTo
body.setReplyTo("zhanghaotask7@jnshu.com");
// 设置标题
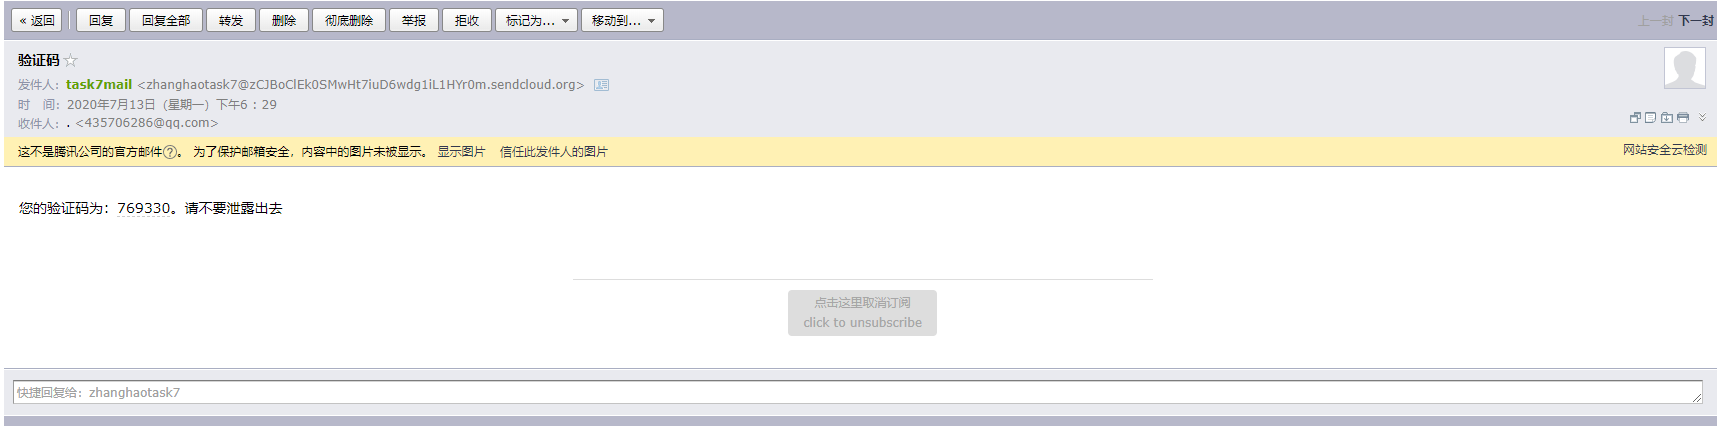
body.setSubject("验证码");
//生成随机验证码
String Rand_code = RandNum.getRandLength(6);
TextContent content = new TextContent();
content.setContent_type(TextContent.ScContentType.html);
content.setText("<html><p>您的验证码为:"+ Rand_code +"。请不要泄露出去</p></html>");
SendCloudMail mail = new SendCloudMail();
mail.setTo(receiver);
mail.setBody(body);
mail.setContent(content);
SendCloud sc = SendCloudBuilder.build();
ResponseData res = sc.sendMail(mail);
System.out.println(res.getResult());
System.out.println(res.getStatusCode());
System.out.println(res.getMessage());
System.out.println(res.getInfo());
return res.getResult();
}
}
只需要传入邮箱地址就可以发送验证码了。
测试一下:
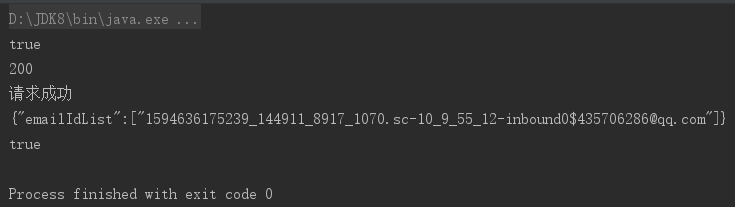
成功收到邮件:
任务七大体上都实现了,接下来将项目全部整理一下。
首先将注册页面加一个切换链接,可以切换手机注册和邮箱注册:
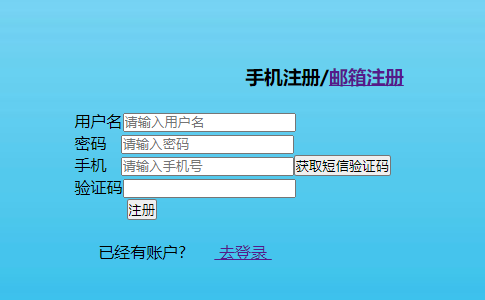
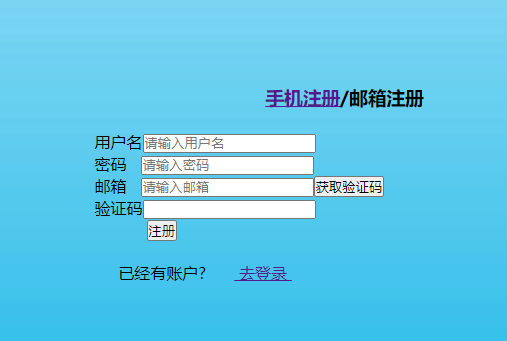
其实就是再写了个一样的邮箱注册页面,如何将链接分别指向手机注册和邮箱注册,然后记得修改对应的获取验证码按钮指向的请求路径。
测试之后也没问题了。

使用手机和邮箱注册都成功了。
接下来学习一下加水印:
这个很简单,网上有很多加水印的工具类,找一个就好了:
package com.jnshu.util;

import javax.imageio.ImageIO;
import java.awt.*;
import java.awt.image.BufferedImage;
import java.io.File;
import java.io.FileOutputStream;
import java.io.OutputStream;

public class WaterMark {

public static void addWaterMark(String _srcImagePath, String _targetImagePath,
                                   String _iconImagePath, String _iconPosition, Float _iconAlpha,
                                   Integer _targetIconWidth, Integer _targetIconHeight) {
/**
        * Theory/原理:
        * 1,建立一个画布,设置其边线纹理处理方式;再其上根据原图尺寸画上原图;
        * 2,再设置透明值,计算水印图位置,再在画布的指定位置画上指定大小的水印图;
        * 3,然后混合和处理画布中的图片数据,最后输出到指定目标图片文件;
        * @param _srcImagePath is absolute path of source image which need to add water mark, required;
        * @param _targetImagePath is absolute path of target image which will be
        *           contains water mark icon image, if empty then will save to source image, optional;
        *
        * @param _iconImagePath is absolute path of water mark icon image, required;
        * @param _iconPosition is position of water mark icon in source image, optional and
        *           default position is bottom right, value is one of [topLeft,topRight,bottomLeft,bottomRight];
        * @param _iconAlpha is to set alpha value of water mark icon image, optional;
        * @param _targetIconWidth is width of target water mark icon image, optional;
        * @param _targetIconHeight is height of target water mark icon image, optional;
        *
        * usage (example):
        * CommonFunService.addWaterMark(
        *        "c:\path\srcImage.jpg"
        *        ,"c:\path\targetImage.gif"
        *        ,"c:\path\iconImage.png"
        *        ,"bottomright"
        *        ,new Float(0.8)
        *        ,0
        *        ,0
        * );
        */

       if(null != _srcImagePath && !_srcImagePath.trim().isEmpty()
&& null != _iconImagePath && !_iconImagePath.trim().isEmpty()){

String srcImagePath = _srcImagePath.trim();
           String targetImagePath = "";
           String iconImagePath = _iconImagePath.trim();
           String iconPosition = "";
           Integer targetIconWidth = 0;
           Integer targetIconHeight = 0;
           Integer imgIconAxisX = 0;
           Integer imgIconAxisY = 0;
           Integer imgIconMargin = 5;
           Float iconAlpha = 0.8f;
           if(null == _targetImagePath || _targetImagePath.trim().isEmpty()){
targetImagePath = srcImagePath;
           }else{
targetImagePath = _targetImagePath.trim();
           }
if(null == _iconPosition || _iconPosition.trim().isEmpty()){
iconPosition = "bottomRight";
           }else{
iconPosition = _iconPosition.trim();
           }
if(null == _iconAlpha){
iconAlpha = 0.8f;
           }
if(null != _iconAlpha && _iconAlpha < 0){
iconAlpha = 0.1f;
           }
OutputStream os = null;
           try {
//read and get image data base on parameter
               Image srcImg = ImageIO.read(new File(srcImagePath));
               Integer srcImgWidth = srcImg.getWidth(null);
               Integer srcImgHeight = srcImg.getHeight(null);
               BufferedImage buffImg = new BufferedImage(srcImgWidth,
                       srcImgHeight, BufferedImage.TYPE_INT_RGB);

               // create or get the canvas of buffer image,创建或得到画布对象
               // Graphics g= buffImg.getGraphics();
               Graphics2D g = buffImg.createGraphics();

               // set the sawtooth style of line, 设置对线段的锯齿状边缘处理
               g.setRenderingHint(RenderingHints.KEY_INTERPOLATION,
                       RenderingHints.VALUE_INTERPOLATION_BILINEAR);

               g.drawImage(srcImg.getScaledInstance(srcImgWidth,
                       srcImgHeight, Image.SCALE_SMOOTH), 0, 0, null);

           /*
           //----------------------------------------------------
           // set the rotate of icon image,no active, 设置水印图的旋转,未启用,
           if (null != degree) {
              g.rotate(Math.toRadians(degree),
                    (double) buffImg.getWidth() / 2,
                    (double) buffImg.getHeight() / 2);
           }
           //----------------------------------------------------
           */


               // read icon image base on parameter, it should be gif or png file normally as which can set alpha
               // 读取水印图象,水印图一般为gif或者png的,这样可设置透明度

               // read and get icon image data, width and height ,读取Image数据对象,宽和高
               Image imgIcon = ImageIO.read(new File(iconImagePath));
               Integer imgIconWidth = imgIcon.getWidth(null);
               Integer imgIconHeight = imgIcon.getHeight(null);

               if(null == _targetIconWidth){
targetIconWidth = imgIconWidth;
               }else{
targetIconWidth = _targetIconWidth;
               }
if(targetIconWidth <= 0){
targetIconWidth = imgIconWidth;
               }

if(null == _targetIconHeight){
targetIconHeight = imgIconHeight;
               }else{
targetIconHeight = _targetIconHeight;
               }
if(targetIconHeight <= 0){
targetIconHeight = imgIconHeight;
               }

Image targetIconImage = imgIcon.getScaledInstance(targetIconWidth,
                       targetIconHeight, Image.SCALE_SMOOTH);

               // set icon image position in source image,设置水印图片印在原图中的位置
               if("bottomRight".equalsIgnoreCase(iconPosition)){
imgIconAxisX = srcImgWidth - targetIconWidth - imgIconMargin;
                   imgIconAxisY= srcImgHeight - targetIconHeight - imgIconMargin;
               }else if("bottomLeft".equalsIgnoreCase(iconPosition)){
imgIconAxisX = imgIconMargin;
                   imgIconAxisY= srcImgHeight - targetIconHeight - imgIconMargin;
               }else if("topRight".equalsIgnoreCase(iconPosition)){
imgIconAxisX = srcImgWidth - targetIconWidth - imgIconMargin;
                   imgIconAxisY= imgIconMargin;
               }else{//topLeft
                   imgIconAxisX = imgIconMargin;
                   imgIconAxisY= imgIconMargin;
               }
if(imgIconAxisX < 0){
imgIconAxisX = (Integer)(srcImgWidth / 2);
               }
if(imgIconAxisY < 0){
imgIconAxisX = (Integer)(srcImgHeight / 2);
               }

// set the alpha to icon image,设置水印图的透明度
               g.setComposite(AlphaComposite.getInstance(AlphaComposite.SRC_ATOP, iconAlpha));

               //draw the target icon image at target position width target size in source image
               //在原图中指定位置绘制指定大小的水印图
               g.drawImage(targetIconImage, imgIconAxisX, imgIconAxisY, null);

               g.setComposite(AlphaComposite.getInstance(AlphaComposite.SRC_OVER));
               g.dispose();

               // create target image which containers icon image,
               // 生成含有在指定位置指定大小加了水印图的新图片
               os = new FileOutputStream(targetImagePath);
               ImageIO.write(buffImg, "JPG", os);

               //release system source
               srcImg = null;
               //imageIcon = null;
               imgIcon = null;
               targetIconImage = null;
               buffImg = null;
               g = null;
           } catch (Exception e) {
//e.printStackTrace();
           } finally {
try {
if (null != os){
os.close();
                       os = null;
                   }
} catch (Exception e) {
//e.printStackTrace();
               }
}
}
}
}
使用时只需要调用WaterMark类中的addWaterMark方法即可:
分别加入一下参数:
@param srcImagePath 是需要添加水印的源图像的绝对路径,必须输入。
@param targetImagePath是目标图像的绝对路径,如果为空则将保存到源图像,可选。
@param iconImagePath是水印图标图像的绝对路径,必须输入。
@param iconPosition是水印图标在源图像中的位置,可选。默认位置为右下角,值为[topLeft,topRight,bottomLeft,bottomRight]之一。
@param iconAlpha是设置水印图标图像的alpha值,可选。
@param targetionwidth是目标水印图标图像的宽度,可选。
@param targetingheight是目标水印图标图像的高度,可选。
例如:
@Test
public void imageTest(){
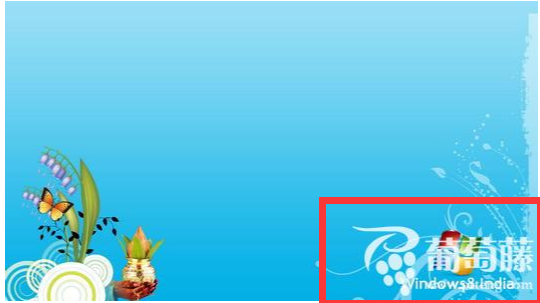
String oldImage = "C:\\Users\\zhanghao\\IdeaProjects\\task\\task7\\src\\main\\webapp\\imges\\背景.jpg";
String targetImage = "C:\\Users\\zhanghao\\IdeaProjects\\task\\task7\\src\\main\\webapp\\imges\\新背景.jpg";
String logo = "C:\\Users\\zhanghao\\IdeaProjects\\task\\task7\\src\\main\\webapp\\imges\\logo.png";
new WaterMark().addWaterMark(oldImage,targetImage,logo,
"bottomright"
,new Float(0.8)
,0
,0);
}
效果:
接下来学习一下防盗链:
思路:
1. 获取到当前请求的域名
2. 获取到请求资源的上一个地址
3. 判断上一个地址是否为空,如果为空代表的是直接访问的资源,非法
还有一种情况就是B项目访问时上一个地址www.b.com/xxx 不是资源所在地址,非法
新建一个过滤器,实现逻辑,如果非法则显示图像,拦截return ,否则放行
具体代码如下:
过滤器:
package com.jnshu.Filter;

import java.io.IOException;

import javax.servlet.Filter;
import javax.servlet.FilterChain;
import javax.servlet.FilterConfig;
import javax.servlet.ServletException;
import javax.servlet.ServletRequest;
import javax.servlet.ServletResponse;
import javax.servlet.annotation.WebFilter;
import javax.servlet.http.HttpServletRequest;
import javax.servlet.http.HttpServletResponse;

public class ImageFilter implements Filter{

@Override
   public void destroy() {
System.out.println("销毁");
   }

@Override
   public void doFilter(ServletRequest request, ServletResponse response, FilterChain chain)
throws IOException, ServletException {
System.out.println("imagefilter执行了。。。");
       //转换成HttpServlet对象
       HttpServletRequest httprequest=(HttpServletRequest)request;
       HttpServletResponse httpresponse=(HttpServletResponse)response;

       //获取上一个地址
       String referer = httprequest.getHeader("Referer");
       String serverName = httprequest.getServerName();
       System.out.println(referer+"\t"+serverName);
       //如果地址为空,则有可能是直接访问资源
       //地址不正确,则是非法访问请求
       if(referer==null||!referer.contains(serverName)) {
//转发到非法提示
           request.getRequestDispatcher("/imges/feifa.png").forward(request, response);
           return;
       }

//资源放行
       chain.doFilter(request, response);

   }

@Override
   public void init(FilterConfig arg0) throws ServletException {
System.out.println("初始化");
   }

}
配置web.xml:
<filter>
 <filter-name>imgFilter</filter-name>
 <!--指向自己配置的过滤器类-->
 <filter-class>com.jnshu.Filter.ImageFilter</filter-class>
</filter>
<filter-mapping>
 <filter-name>imgFilter</filter-name>
 <!--过滤img文件夹下的所有文件-->
 <url-pattern>/imges/*</url-pattern>
</filter-mapping>
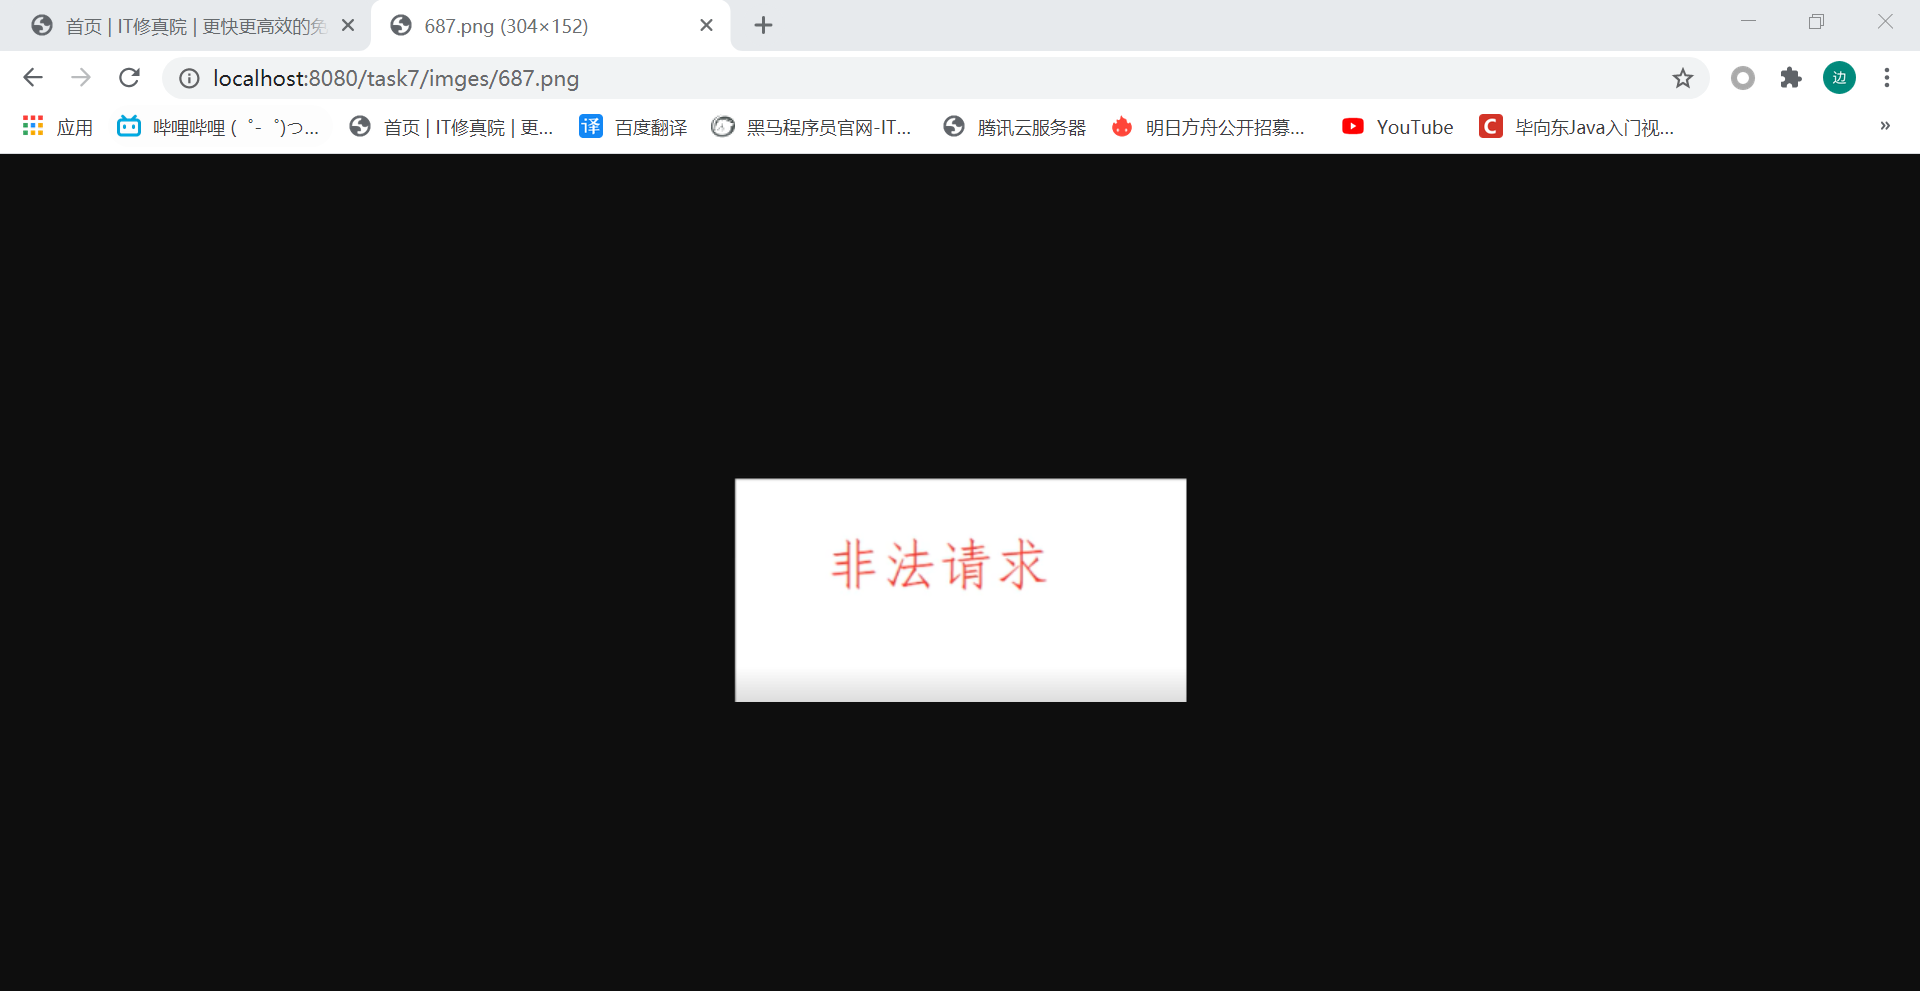
效果如下:
若直接访问imges文件夹下的图片则显示非法:
第一个参数表示上一个地址为空,表示是直接访问的图片。
如果正常访问则是:

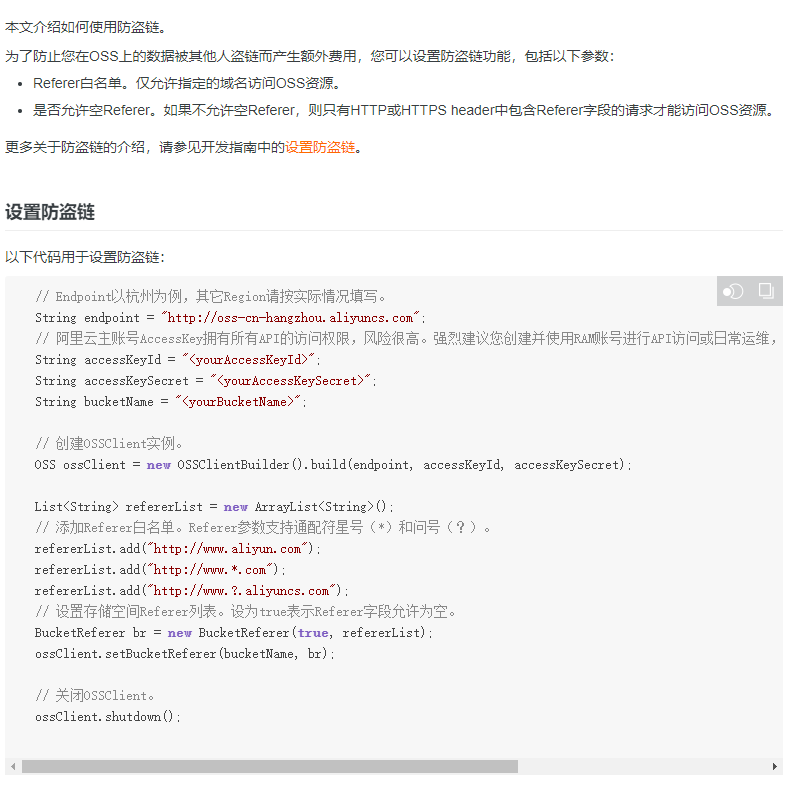
阿里云提供防盗链接口,可以直接指定允许OSS的访问域名:
https://www.alibabacloud.com/help/zh/doc-detail/32021.htm?spm=a2c63.p38356.a1.3.75854611NlHFwP
收获:
学会了使用sendcloud接口,学会了给图片加水印,学会了使用过滤器实现防盗链。
明天计划完成的事情:
整理完成任务七。


评论