发表于: 2020-06-13 22:31:04
1 1504
SSM实现垂纶小室
1.创建5个表
CREATE TABLE IF NOT EXISTS `comment`( `id` bigint(20) NOT NULL AUTO_INCREMENT COMMENT '主键', `pid` bigint(20) NOT NULL COMMENT 'person Id', `content` varchar(255) NOT NULL COMMENT '内容', `status` varchar(25) NOT NULL COMMENT 'STATUS', `create_at` bigint(20) NOT NULL COMMENT '创建时间', `create_by` bigint(20) NOT NULL COMMENT '创建人', `update_at` bigint(20) NOT NULL COMMENT '更新时间', `update_by` bigint(20) NOT NULL COMMENT '更新人', PRIMARY KEY (`id`));CREATE TABLE IF NOT EXISTS `user`( `user_id` bigint(20) NOT NULL AUTO_INCREMENT COMMENT '主键', `user_name` varchar(255) NOT NULL COMMENT '用户姓名', `password` varchar(255) NOT NULL COMMENT 'QQ', `role` int(4) NOT NULL COMMENT '角色类型', `create_at` bigint(20) NOT NULL COMMENT '创建时间', PRIMARY KEY (`user_id`));CREATE TABLE IF NOT EXISTS `content`( `id` bigint(20) NOT NULL AUTO_INCREMENT COMMENT '主键', `type` int(4) NOT NULL COMMENT '类型', `img` varchar(255) NOT NULL COMMENT '图片', `content` varchar(255) NOT NULL COMMENT '内容', `url` varchar(255) NOT NULL COMMENT '链接', `create_at` bigint(20) NOT NULL COMMENT '创建时间', `create_by` bigint(20) NOT NULL COMMENT '创建人', `update_at` bigint(20) NOT NULL COMMENT '更新时间', `update_by` bigint(20) NOT NULL COMMENT '更新人', PRIMARY KEY (`id`));CREATE TABLE IF NOT EXISTS `works`( `id` bigint(20) NOT NULL AUTO_INCREMENT COMMENT '主键', `name` varchar(255) NOT NULL COMMENT '作品名', `intro` varchar(255) NOT NULL COMMENT '介绍', `cover` varchar(255) NOT NULL COMMENT '封面', `vedio` varchar(255) NOT NULL COMMENT '介绍视频', `img` varchar(255) NOT NULL COMMENT '介绍图片', `content` varchar(255) NOT NULL COMMENT '内容富文本', `create_at` bigint(255) NOT NULL COMMENT '创建时间', `create_by` bigint(255) NOT NULL COMMENT '创建人', `update_at` bigint(20) NOT NULL COMMENT '更新时间', `update_by` bigint(20) NOT NULL COMMENT '更新人', PRIMARY KEY (`id`));CREATE TABLE IF NOT EXISTS `classify`( `id` bigint(20) NOT NULL AUTO_INCREMENT COMMENT '主键', `name` varchar(255) NOT NULL COMMENT '类别名', `pid` bigint(20) NOT NULL COMMENT 'pid', `create_at` bigint(20) NOT NULL COMMENT '创建时间', `create_by` bigint(20) NOT NULL COMMENT '创建人', `update_at` bigint(20) NOT NULL COMMENT '更新时间', `update_by` bigint(20) NOT NULL COMMENT '更新人', PRIMARY KEY (`id`));
2.创建新项目learn7
settings-> Editor->File Encoding改成utf8
mave setting文件配好(按需选择是否overide,不然后面mybatis.generate的时候会报错)

 3.配置好pom.xml的mybatis逆向工程插件
<plugin>
    <groupId>org.mybatis.generator</groupId>
    <artifactId>mybatis-generator-maven-plugin</artifactId>
    <version>1.3.5</version>
    <dependencies>
        <!-- https://mvnrepository.com/artifact/mysql/mysql-connector-java -->
        <dependency>
            <groupId>mysql</groupId>
            <artifactId>mysql-connector-java</artifactId>
            <version>5.1.39</version>
        </dependency>
        <!-- https://mvnrepository.com/artifact/org.mybatis.generator/mybatis-generator-core -->
        <dependency>
            <groupId>org.mybatis.generator</groupId>
            <artifactId>mybatis-generator-core</artifactId>
            <version>1.3.5</version>
        </dependency>
    </dependencies>
    <configuration>
        <!--          允许移动生成的文件-->
        <verbose>true</verbose>
        <!--          是否覆盖-->
        <overwrite>true</overwrite>
        <!--          自动生成的配置-->
        <configurationFile>src/main/resources/generator.xml</configurationFile>
    </configuration>
</plugin>
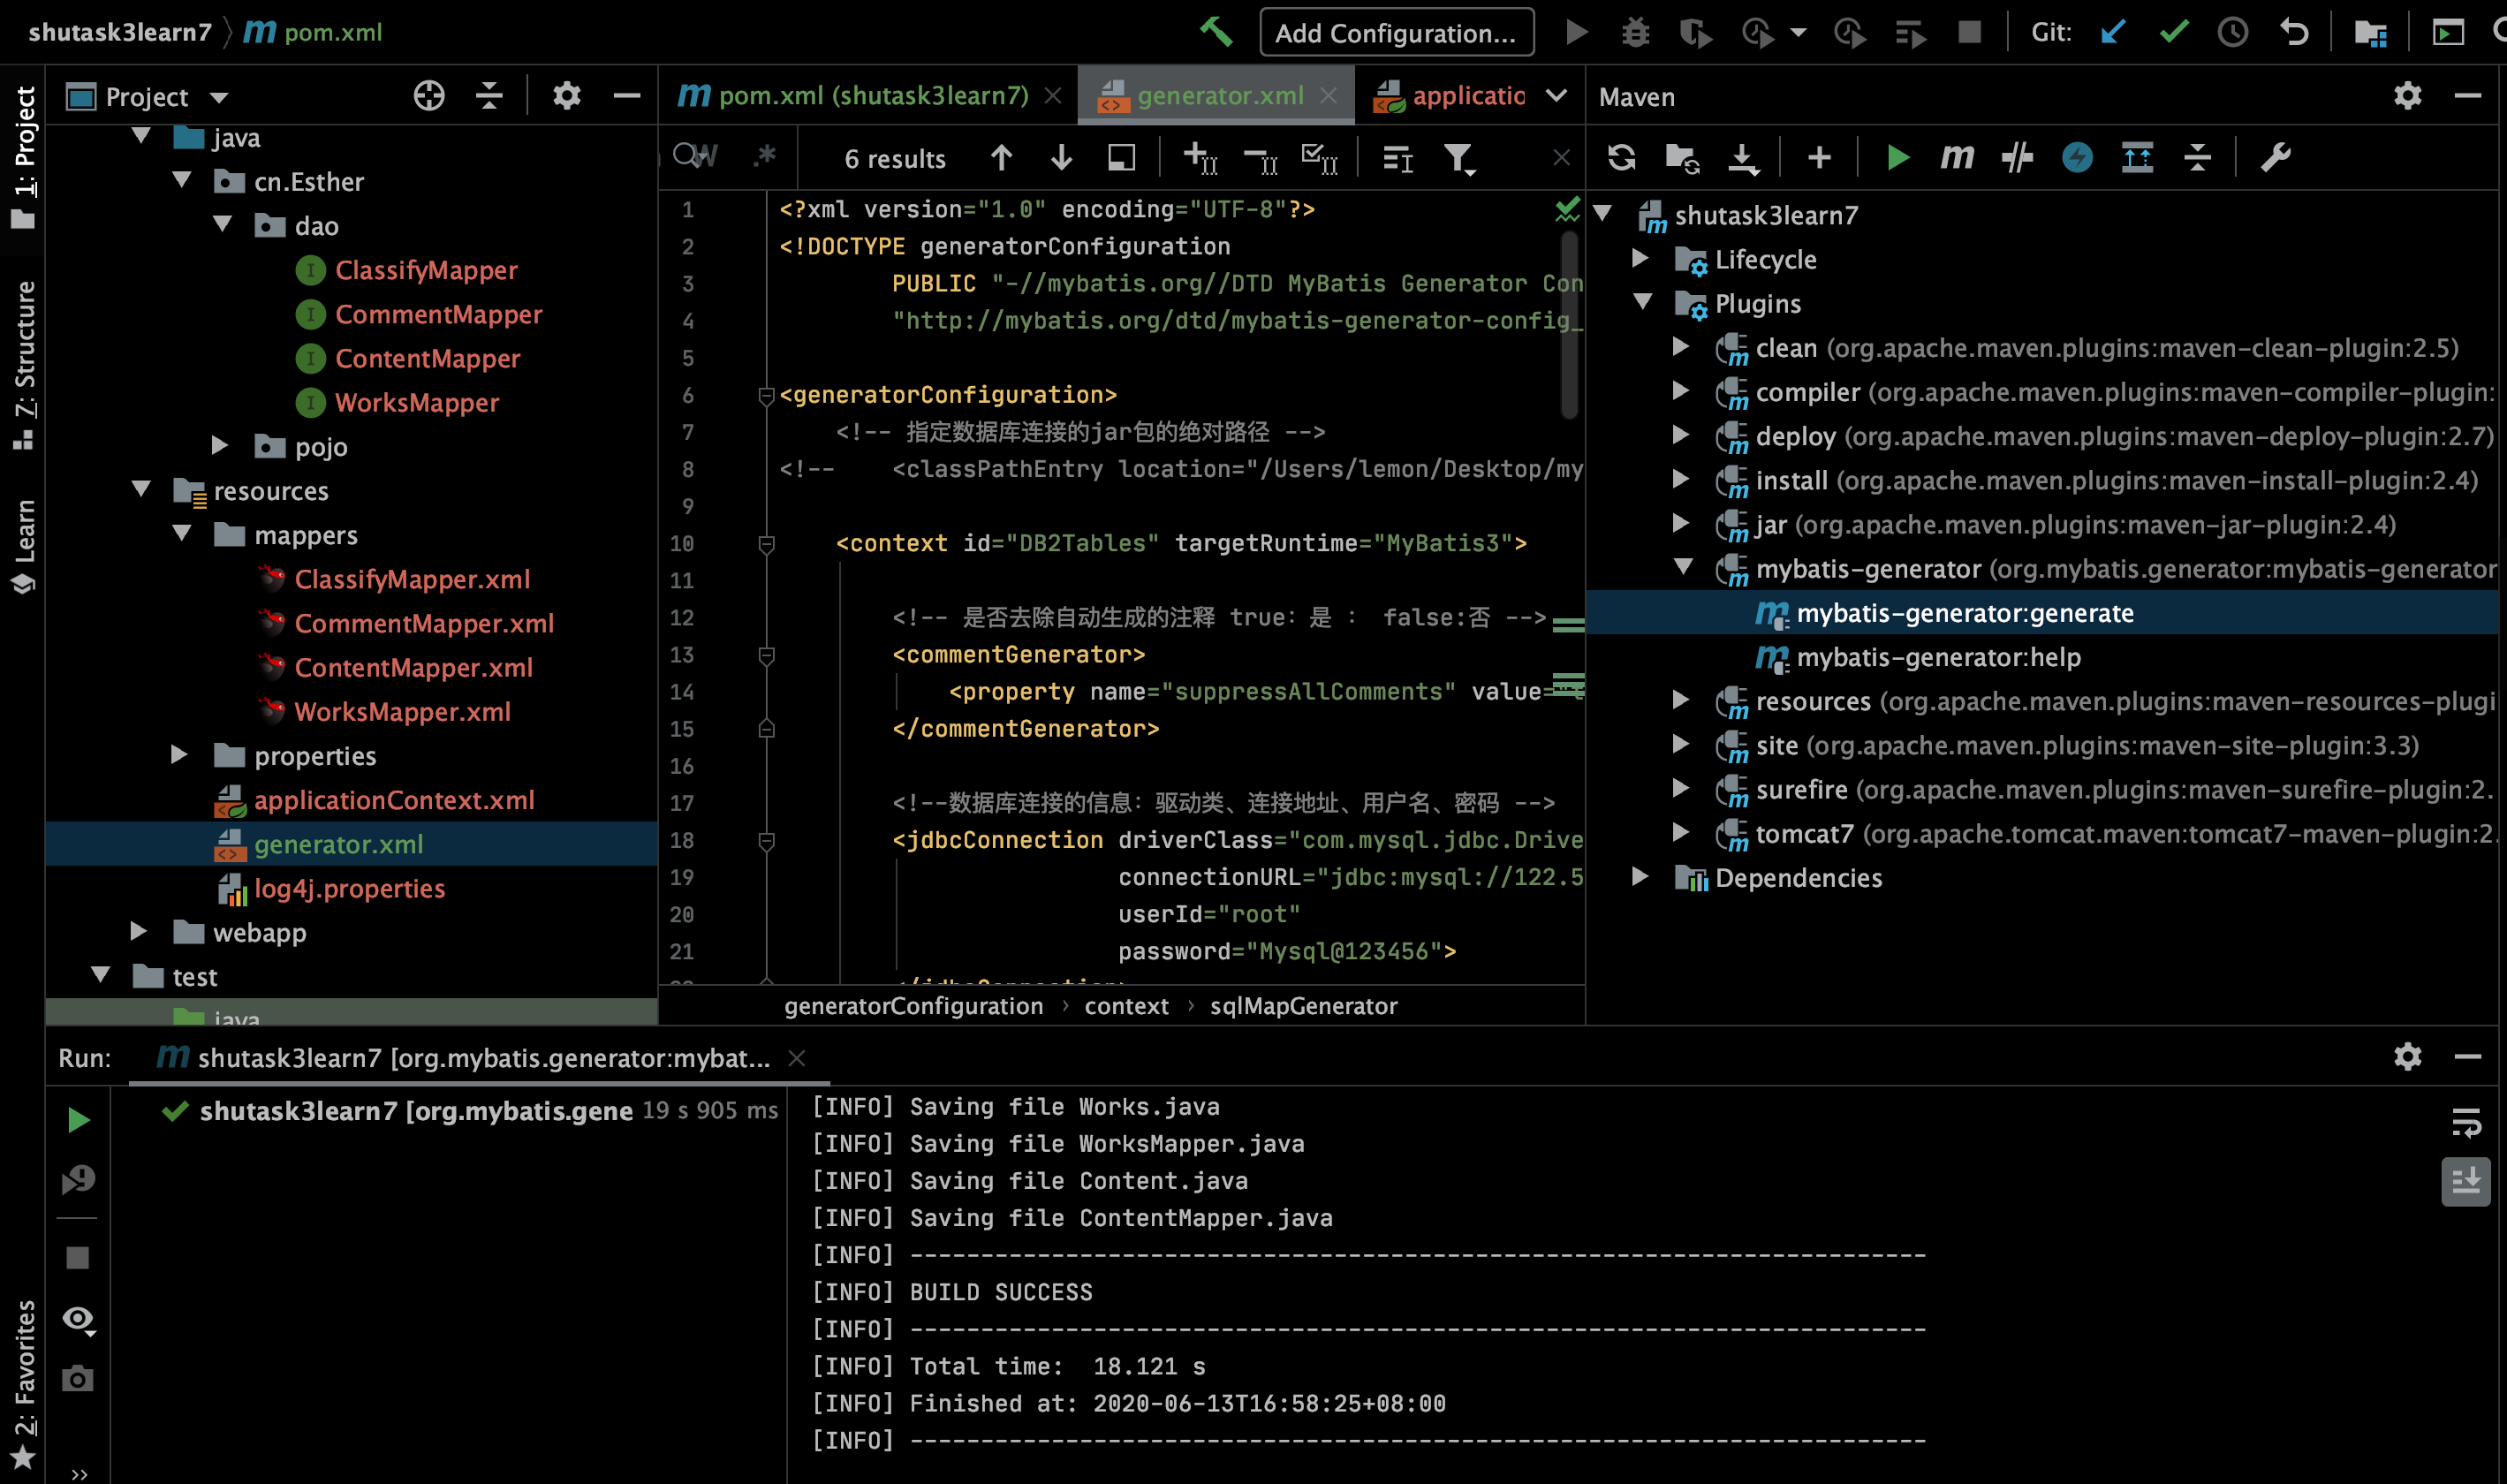
4. 写generate.xml
<?xml version="1.0" encoding="UTF-8"?>
<!DOCTYPE generatorConfiguration
       PUBLIC "-//mybatis.org//DTD MyBatis Generator Configuration 1.0//EN"
       "http://mybatis.org/dtd/mybatis-generator-config_1_0.dtd">

<generatorConfiguration>
   <!-- 指定数据库连接的jar包的绝对路径 -->
<!--    <classPathEntry location="/Users/lemon/Desktop/mysql-connector-java-5.1.9.jar"/>-->

   <context id="DB2Tables" targetRuntime="MyBatis3">

       <!-- 是否去除自动生成的注释 true:是 : false:否 -->
       <commentGenerator>
           <property name="suppressAllComments" value="true"/>
       </commentGenerator>

       <!--数据库连接的信息:驱动类、连接地址、用户名、密码 -->
       <jdbcConnection driverClass="com.mysql.jdbc.Driver"
                       connectionURL="jdbc:mysql://122.51.101.67:3306/learn"
                       userId="..."
                       password="。。。">
       </jdbcConnection>
       <!-- Oracle数据库的连接信息 -->
       <!-- <jdbcConnection driverClass="oracle.jdbc.OracleDriver"
           connectionURL="jdbc:oracle:thin:@127.0.0.1:1521:yycg"
           userId="yycg"
           password="yycg">
       </jdbcConnection> -->

       <!-- 默认false,把JDBC DECIMAL 和 NUMERIC 类型解析为 Integer,为 true时把JDBC DECIMAL 和
           NUMERIC 类型解析为java.math.BigDecimal -->
       <javaTypeResolver>
           <property name="forceBigDecimals" value="false"/>
       </javaTypeResolver>

       <!-- targetProject:生成PO类的位置, targetProject的值跟系统有关,Windows写.\src即可,linux,mac写./src-->
       <javaModelGenerator targetPackage="cn.Esther.pojo" targetProject="./src">
           <!-- enableSubPackages:是否让schema作为包的后缀 -->
           <property name="enableSubPackages" value="true"/>
           <!-- 从数据库返回的值被清理前后的空格 -->
           <property name="trimStrings" value="true"/>
       </javaModelGenerator>

       <!-- targetProject:mapper映射文件生成的位置,增删改查在这 -->
       <sqlMapGenerator targetPackage="main.resources.mapper" targetProject="./src">
           <!-- enableSubPackages:是否让schema作为包的后缀 -->
           <property name="enableSubPackages" value="true"/>
       </sqlMapGenerator>

       <!-- targetPackage:mapper接口生成的位置 -->
       <!-- Mapper.xml文件生成的位置要和对应发mapper类在同一个包下 -->
       <javaClientGenerator type="XMLMAPPER" targetPackage="cn.Esther.dao" targetProject="./src">
           <property name="enableSubPackages" value="true"/>
       </javaClientGenerator>

       <!-- 指定数据库表,有多少表就指定多少下面的标签,schema写实体类的名称,tableName写表名,domainObjectName写实体类的名称 -->
<!--        <table schema="User" tableName="user" domainObjectName="Users"/>-->
<!--        <table schema="Orders" tableName="orders" domainObjectName="Orders"/>-->
       <table schema="db_wechat" tableName="classify"
           enableCountByExample="false" enableDeleteByExample="false"
              enableSelectByExample="false" enableUpdateByExample="false"/>
       <table schema="db_wechat" tableName="comment"
              enableCountByExample="false" enableDeleteByExample="false"
              enableSelectByExample="false" enableUpdateByExample="false"/>
       <table schema="db_wechat" tableName="works"
              enableCountByExample="false" enableDeleteByExample="false"
              enableSelectByExample="false" enableUpdateByExample="false"/>
       <table schema="db_wechat" tableName="content"
              enableCountByExample="false" enableDeleteByExample="false"
              enableSelectByExample="false" enableUpdateByExample="false"/>

       <!-- 有些表的字段需要指定java类型
        <table schema="" tableName="">
           <columnOverride column="" javaType="" />
       </table> -->

   </context>
</generatorConfiguration>
改下几行targetPackage和targetProject的位置随便改
targetPackage="cn.Esther.dao" targetProject="./src"
5. mybatis.generate,左边是生成的文件
6.从learn5复制过来:webapp文件夹, applicationContext.xml, db.properties, log4j.propertoes
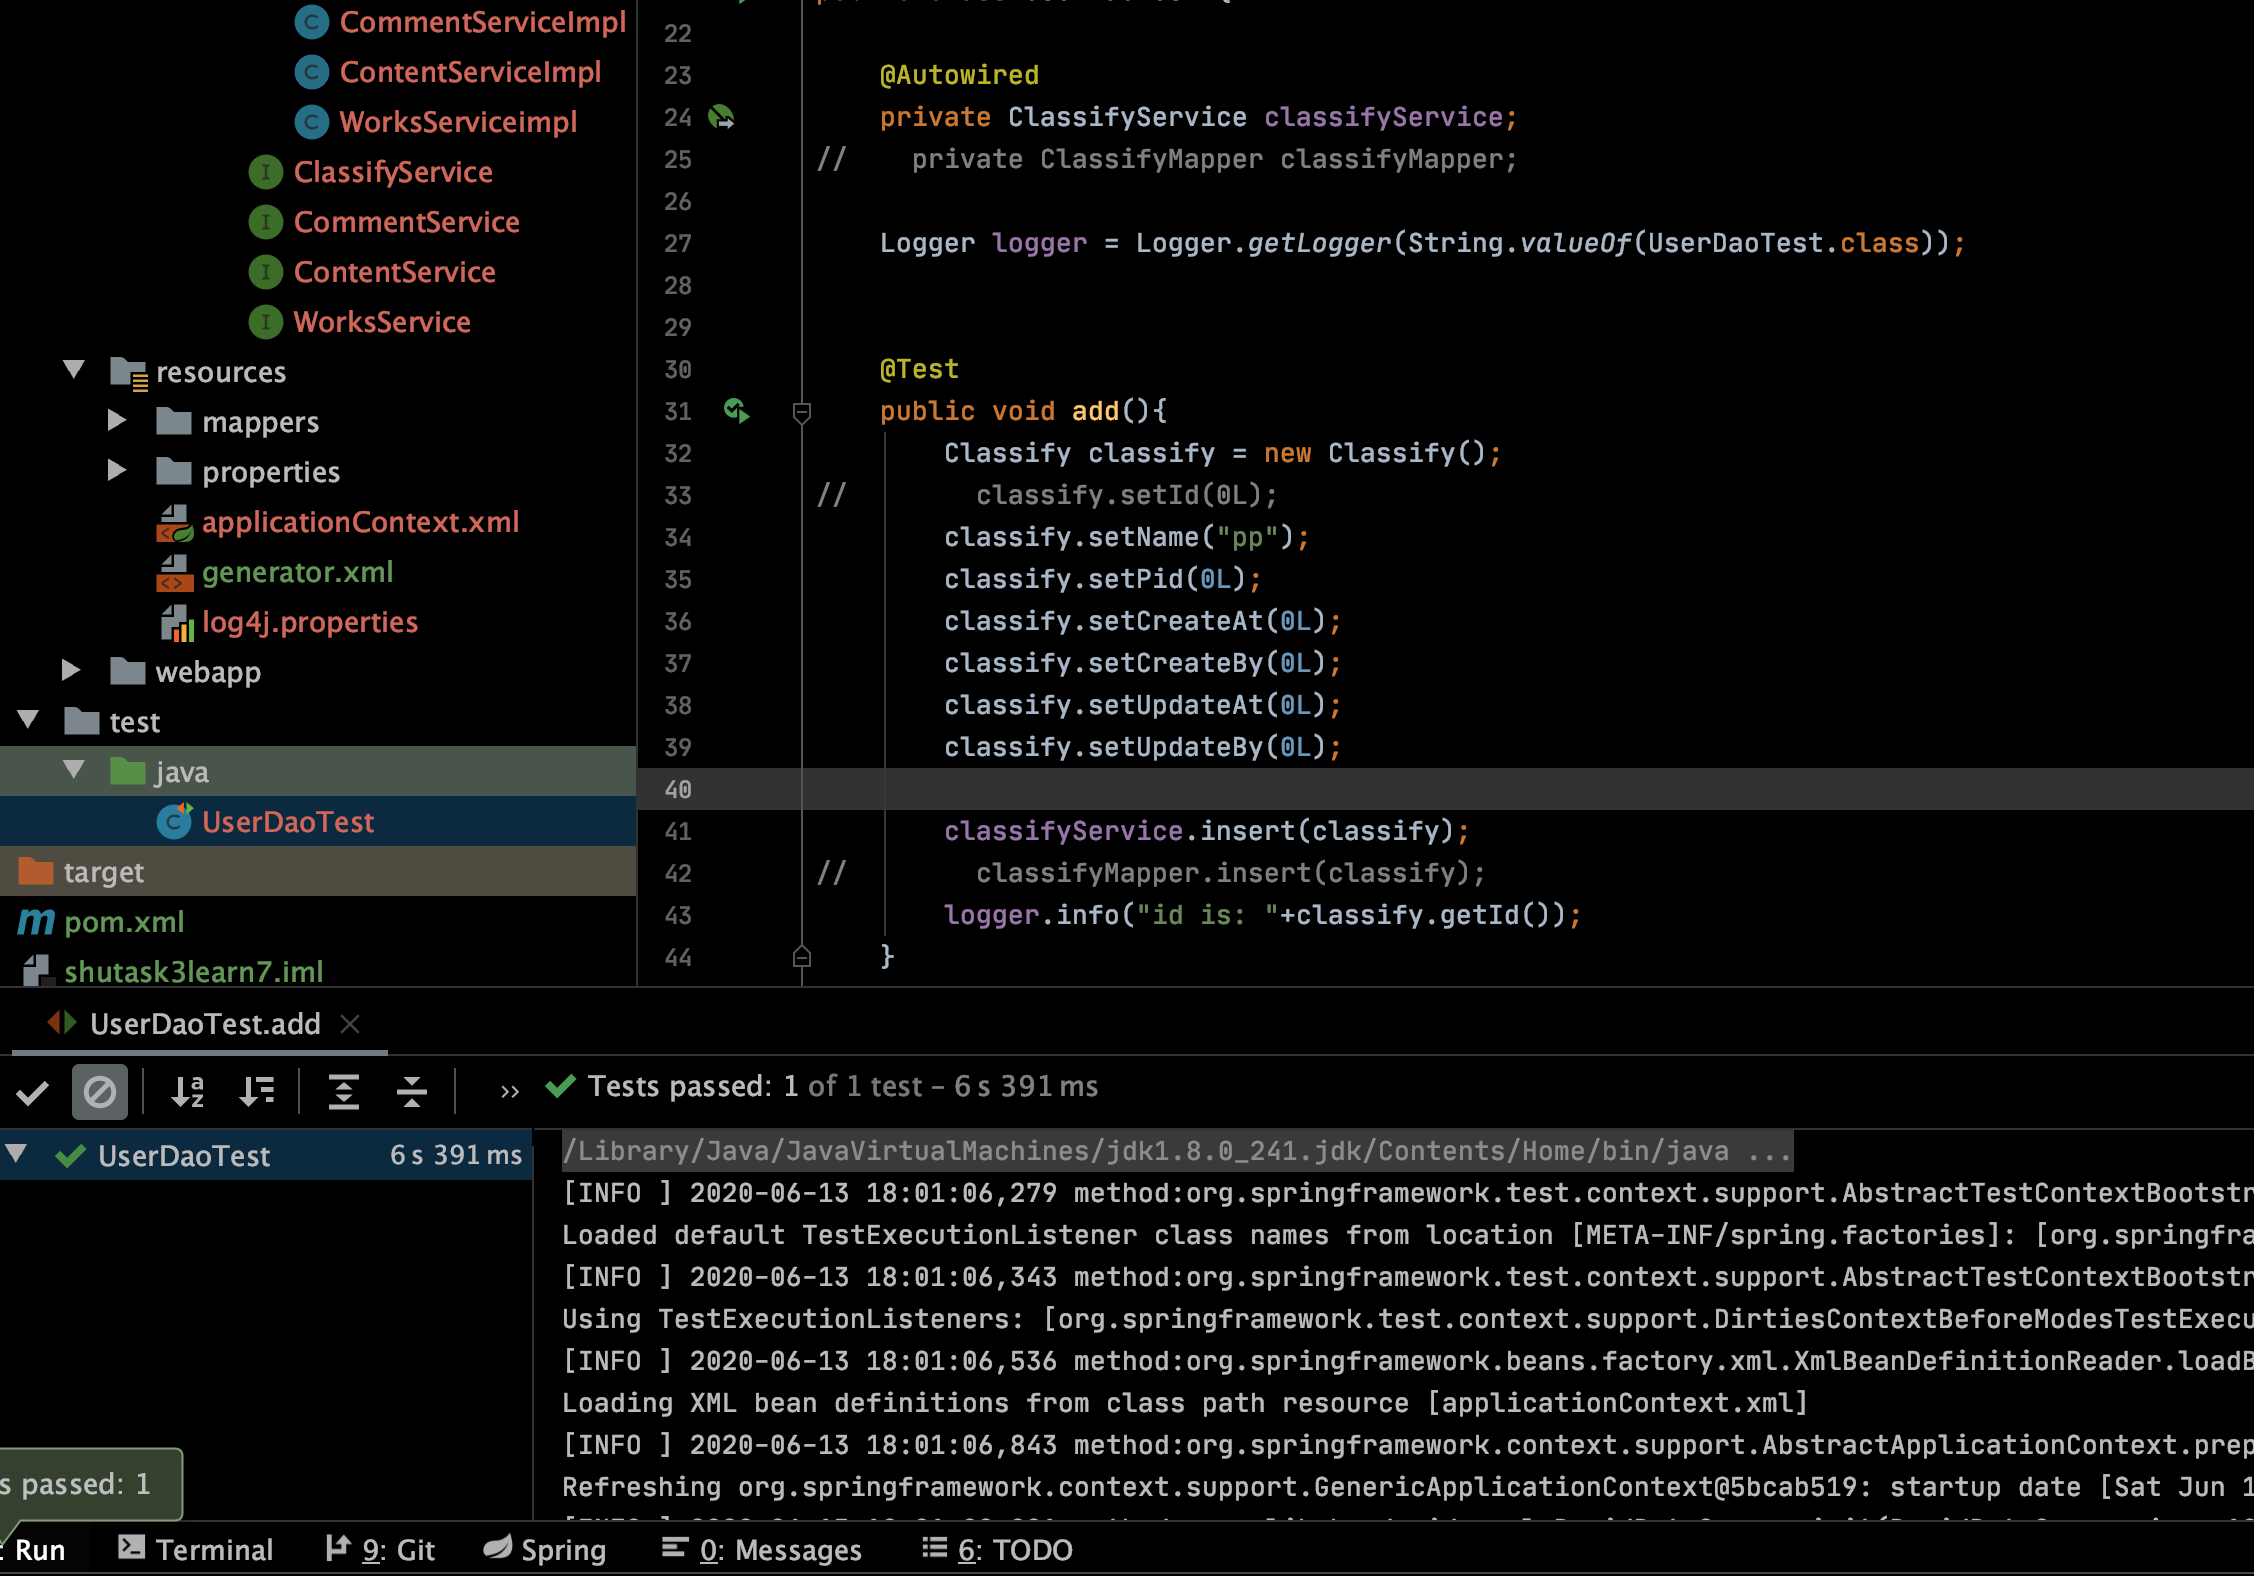
7.改learn5的UserDaoTest来测试一下:
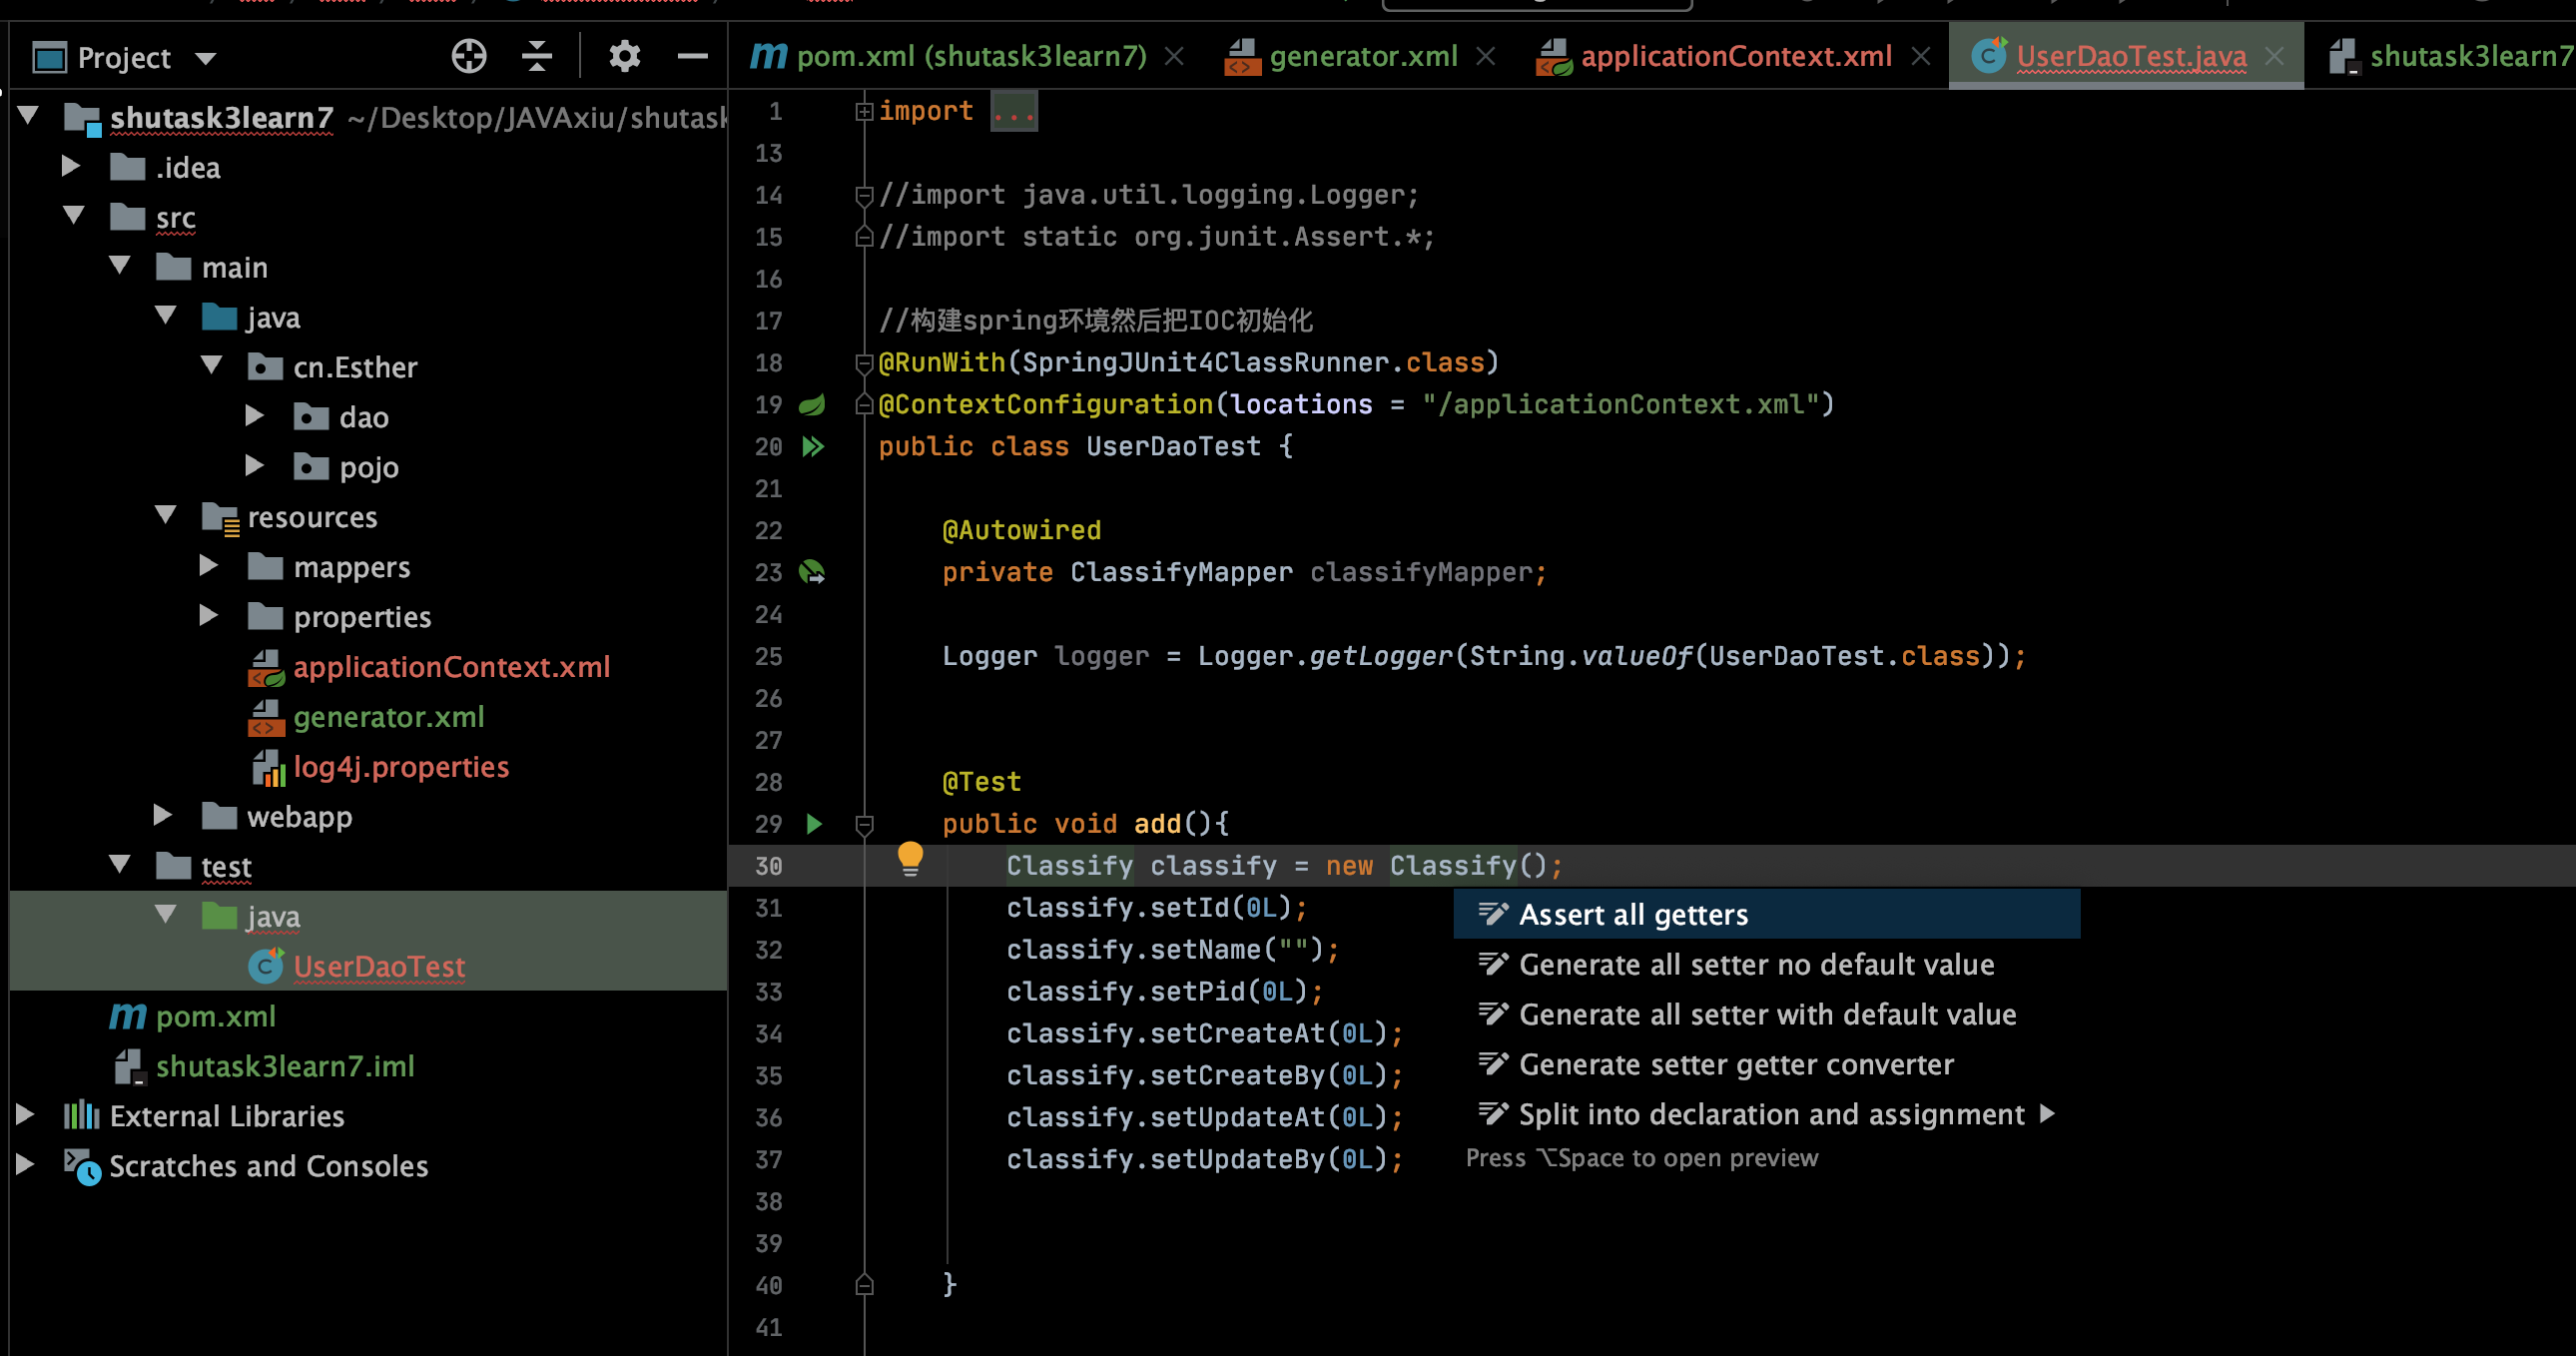
@Test
public void add(){
    Classify classify = new Classify();
    classify.setId(0L);
    classify.setName("jj");
    classify.setPid(0L);
    classify.setCreateAt(0L);
    classify.setCreateBy(0L);
    classify.setUpdateAt(0L);
    classify.setUpdateBy(0L);

    classifyMapper.insert(classify);
    logger.info("id is: "+classify.getId());
}
测试成功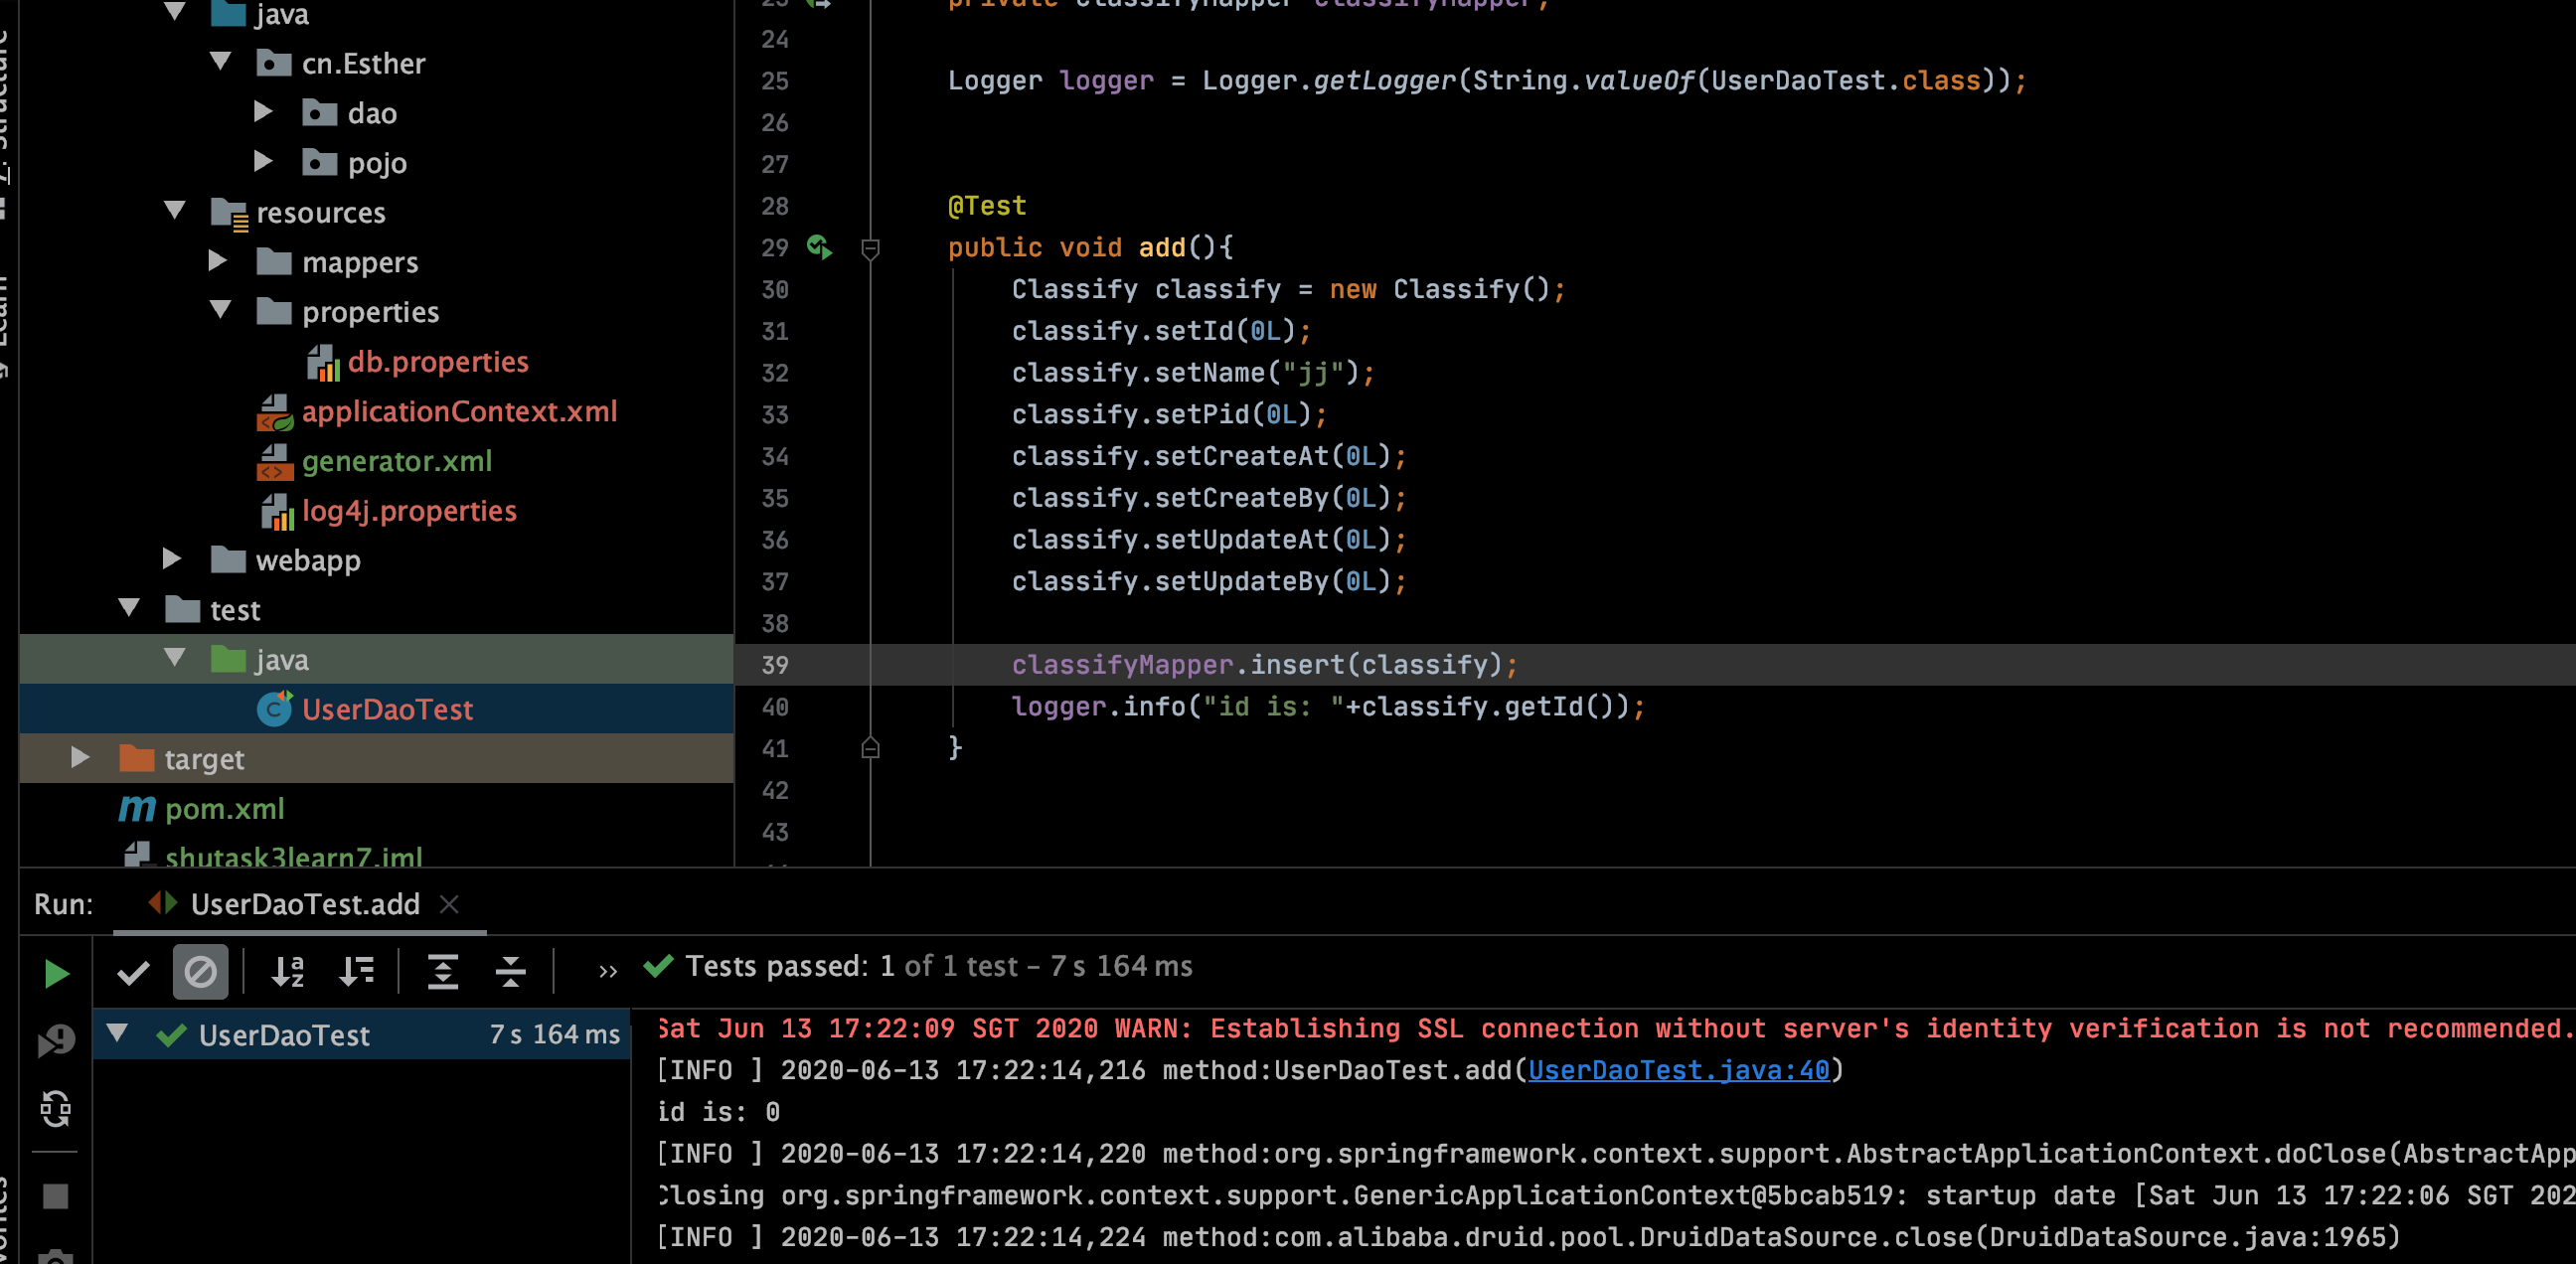
8. 创建service层接口和实现,从dao那边复制方法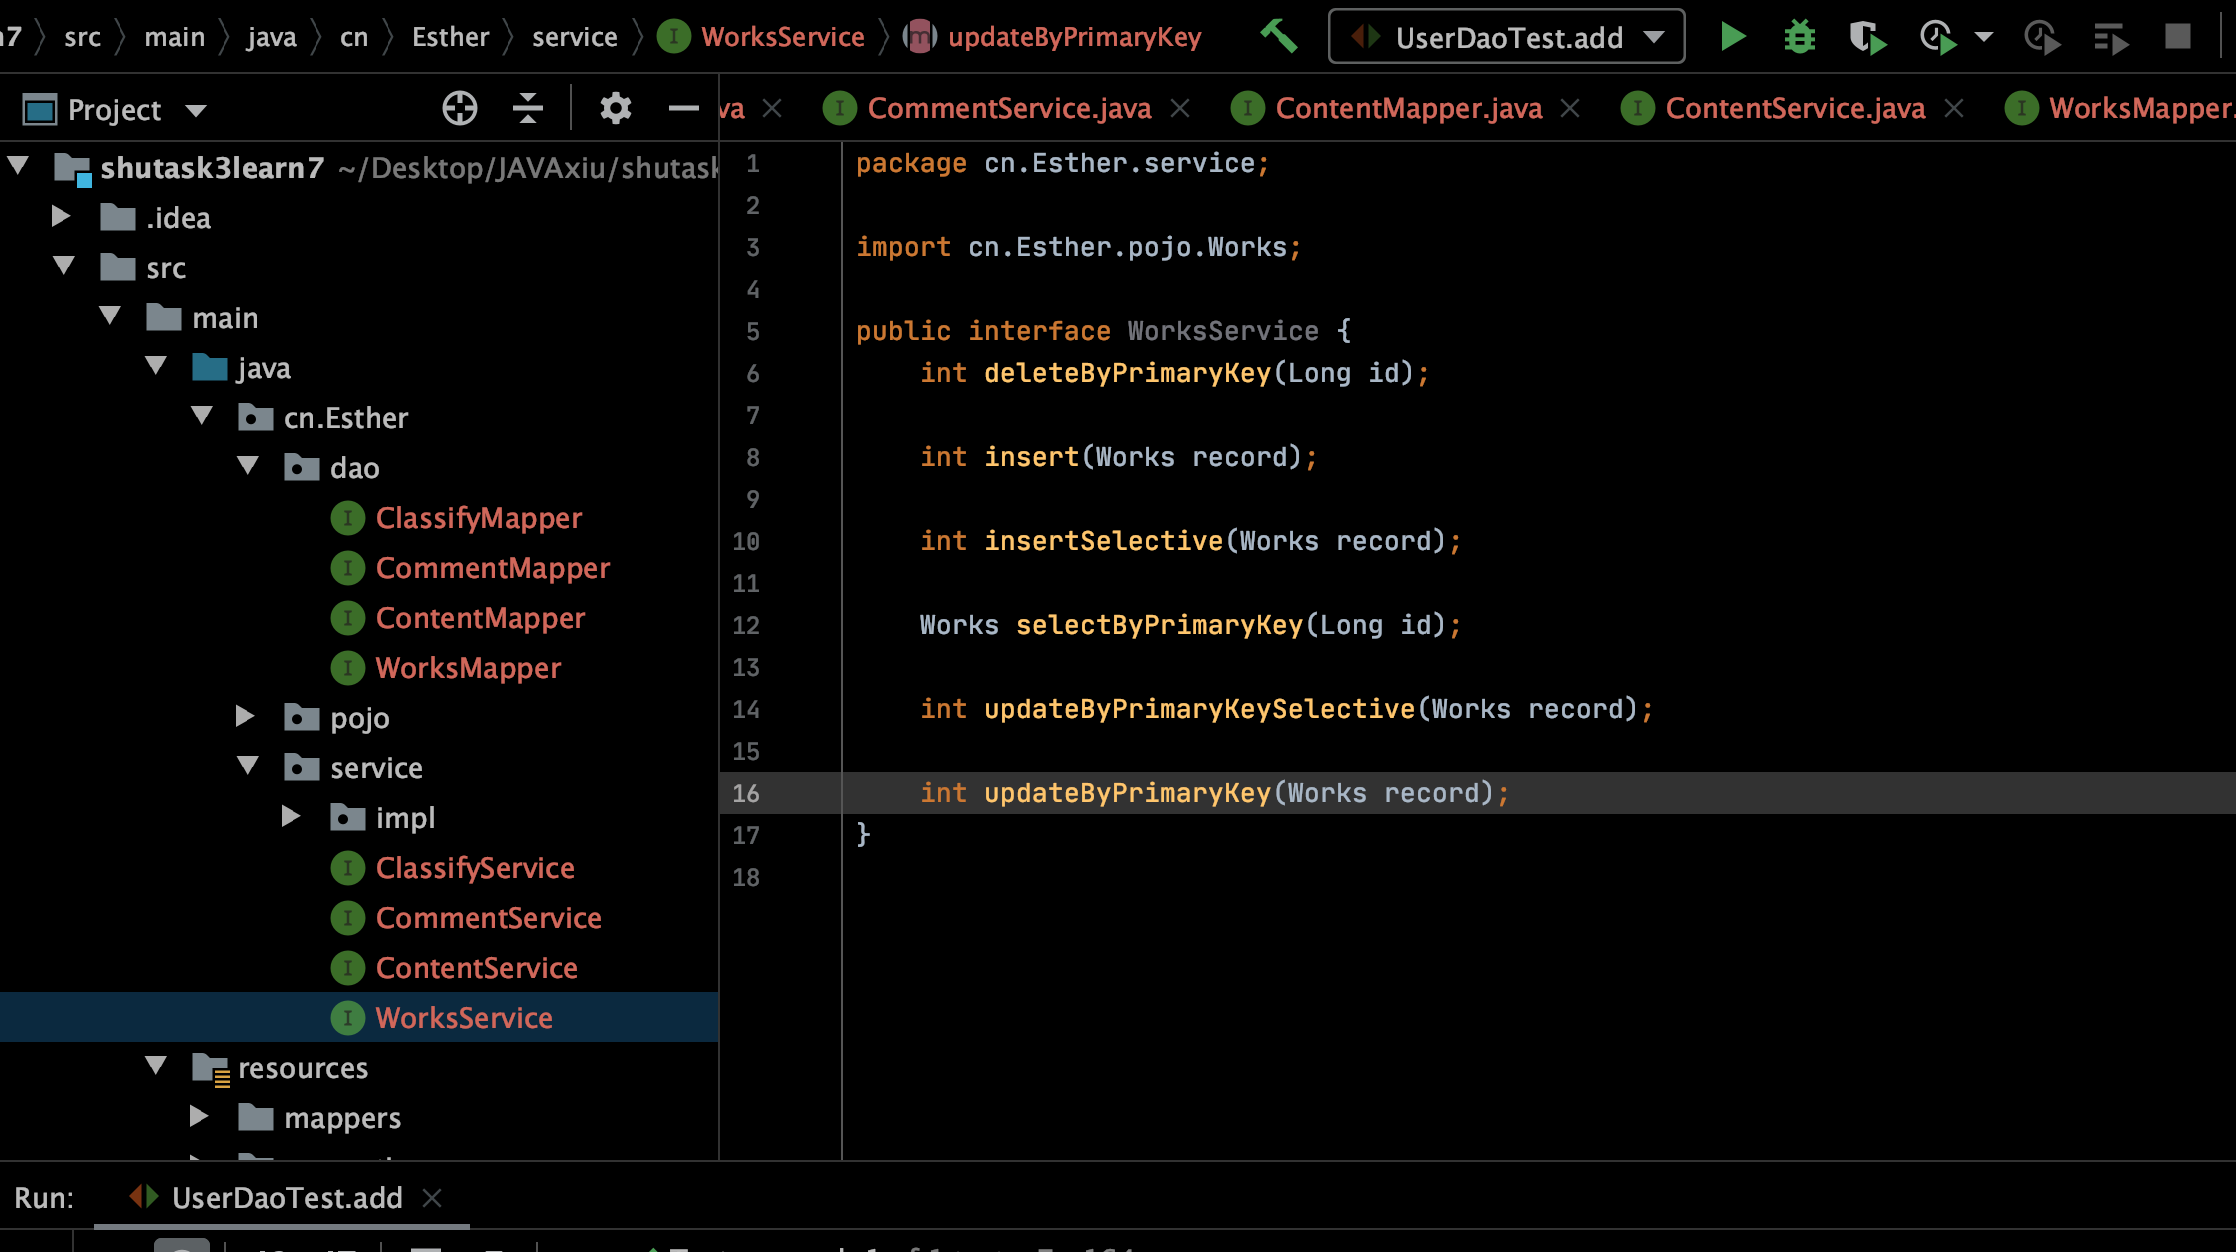
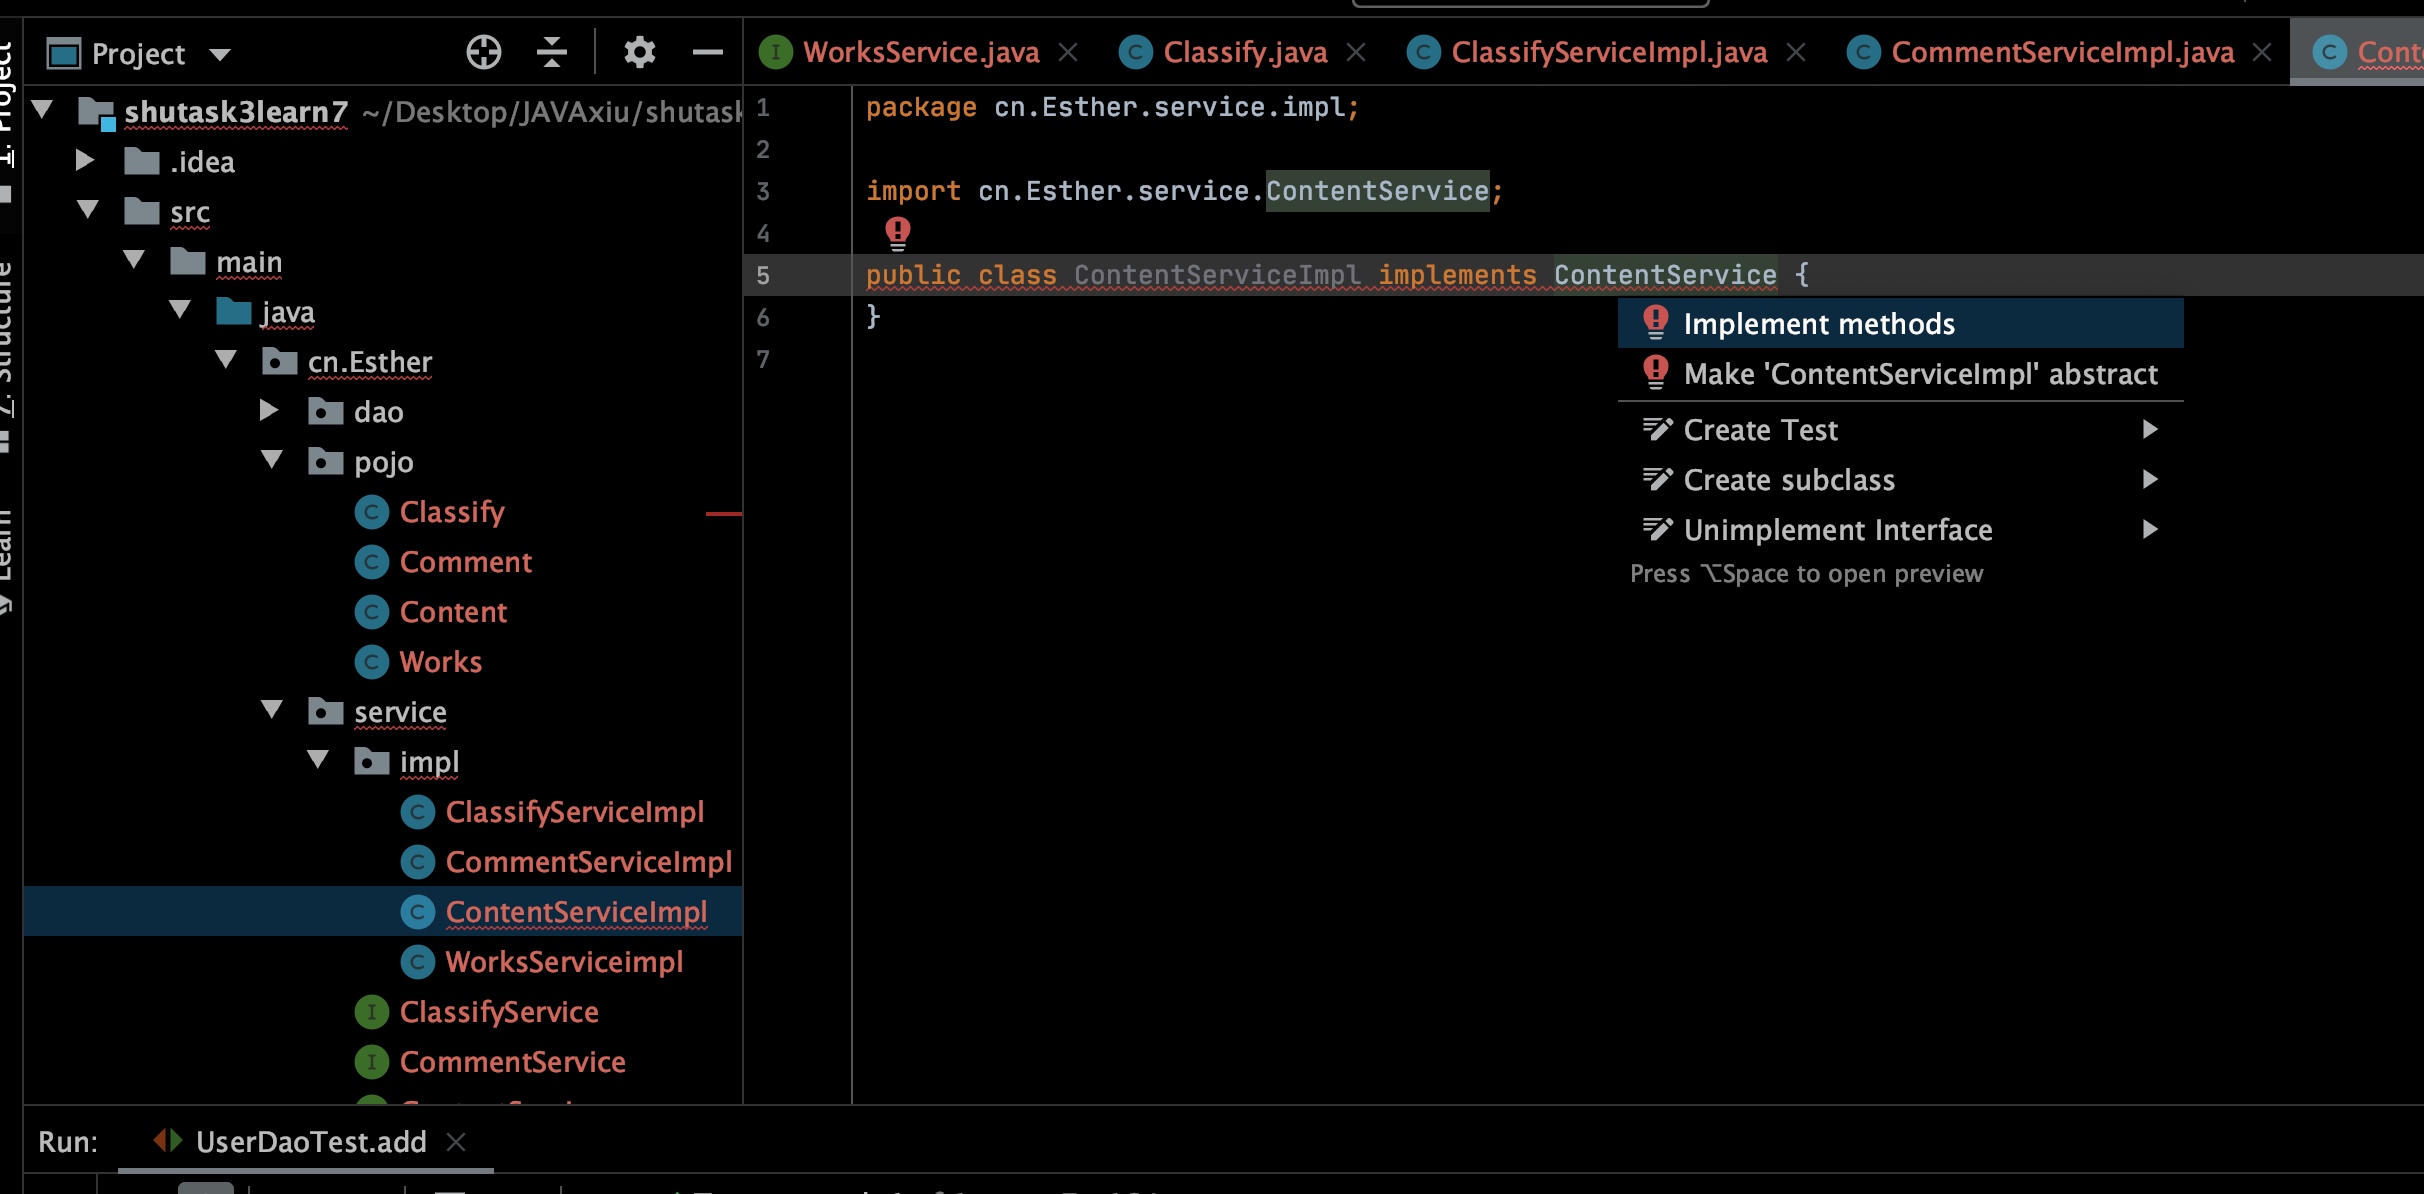
9.给impl加上@Service, @Autowired自动装配, 不需要getter()和setter()方法,Spring也会自动注入。将预设的返回值改掉,比如
@Service
public class ContentServiceImpl implements ContentService {

    @Autowired
    private ClassifyMapper classifyMapper;
    @Override
    public int deleteByPrimaryKey(Long id) {
//        return 0;
        return classifyMapper.deleteByPrimaryKey(id);
    }
@Service服务层组件,用于标注业务层组件,表示定义一个bean,自动根据bean的类名实例化一个首写字母为小写的bean,例如Chinese实例化为chinese,如果需要自己改名字则:@Service("你自己改的bean名")。
10.再测试一下service层
 11.写controller层
// 新增小室介绍
@ResponseBody
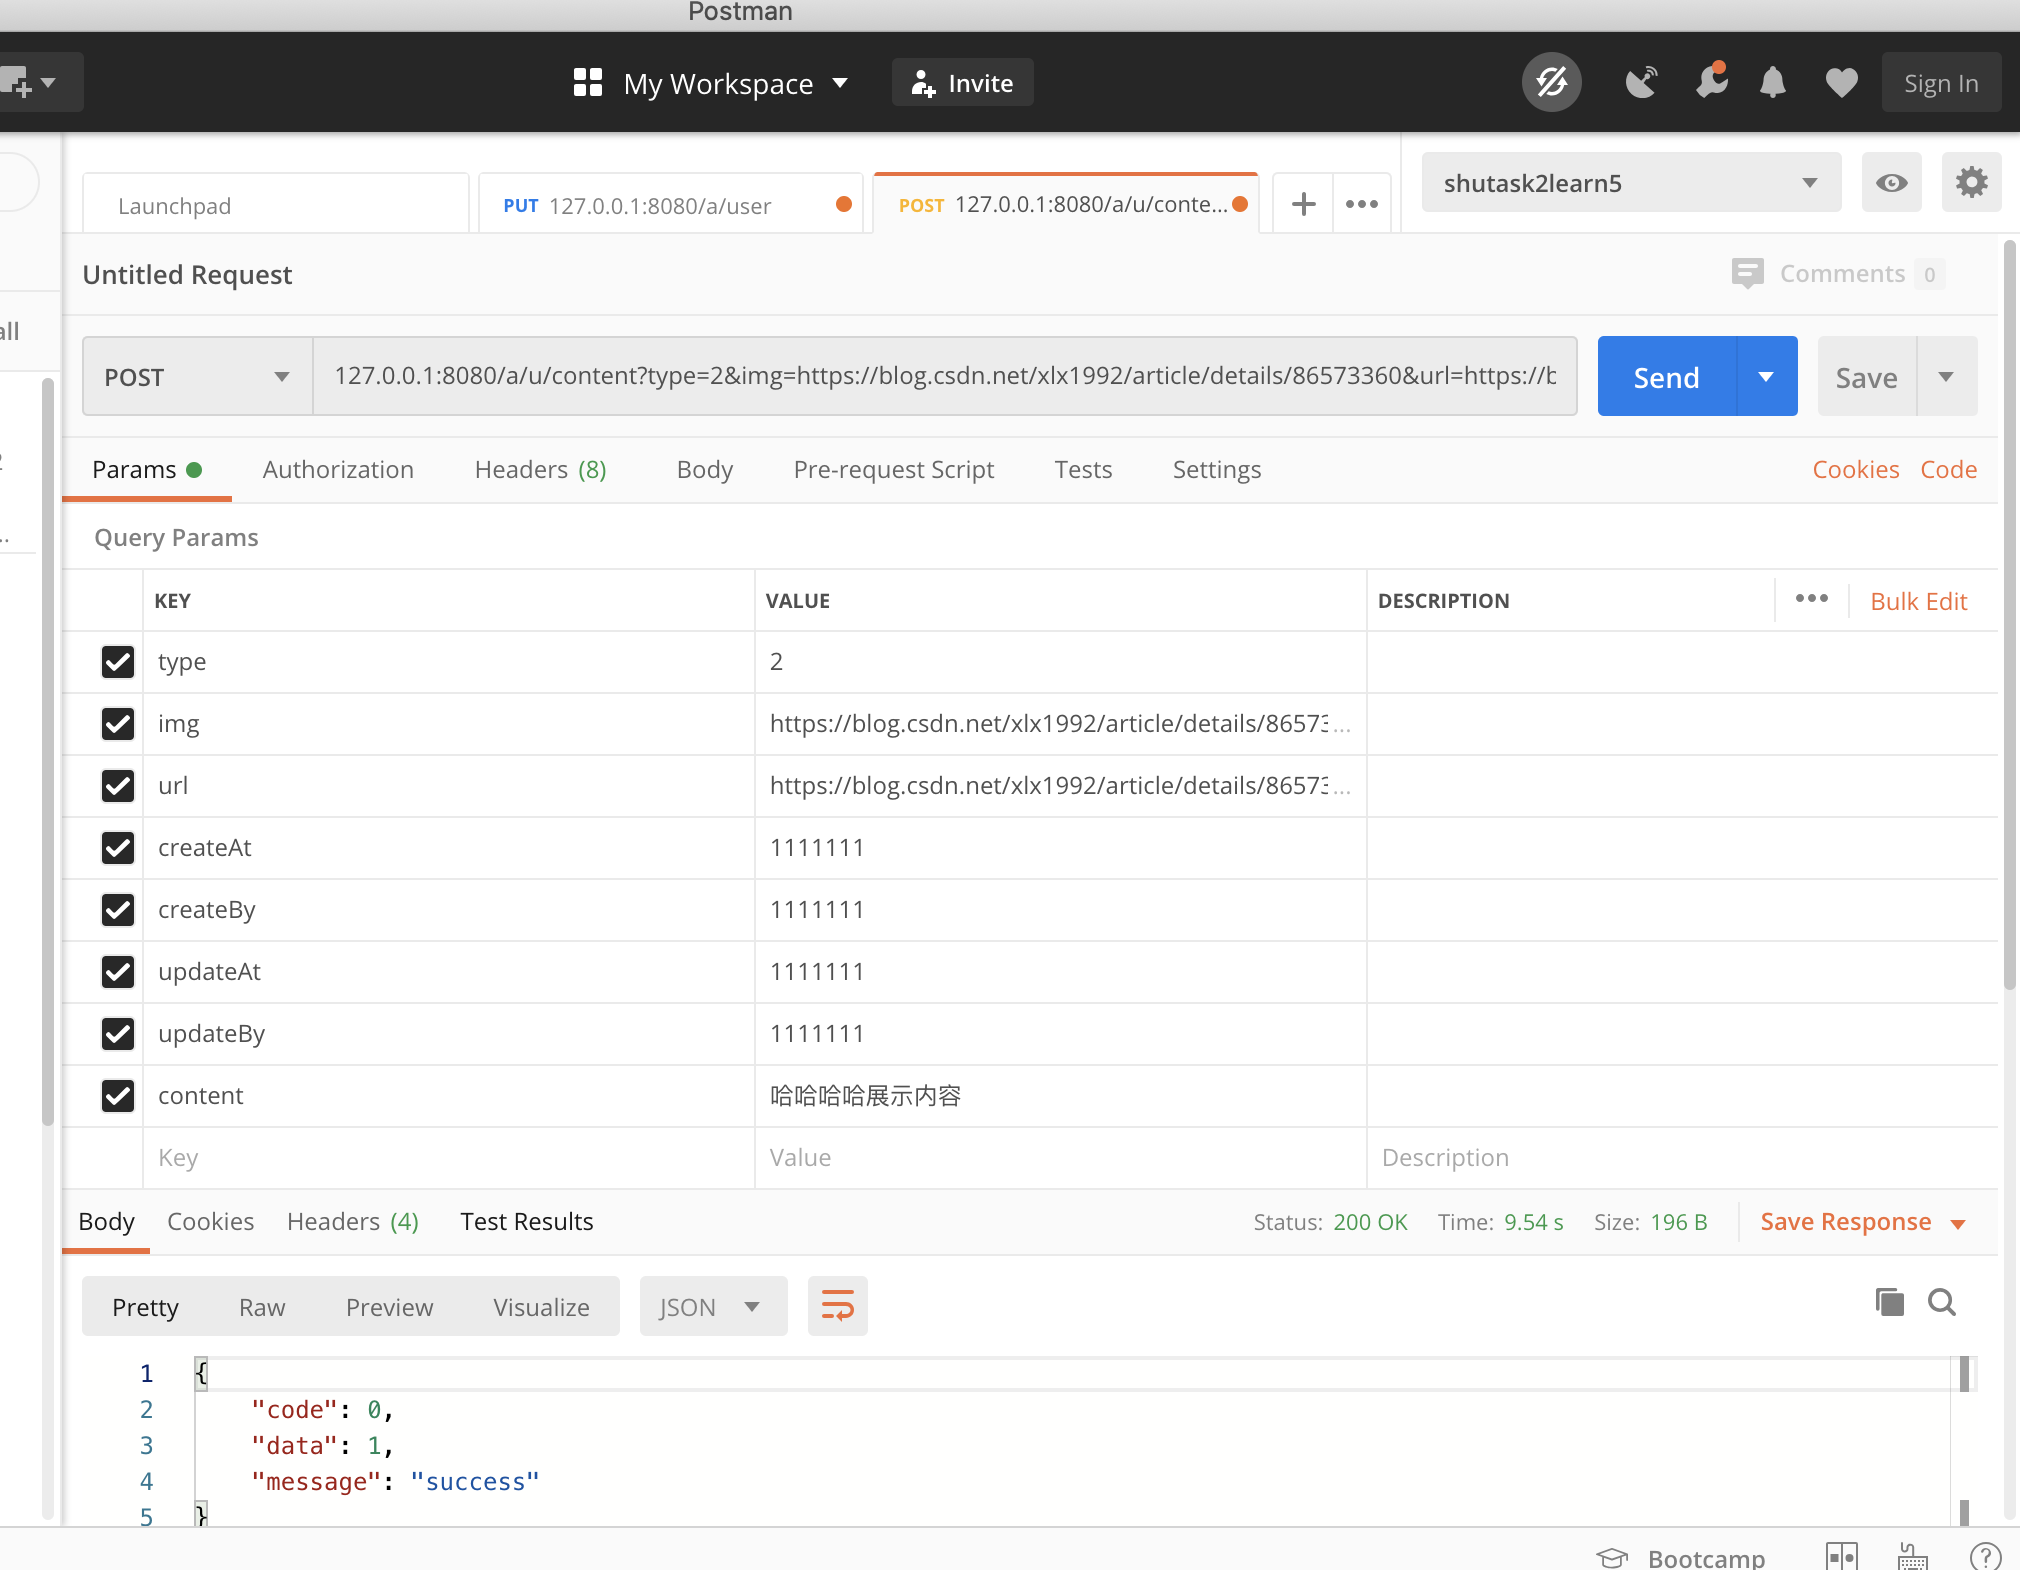
@RequestMapping(value = "/a/u/content", method = RequestMethod.POST)
public Map<String, Object> addContent(Content content){
logger.info("Add content param is: "+ content);
Map<String, Object> resultMap = new HashMap<>();
try {
Long time = System.currentTimeMillis();
content.setCreateAt(time);
content.setUpdateAt(time);
content.setCreateBy(time);
content.setUpdateBy(time);
contentService.insert(content);
resultMap.put("code", 0);
resultMap.put("message", "success");
resultMap.put("data", content.getId());
}catch (Exception e){
resultMap.put("code", -1);
resultMap.put("message", "error");
e.printStackTrace();
logger.info("Add content error param is: " + content);
}
return resultMap;
}
// 编辑小室介绍
@ResponseBody
@RequestMapping(value = "/a/u/content/{id}", method = RequestMethod.PUT)
// url传参 @PathVariable Long id
public Map<String, Object> updateContent(Content content, @PathVariable Long id){
logger.info("update content param is: "+ content + "id is" + id);
Map<String, Object> resultMap = new HashMap<>();
try {
Long time = System.currentTimeMillis();
// 1. 首先查询以前的数据,判断有没有
Content updateContent = contentService.selectByPrimaryKey(id);
logger.info("update Content is :" + updateContent);
if (null == updateContent){
resultMap.put("code", -100);
resultMap.put("message", "修改内容不存在!");
}
// 2.更新内容
updateContent.setImg(content.getImg()); //ctr+b jump back
updateContent.setType(content.getType());
updateContent.setUrl(content.getUrl());
updateContent.setContent(content.getContent());
updateContent.setUpdateAt(time);
updateContent.setUpdateBy(time);
contentService.insert(content);
resultMap.put("code", 0);
resultMap.put("message", "success");
resultMap.put("data", content.getId());
}catch (Exception e){
resultMap.put("code", -1);
resultMap.put("message", "error");
e.printStackTrace();
logger.info("Update content error param is: " + content + "id is" + id);
}
return resultMap;
}
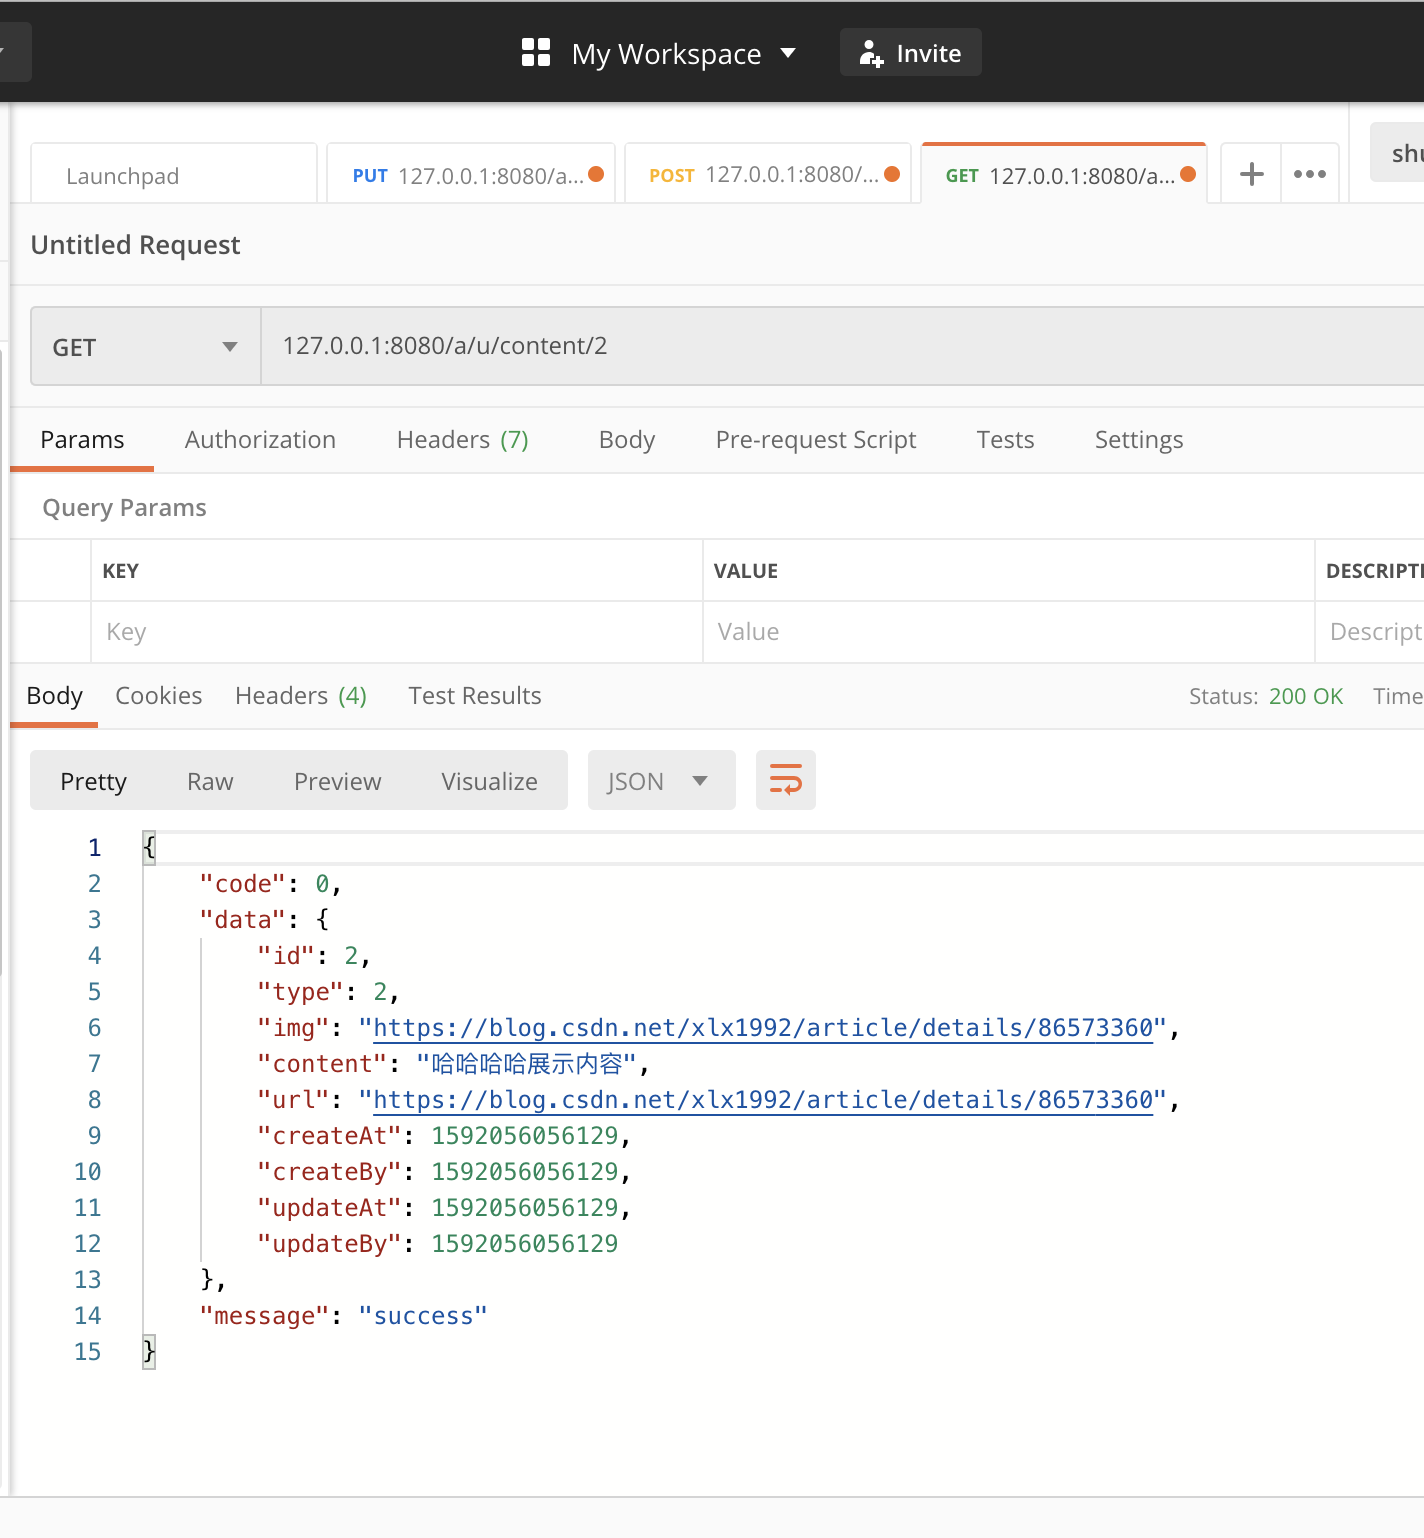
// 查询小室介绍-id
@ResponseBody
@RequestMapping(value = "/a/u/content/{id}", method = RequestMethod.GET)
// url传参 @PathVariable Long id
public Map<String, Object > getContent(@PathVariable Long id){
logger.info("get content param is: "+ "id is" + id);
Map<String, Object> resultMap = new HashMap<>();
try {
Long time = System.currentTimeMillis();
// 1. 首先查询以前的数据,判断有没有
Content content = contentService.selectByPrimaryKey(id);
logger.info("Get Content is :" + content);
if (null == content){
resultMap.put("code", -100);
resultMap.put("message", "获取内容不存在!");
}
resultMap.put("code", 0);
resultMap.put("message", "success");
}catch (Exception e){
resultMap.put("code", -1);
resultMap.put("message", "error");
e.printStackTrace();
logger.info("Get content error param is: " + "id is" + id);
}
return resultMap;
}
修改mapper
<insert id="insert" parameterType="cn.Esther.pojo.Content" useGeneratedKeys="true" keyProperty="id">
修改content.java
 public void setImg(String img) {
//        this.img = img == null ? null : img.trim();
        this.img = img;
    }
12 .
maven->lifecycle->install
pom.xml
<packaging>war</packaging>
加tomcat—local
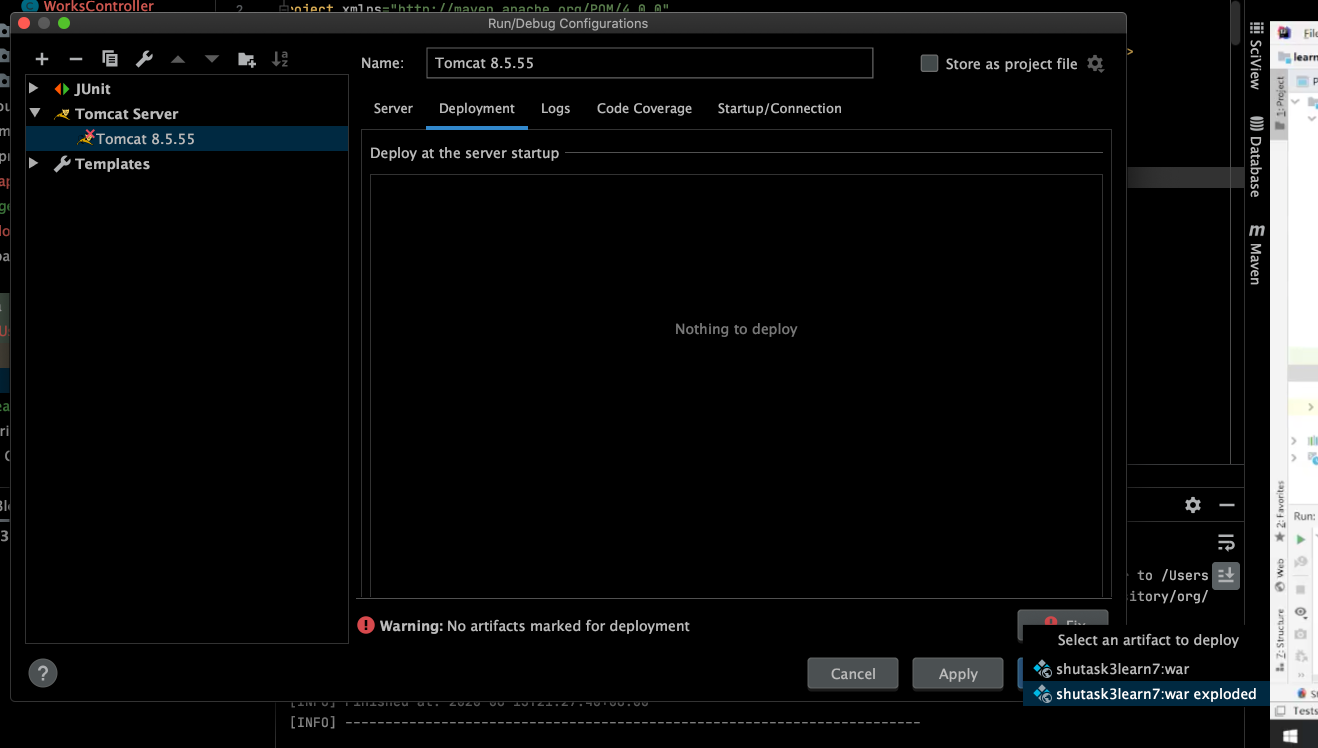
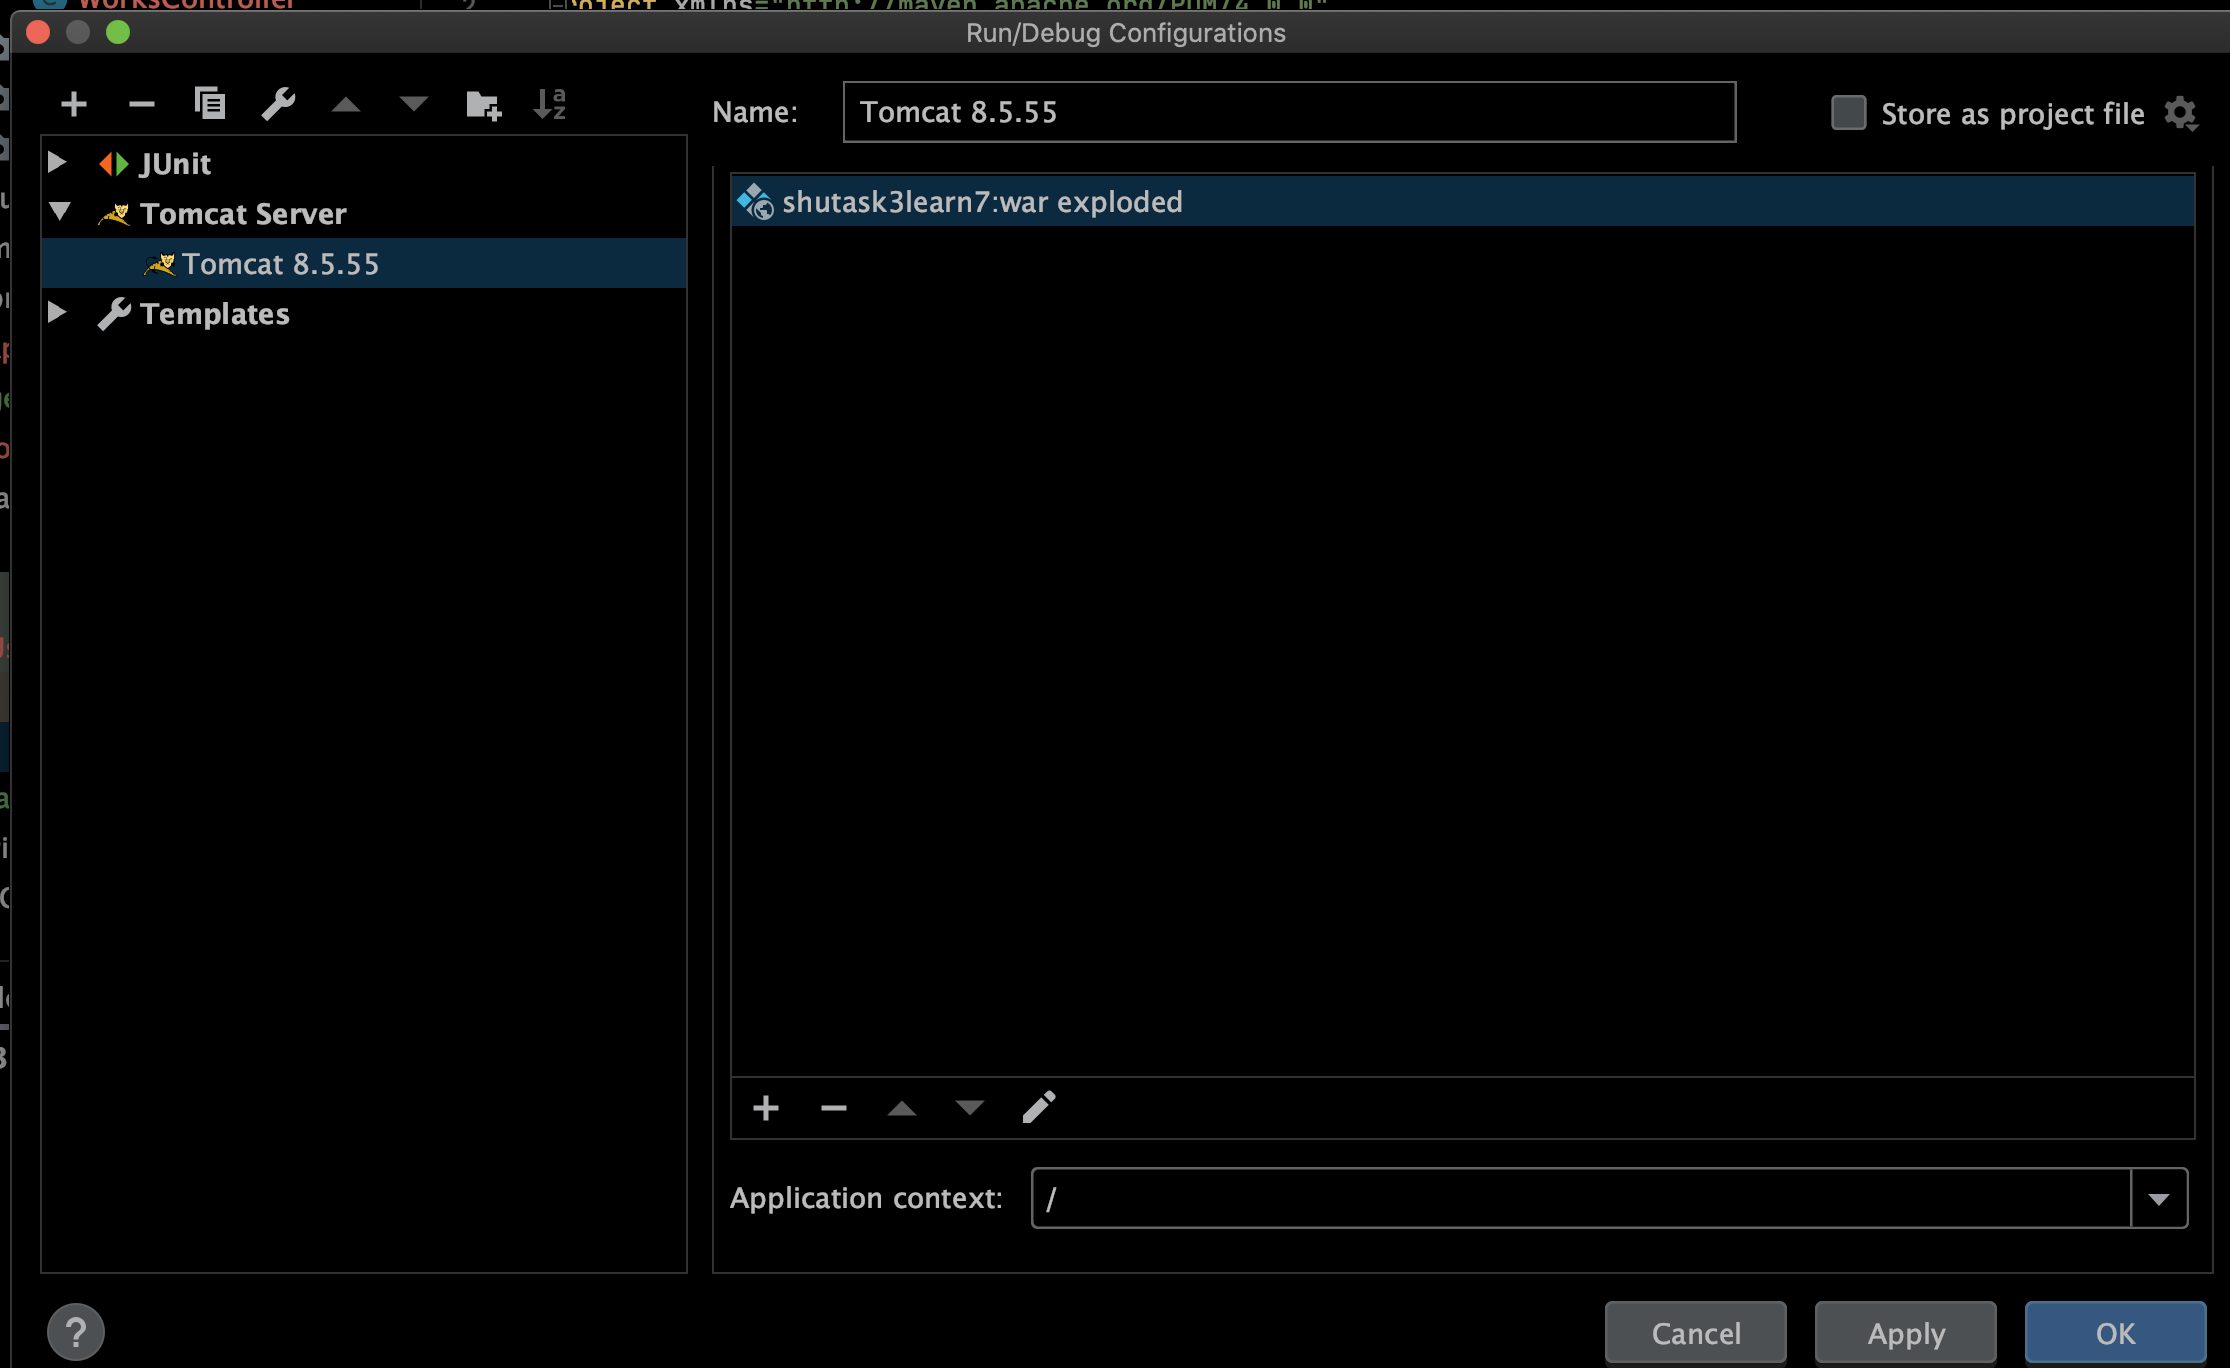
plugins->tomcat7:run
POSTMAN测试成功,但是日志没有打出来
 于是加上toString方法:
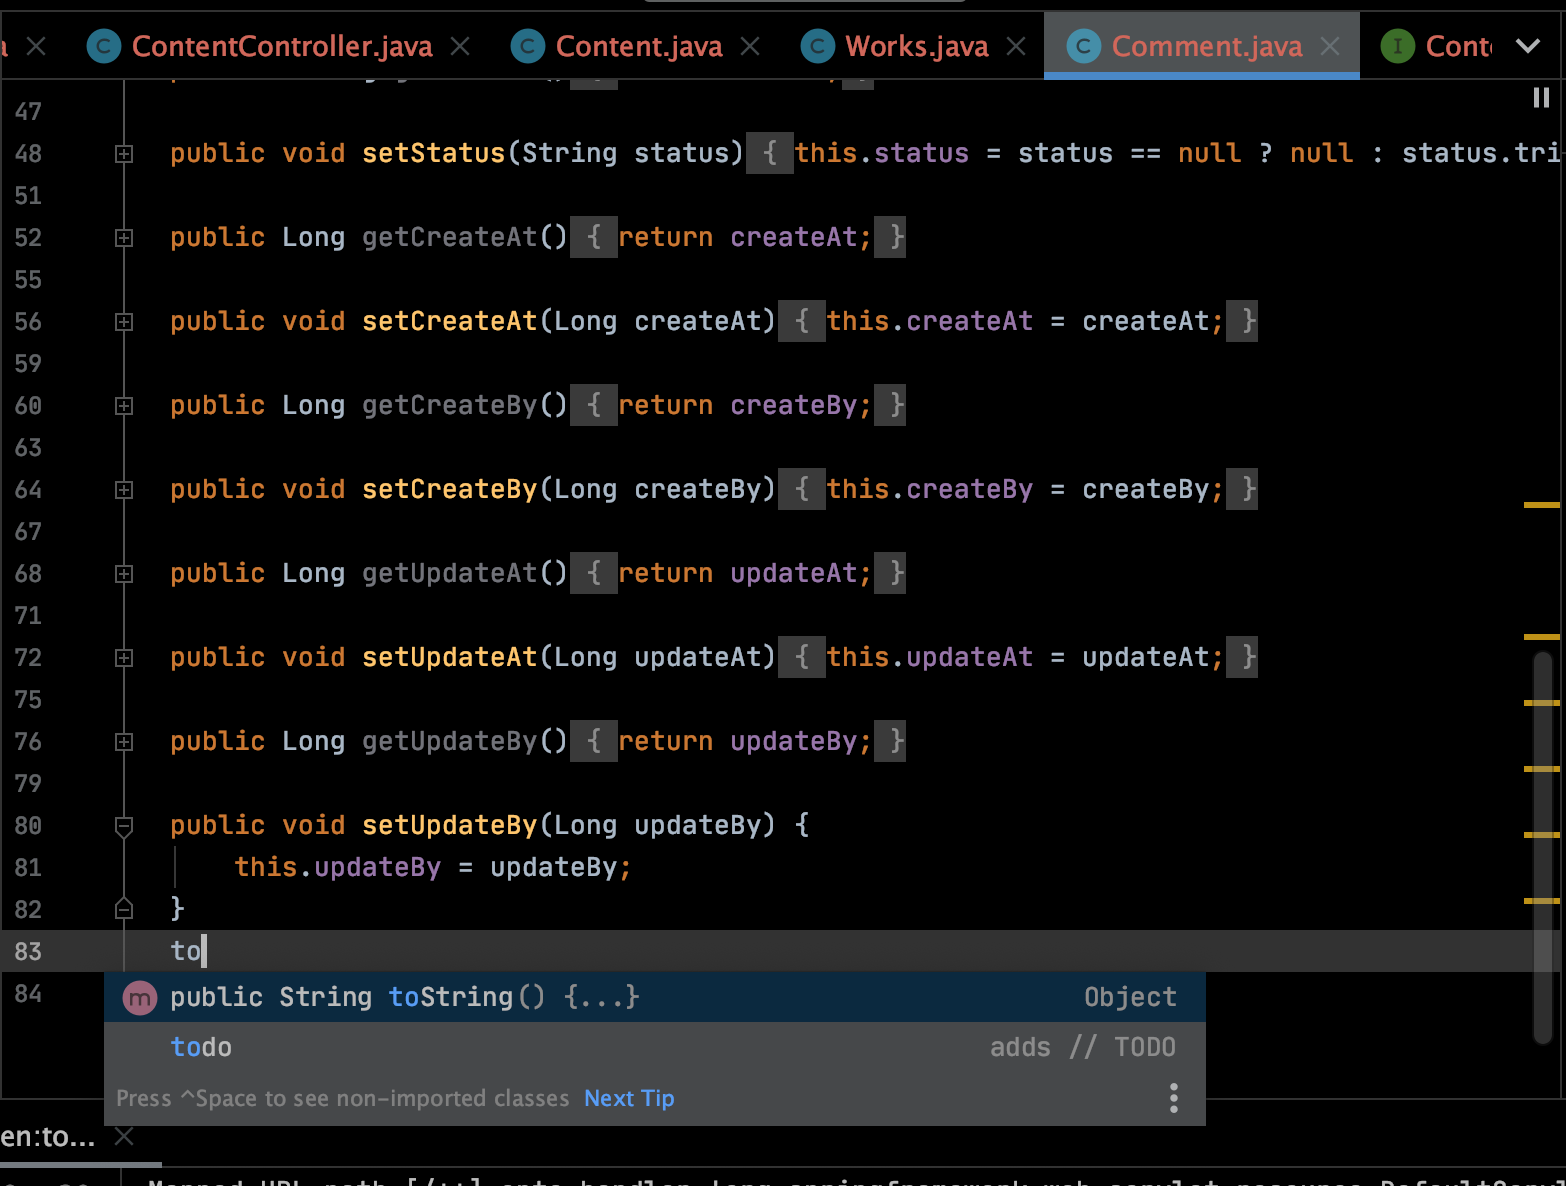

重新按console左边停止⏹,并重run▶️, 看见logger信息被打印出来
 ContentMapper.java
//没有列表查询自己加一个
List<Content> selectByList();
contentMapper.xml也更新selectByList
<select id="selectByList" parameterType="java.lang.Long" resultMap="BaseResultMap">
  select
  <include refid="Base_Column_List" />
  from content
</select>
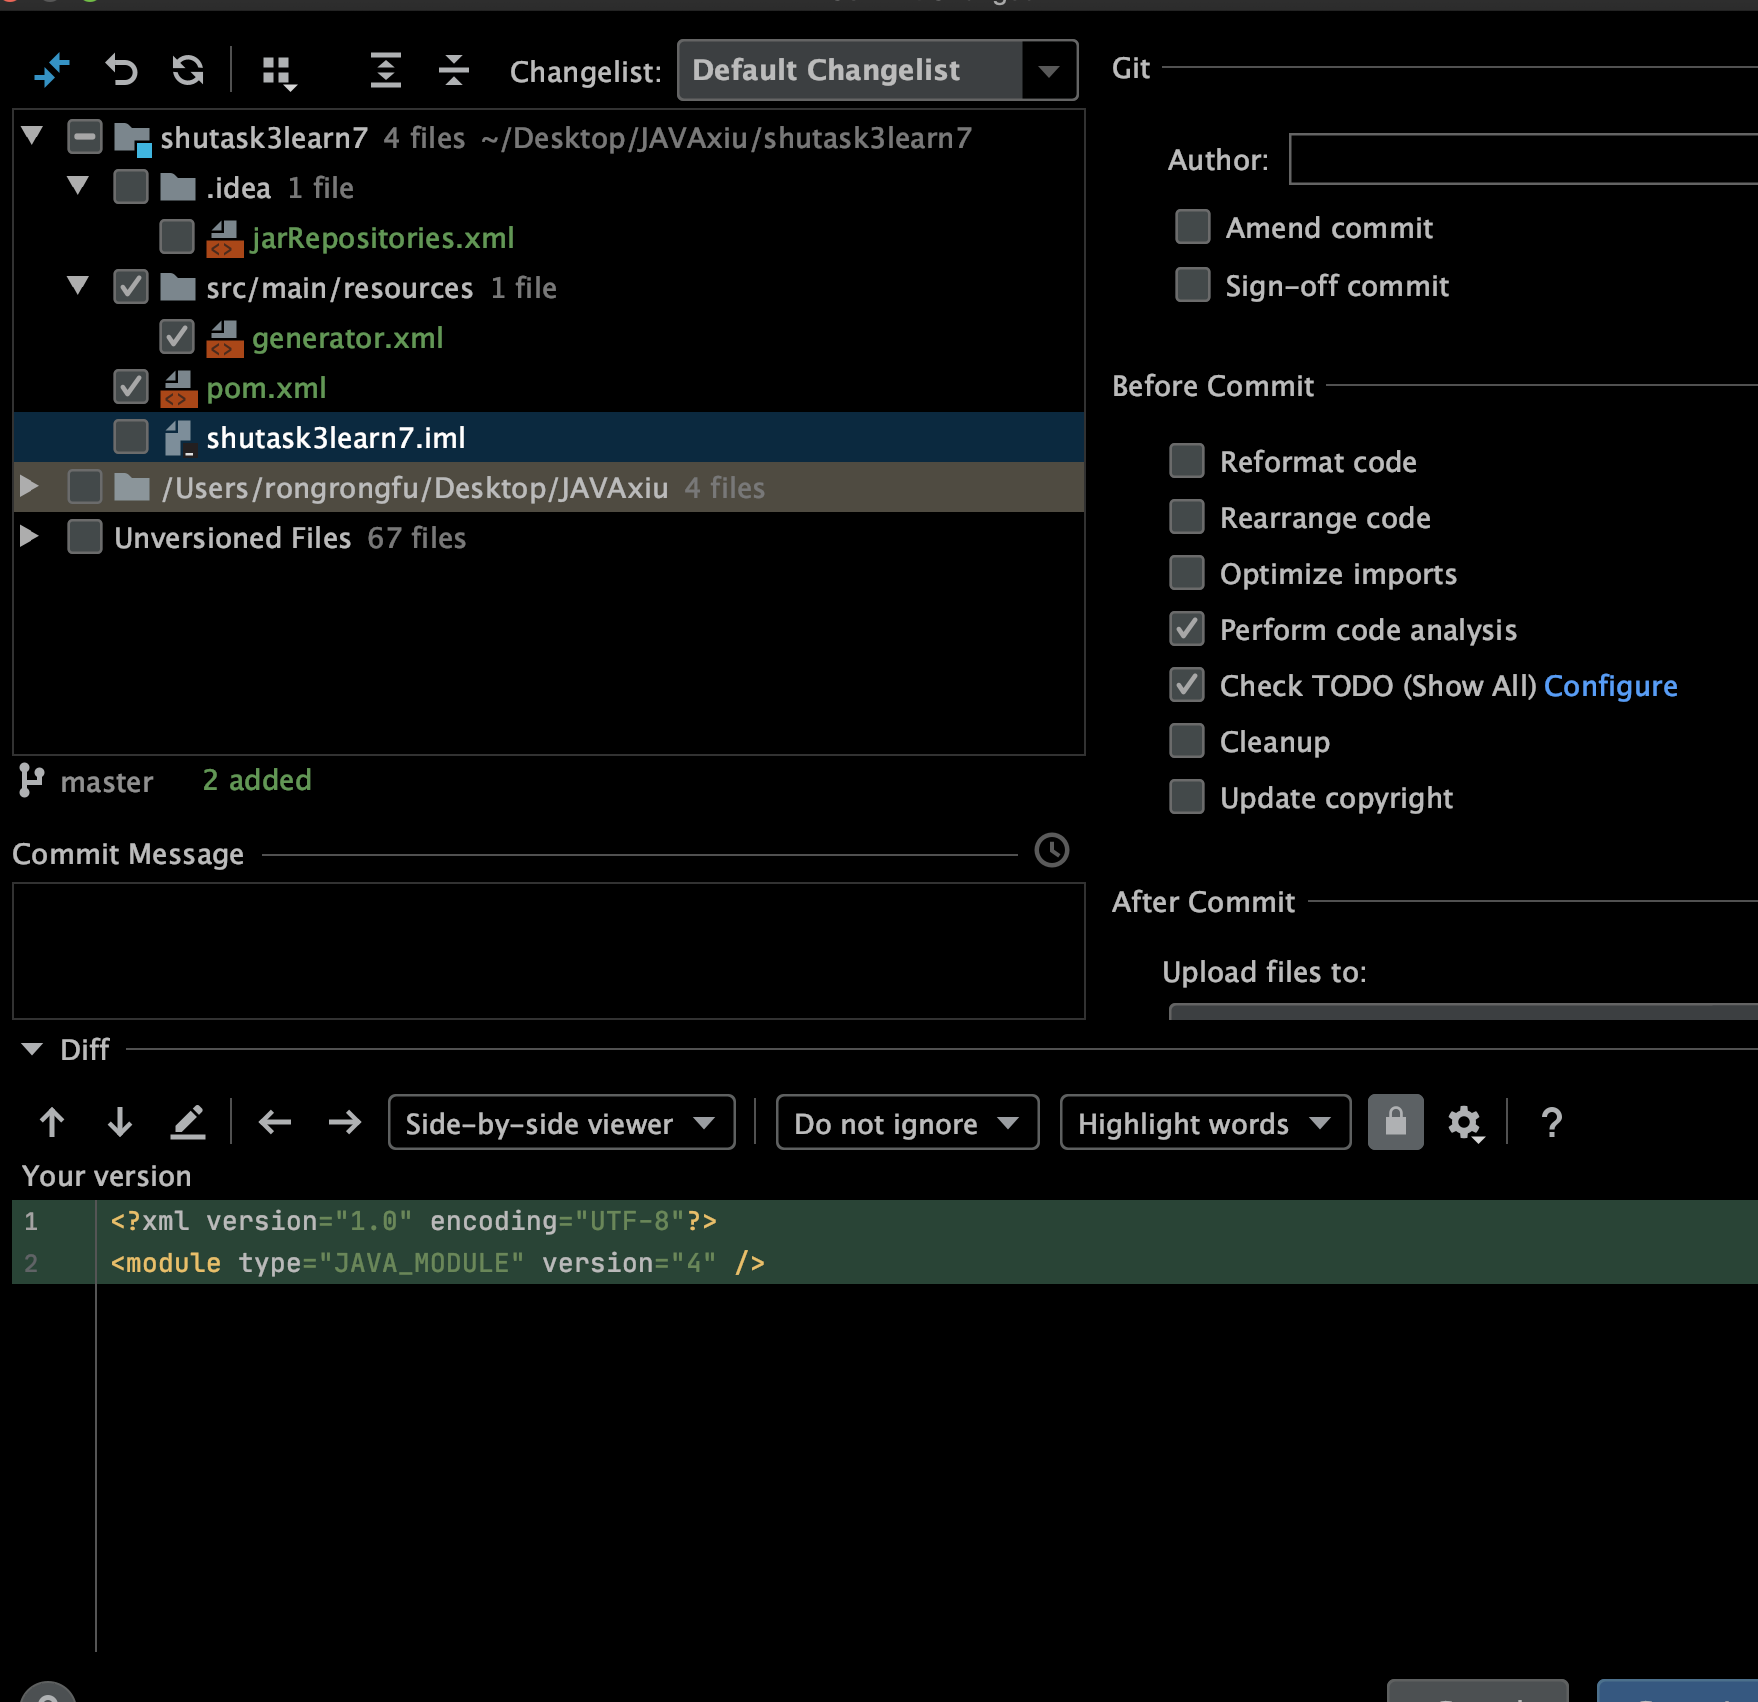
13. 上传github
14.deploy.sh
sh deploy.sh learn7
发现不支持,然后手动
cd /root/git-code
git pull
sh deploy.sh learn7


评论