发表于: 2019-11-04 21:50:56
1 972
一、今天完成的事
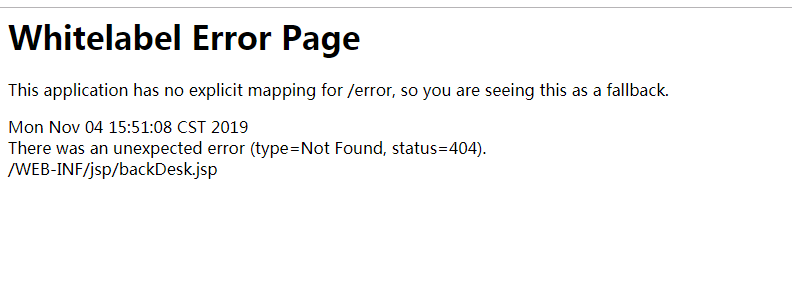
1.昨天打包之后无法访问页面的问题
通过打jar包的方式是不会吧WEB-INF里的东西打进去的
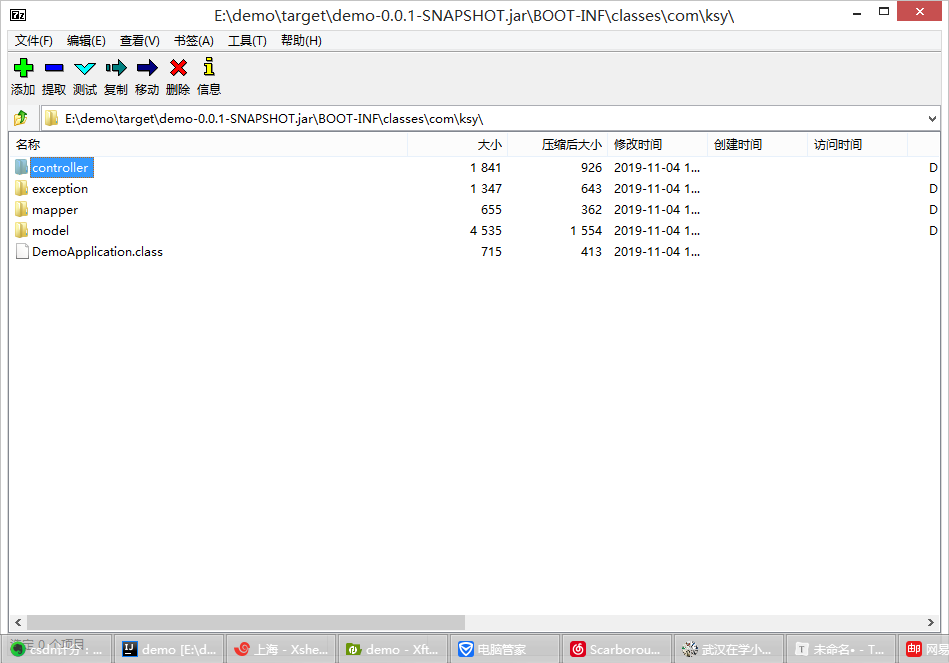
所以导致找不到页面
springboot中默认是打jar包
手动修改pom文件
<groupId>com.ksy</groupId><artifactId>demo</artifactId><version>0.0.1-SNAPSHOT</version><name>demo</name><packaging>jar</packaging>在插件中添加指向主方法的代码
<!--热部署插件-->
            <plugin>
                <groupId>org.springframework.boot</groupId>
                <artifactId>spring-boot-maven-plugin</artifactId>
                <configuration>
                    <!--此处为自己的启动类-->
                    <mainClass>com.ksy.DemoApplication</mainClass>
                </configuration>
                <executions>
                    <execution>
                        <goals>
                            <goal>repackage</goal>
                        </goals>
                    </execution>
                </executions>
            </plugin>
重新打包为war文件就可以了
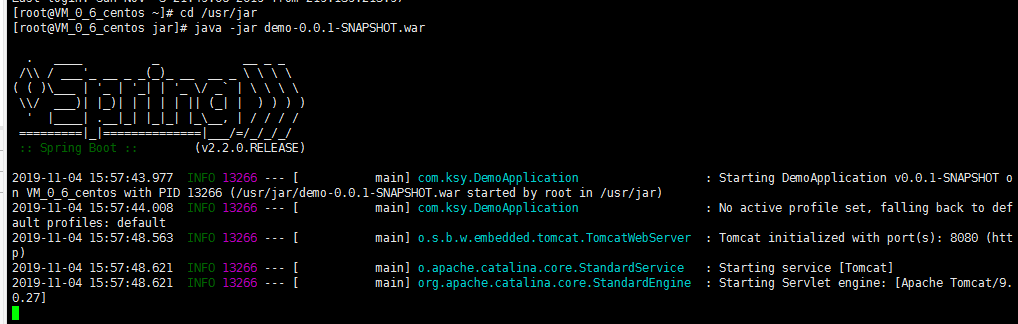
可以访问到
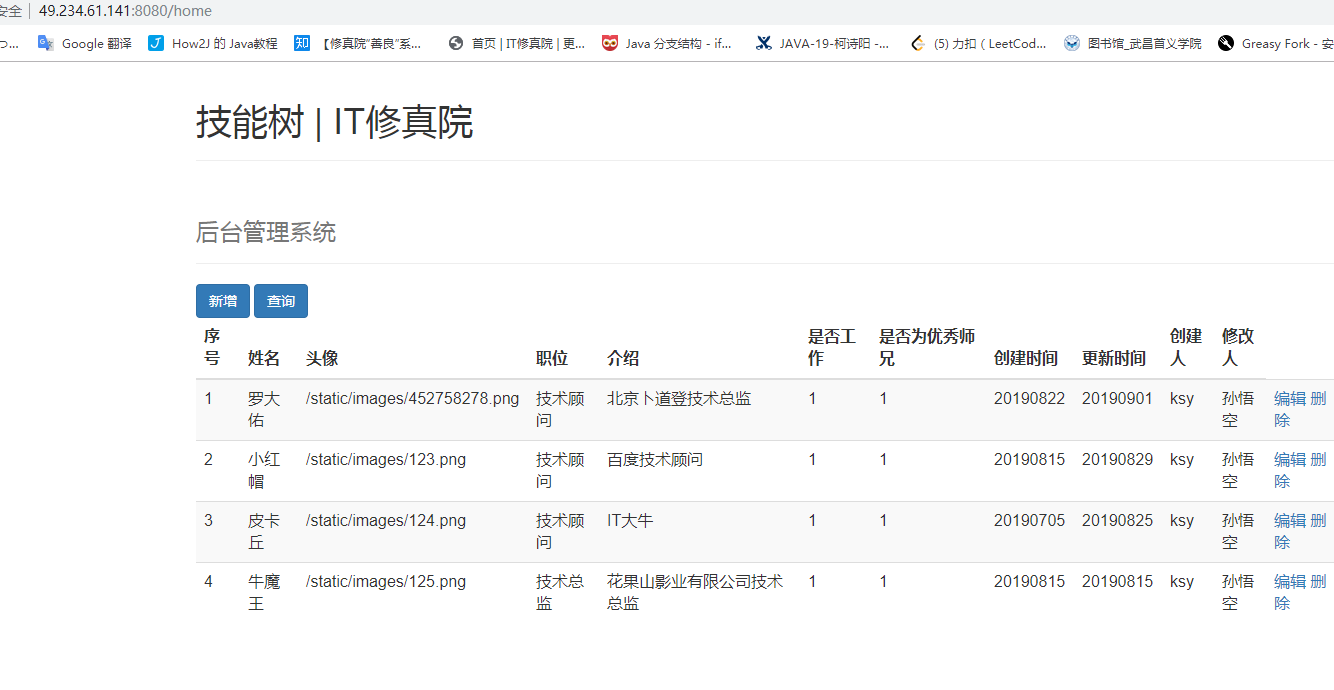
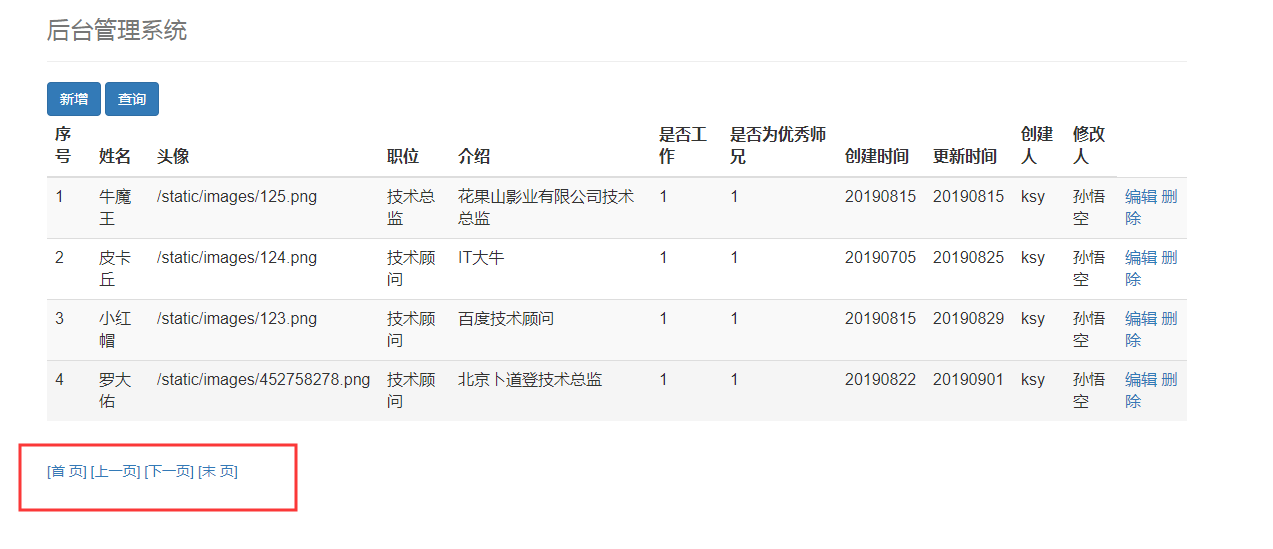
2.springboot分页
添加依赖
<dependency>
    <groupId>com.github.pagehelper</groupId>
    <artifactId>pagehelper</artifactId>
    <version>4.1.6</version>
</dependency>
添加一个PageHelperConfig类
package com.ksy.util;import org.springframework.context.annotation.Bean;import org.springframework.context.annotation.Configuration;import com.github.pagehelper.PageHelper;import java.util.Properties;
/** * @author shiyang
* @PackageName com.ksy.util
* @ClassName demo
* @Description
* @create 2019-11-04 16:45
*/
@Configuration
public class PageHelperConfig {
    @Bean
    public PageHelper pagerHelper(){
        PageHelper pageHelper = new PageHelper();
        Properties properties = new Properties();
        properties.setProperty("offsetAsPageNum","true");
        properties.setProperty("rowBoundsWithCount", "true");
        properties.setProperty("reasonable", "true");
        pageHelper.setProperties(properties);
        return pageHelper;
    }
}
修改controller
@RequestMapping("/home")
//在参数中接收当前是第几页start,以及每页显示多少条数据size,默认值分别是0和5
public String selectExcellentStudent(Model model,                                     @RequestParam(value = "start", defaultValue = "0") int start,                                     @RequestParam(value = "size", defaultValue = "5") int size) throws Exception {       //根据start、size进行分页,并且设置ID倒排序
    PageHelper.startPage(start,size,"id desc");
    List<Student> studentList = studentMapper.selectExcellentStudent();
    //根据返回的集合,创建pageInfo对象
    PageInfo<Student> page = new PageInfo<>(studentList);
    //把pageInfo对象扔进model,以供后续显示
    model.addAttribute("page",page);
    Integer count=studentMapper.countByLearning();
    Integer number=studentMapper.countByWorking();
    model.addAttribute("count",count);
    model.addAttribute("number",number);
    return "backDesk";
}
效果
3.springboot单元测试
(1).导入响应的包
<dependency>
 <groupId>junit</groupId>
 <artifactId>junit</artifactId>
 <version>4.12</version>
 <scope>test</scope>
</dependency>
<dependency>
     <groupId>org.springframework.boot</groupId>
     <artifactId>spring-boot-starter-test</artifactId>
     <scope>test</scope>
</dependency>
(2).test方法加上@Test注解
(3)需要加上2个注解:
@RunWith(SpringRunner.class) @SpringBootTest(classes = Application.class)
@RunWith(SpringRunner.class)
@SpringBootTest(classes = DemoApplication.class)
public class DemoApplicationTests {

    @Autowired
    StudentMapper studentMapper;

    @Test
   public void contextLoads() {
       List<Student> studentList = studentMapper.selectExcellentStudent();
       System.out.println(studentList);
    }

}
运行效果

4.上传图片demo
(1)先写两个简单的页面,一个用于上传,一个用于显示
uploadPage.jsp
<%@ page language="java" contentType="text/html; charset=UTF-8" pageEncoding="UTF-8"%><form action="upload" method="post" enctype="multipart/form-data"> 选择图片:<input type="file" name="file" accept="image/*" /> <br> <input type="submit" value="上传"></form>showImg.jsp
<%@ page language="java" contentType="text/html; charset=UTF-8" pageEncoding="UTF-8"%><img src="/uploaded/${fileName}">(2)编写controller
package com.ksy.controller;import org.springframework.stereotype.Controller;import org.springframework.ui.Model;import org.springframework.web.bind.annotation.RequestMapping;import org.springframework.web.bind.annotation.RequestMethod;import org.springframework.web.bind.annotation.RequestParam;import org.springframework.web.multipart.MultipartFile;import javax.servlet.http.HttpServletRequest;import java.io.File;import java.io.FileNotFoundException;import java.io.IOException;/**
* @author shiyang
* @PackageName com.ksy.controller
* @ClassName demo
* @Description
* @create 2019-11-04 21:29
*/@Controller
public class UploadController {

    @RequestMapping("/uploadPage")
    public String uploadPage() {
        return "uploadPage";
    }

    @RequestMapping(value = "/upload", method = RequestMethod.POST)
    //接收上传的图片
    public String upload(HttpServletRequest req, @RequestParam("file") MultipartFile file, Model m) {
        try {
            //根据时间戳创建新的文件名,以免覆盖掉相同的文件名
         String fileName = System.currentTimeMillis()+file.getOriginalFilename();
            //通过req.getServletContext().getRealPath()获取当前项目的真实路径
            String destFileName=req.getServletContext().getRealPath("")+"uploaded"+      File.separator+fileName;
            //创建一个目录
         File destFile = new File(destFileName);
         destFile.getParentFile().mkdirs();
         file.transferTo(destFile);
         m.addAttribute("fileName",fileName);
        } catch (FileNotFoundException e) {
        e.printStackTrace();
        return "上传失败," + e.getMessage();
        } catch (IOException e) {
        e.printStackTrace();
        return "上传失败," + e.getMessage();
        }
        return "showImg";    }
}
效果

二、遇到的问题
三、收获
四、明天的计划
做完最后的spingboot-demo。开始准备复盘ppt


评论