发表于: 2019-09-22 23:56:22
1 984
今天完成的事
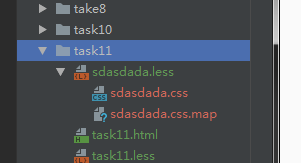
1.找了一个晚上的原因 终于找出原因修正无法在webstorm下使用less自动生成css文件的问题了
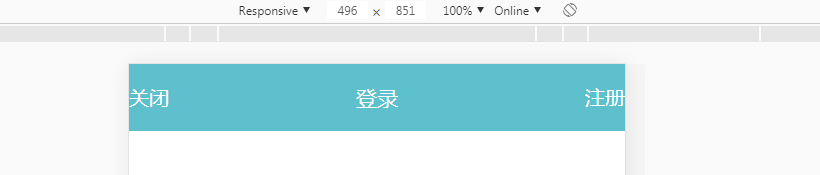
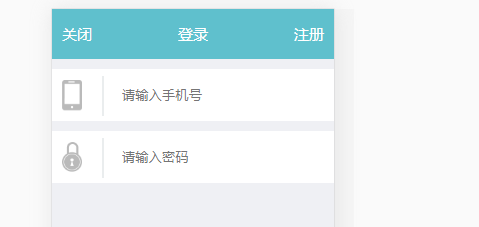
2.使用less的嵌套特性编写header
<header class="header">
    <p class="h-1">关闭</p>
    <p class="h-2">登录</p>
    <p class="h-1">注册</p>
</header>
less
.header {
  display: flex;
  position: fixed;
  top: 0;
  width: 100%;
  background-color: rgb(95,192,205);
  justify-content: space-between;
  p {
       margin: 20px 0;
    text-align: center;
    color: white;
  }
  .h-1 {
    font-size: 20px;
  }
  .h-2 {
    font-size: 21px;
  }
}
css
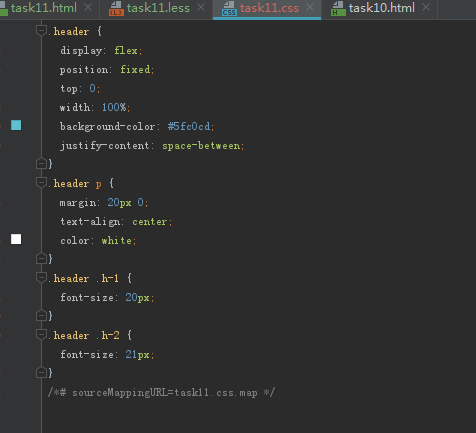
3.简化footer样式
.header {
  display: flex;
  position: fixed;
  top: 0;
  width: 100%;
  background-color: rgb(95,192,205);
  justify-content: space-between;
  p {
    margin: 15px 10px;
    text-align: center;
    color: white;
    font-size: 15px;
  }
}
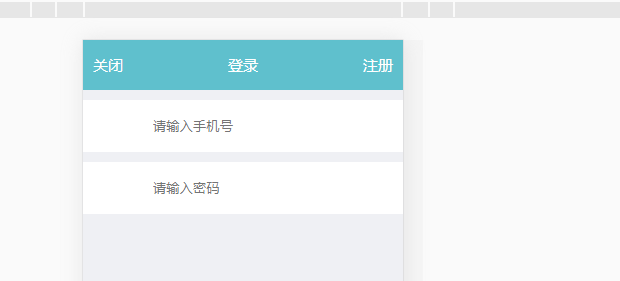
4.架构输入框部分
<label>
    <input type="text" name="phone" class="" placeholder="请输入手机号">
    <input type="password" name="psw" class="" placeholder="请输入密码">
</label>
5.初步调整输入框样式
label {
  display: flex;
  position: fixed;
  top: 50px;
  flex-flow: column;
  width: 100%;
  input {
    margin-top: 10px;
    height: 50px;
    padding-left: 70px;
    border: none;
  }
}
6.添加图标
.label {
  display: flex;
  position: fixed;
  top: 50px;
  flex-flow: column;
  width: 100%;
  input {
    margin-top: 10px;
    height: 50px;
    padding-left: 70px;
    border: none;
    background-size: 20px !important;
  }
  .img1 {
    background: url("iphone.png") no-repeat 10px white;
  }
  .img2 {
    background: url("locked.png") no-repeat 10px white;
  }
}
7.使用伪元素添加间隔条
.label::after,.label::before {
    content: "";
    display: block;
    position: absolute;
    background: rgb(234,237,238);
    height: 40px;
    width: 2px;
    left: 50px;
}
.label::after {
  top: 17px;
}
.label::before {
  top: 79px;
}
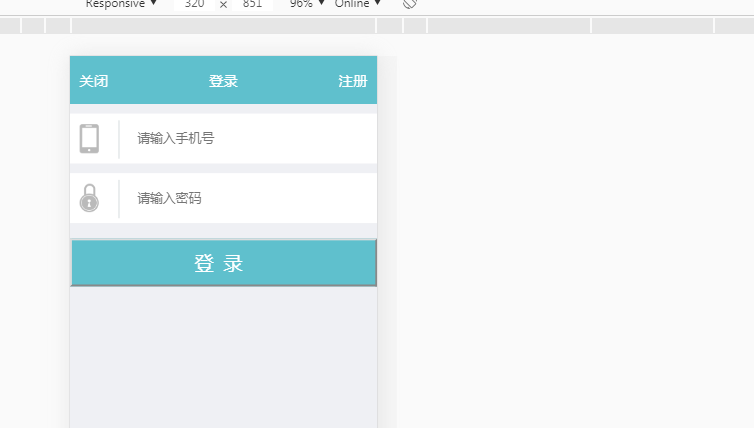
8.架构登录按钮
<label class="label2">
    <input type="button" name="button" value="登录">
</label>
9.完善下一步样式
.label2 {
  display: flex;
  position: fixed;
  top: 190px;
  width: 100%;
  input {
    width: 100%;
    height: 50px;
    background-color: rgb(95,192,205);
    color: white;
    font-size: 20px;
    letter-spacing: 10px;
  }
}
10.初步完成
11.根据less的变量修改less的主体颜色 使用一个变量控制header和bottom的颜色
@NO1-color:rgb(95,192,205);

.header {
  display: flex;
  position: fixed;
  top: 0;
  width: 100%;
  background-color: @NO1-color;
  justify-content: space-between;
  p {
    margin: 15px 10px;
    text-align: center;
    color: white;
    font-size: 15px;
  }
}
.label2 {
  display: flex;
  position: fixed;
  top: 190px;
  width: 100%;
  input {
    width: 100%;
    height: 50px;
    background-color: @NO1-color;
    color: white;
    font-size: 20px;
    letter-spacing: 10px;
  }
}
明天的计划
1.继续学习less 然后看看有哪些需要改进的
2.提交任务11
3.开始任务12
遇到的问题
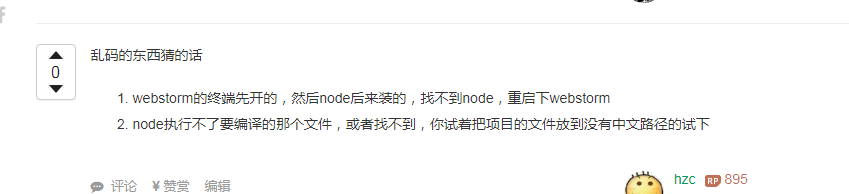
1.webstorm无法自动编译less文件生成css文件
查看了很多教程
发现前一个晚上安装node.js后手贱手动修改了系统变量及环境变量的path部分 没有修改成为正确的路径
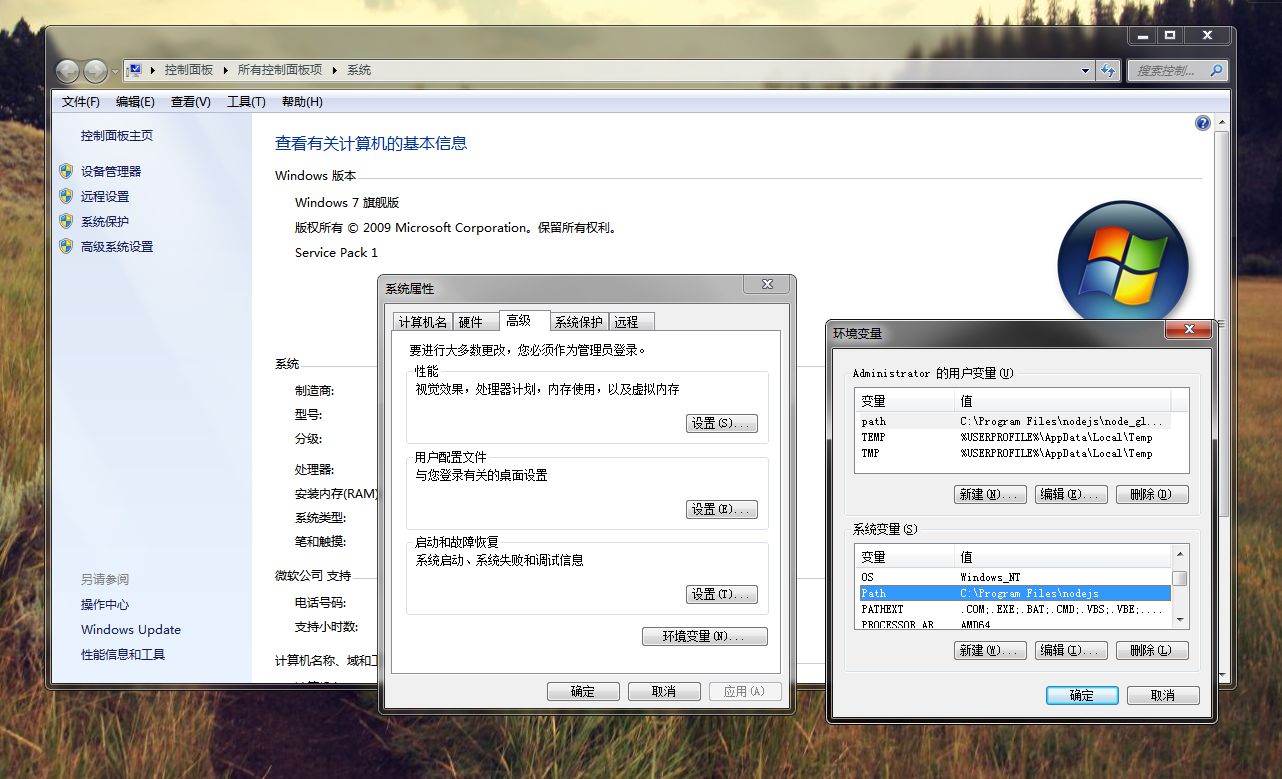
然后同时也没有在cmd启动node
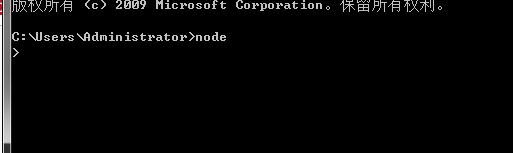
导致webstorm没有获得node.js环境支撑 就无法正确编译less文件

将以上问题修改过来后已经解决
获得解决问题思路的问答
https://segmentfault.com/q/1010000016205295?utm_source=tag-newest
今天的收获
1.理解了nodejs如何安装及工作的
2.学习了less的嵌套规则
less的嵌套规则有点像html的结构规则
枝干型的结构很容易梳理整个项目的样式管理
3.学习了less的变量
使用变量值可以同时控制css大量重复的样式
假如需要修改同一个css样式只需要在less更改一处就可以 而不用每个样式都去修改


评论