今天完成了什么:
完成官方文档demo实现。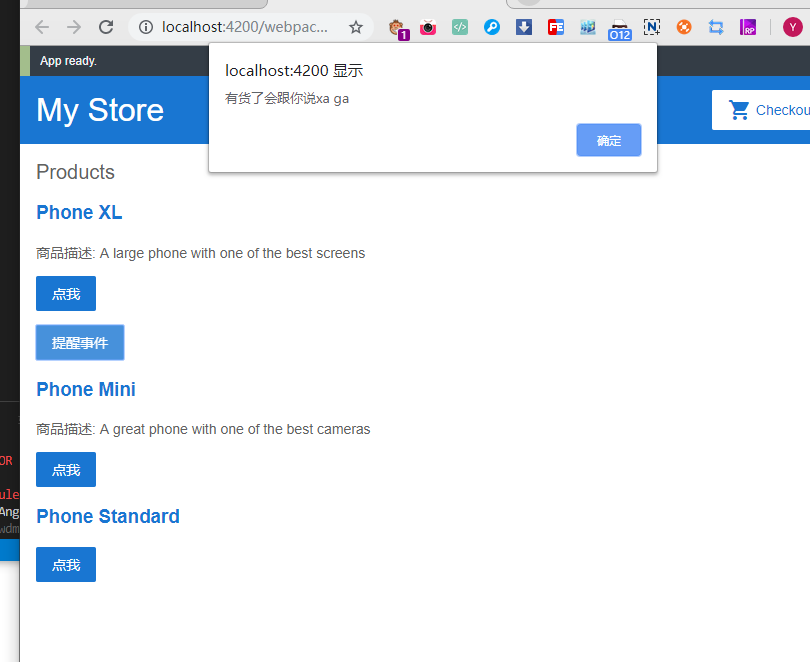
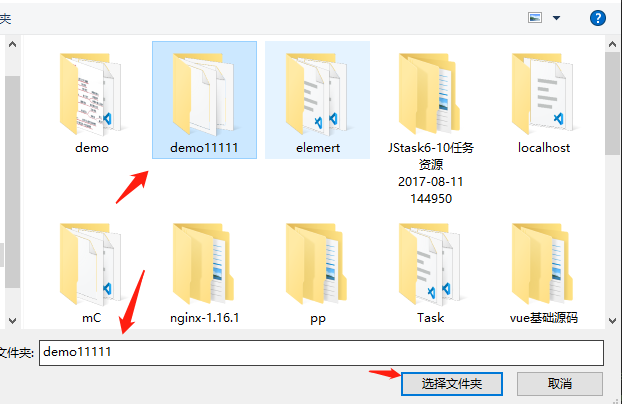
成功把实例的demo下载到本地,然后通过编辑器打开并且在终端跑起来运行;
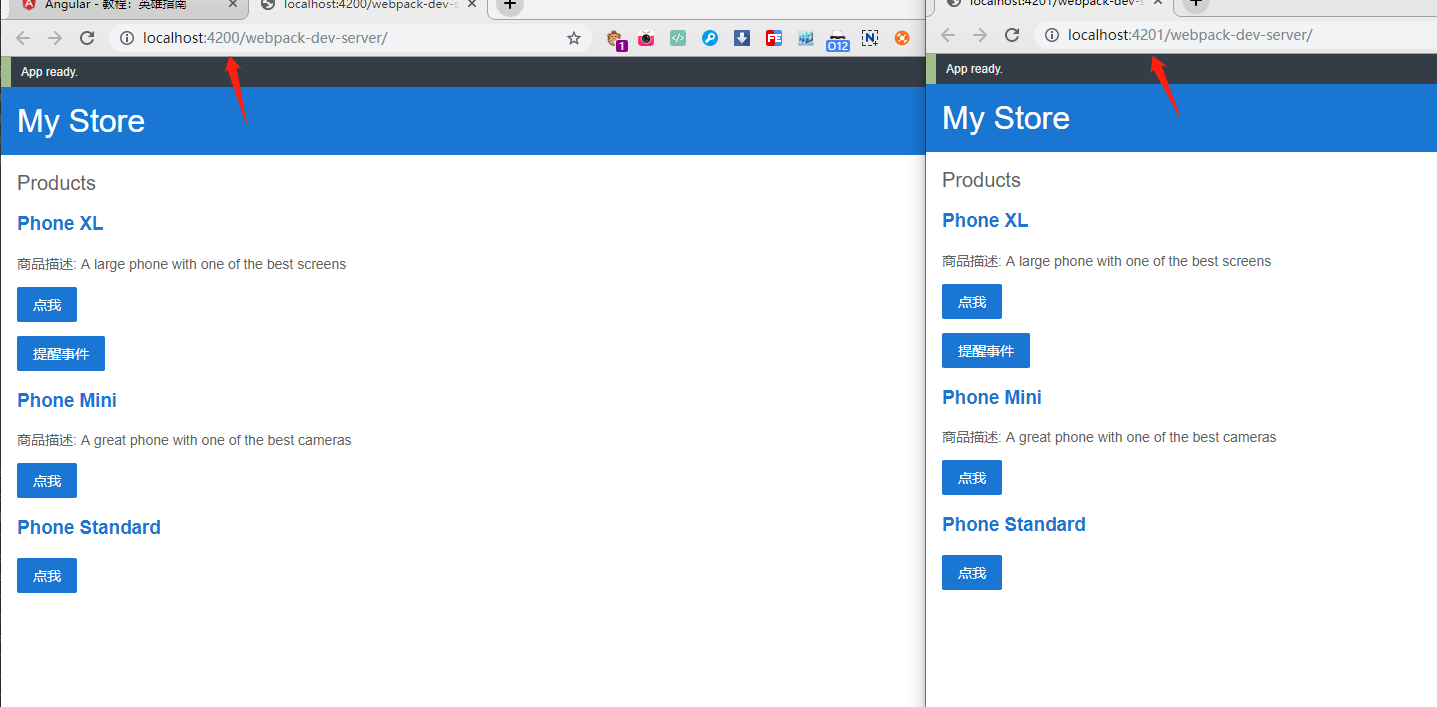
下载了webstorm顺便激活了,然后汉化包汉化软件,虽然不建议汉化,入门先别那么多要求吧;拿webstorm是想再多跑一个angluar,端口一个是4200.一个是4201;
遇到了什么问题:
下载好了实力demo本机不会跑,后面别人指导了才指导是要先配置好环境;
 下载好的文件就src和几个文件是跑不起来的,后来我去全局配置一开始能打开angluar页面的文件夹把没有的文件全部赋值进去,node-modules也加了进去
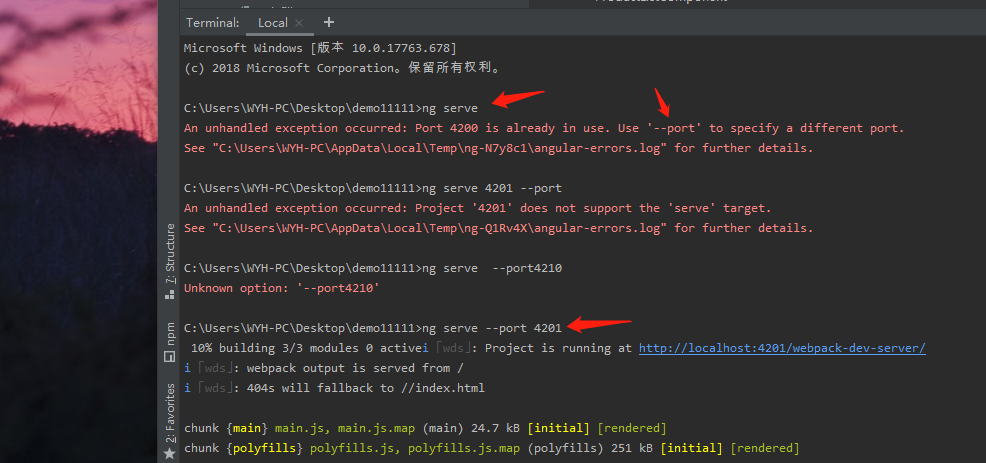
然后在vscode打开这个实例的文件夹,然后打开终端输入ng serve就跑起来
C:\Users\WYH-PC\Desktop\demo11111>ng serve
An unhandled exception occurred: Port 4200 is already in use. Use '--port' to specify a different port.
See "C:\Users\WYH-PC\AppData\Local\Temp\ng-N7y8c1\angular-errors.log" for further details.
C:\Users\WYH-PC\Desktop\demo11111>ng serve 4201 --port
An unhandled exception occurred: Project '4201' does not support the 'serve' target.
See "C:\Users\WYH-PC\AppData\Local\Temp\ng-Q1Rv4X\angular-errors.log" for further details.
C:\Users\WYH-PC\Desktop\demo11111>ng serve --port4210
Unknown option: '--port4210'
C:\Users\WYH-PC\Desktop\demo11111>ng serve --port 4201
10% building 3/3 modules 0 activei 「wds」: Project is running at http://localhost:4201/webpack-dev-server/
i 「wds」: webpack output is served from /
i 「wds」: 404s will fallback to //index.html
chunk {main} main.js, main.js.map (main) 24.7 kB [initial] [rendered]
chunk {polyfills} polyfills.js, polyfills.js.map (polyfills) 251 kB [initial] [rendered]
chunk {runtime} runtime.js, runtime.js.map (runtime) 6.09 kB [entry] [renderedwebstorm也类似这样子操作,不过他显示报错,所以后面再输入命令 ng serve --port 4201就行了;
跑起俩个
收获了什么:
学会安装webstrom安装激活,还不怎么会使用,反正现在不急;
get到运行俩个ng技能,这样可以有对比什么的;
demo的实例主要在这俩个文件夹内循环操作,ts和html文件里。
product-alert是产品提示文件夹;
product-list是产品列表文件夹
其实从这里就可以看出来框架里的思想就是一切都是组件库,提示框也塞到单独文件夹,列表也是单独文件夹;

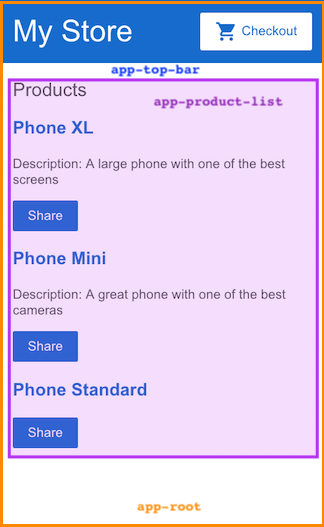
app-root(橙色框)是应用的外壳。这是要加载的第一个组件,也是所有其它组件的父组件,想象成一个基础页面。
app-top-bar(蓝色背景)是商店名称和结帐按钮。
app-product-list(紫色框)是商品列表。
product-alerts提醒文件夹:
在html文件夹添加:
<p *ngIf="product.price > 700">
<!-- //用事件绑定更新“提醒事件”按钮,以调用 notify.emit() 方法。 -->
<button (click)="notify.emit()">提醒事件</button>
</p>
.ts文件
import { Component, OnInit } from '@angular/core';
// //从 @angular/core 导入 Input。
import{Input} from '@angular/core';
//从 @angular/core 中导入 Output 和 EventEmitter:
import{Output,EventEmitter}from'@angular/core';
@Component({
// //组件选择器,以app开头。
selector: 'app-product-alerts',
// //引用组件和样式文件名
templateUrl: './product-alerts.component.html',
styleUrls: ['./product-alerts.component.css']
})
// //导出类,用于处理组件功能
export class ProductAlertsComponent {
// //定义一个带 @Input 装饰器的 product 属性。
@Input() product;
// 用 @Output 装饰器和一个事件发射器(EventEmitter)定义一个名为 notify 的属性。
//这可以让商品提醒组件在 notify 属性发生变化时发出事件。
@Output() notify = new EventEmitter();
// implements OnInit
// constructor() { }
// ngOnInit() {
// }
}
product-list产品列表文件夹:
html文件:
<h2>Products</h2>
<!-- //*ngFor 会导致 <div> 被列表中的每个商品都重复渲染一次。 -->
<div *ngFor="let product of products">
<h3>
<!-- 添加这个链接,并使用属性绑定语法 [] 把该链接的 title 设置成该商品的名字 -->
<a [title]="product.name + ' details'">
<!-- 要显示商品的名称,请使用插值语法 {{}}插值会把属性的值作为文本渲染出来 -->
<!-- 将鼠标悬停在显示的商品名称上,可以看到绑定的 name 属性值。 -->
{{ product.name }}
</a>
</h3>
<!-- 添加商品说明。在 p 标签上,使用 *ngIf 指令 -->
<p *ngIf="product.description">
商品描述: {{ product.description }}
</p>
<!-- 添加一个按钮,把 button 的 click 事件绑定到定义好的share()事件 -->
<button (click)="share()">
点我
</button>
<!-- 通过属性绑定把当前商品作为输入传递给组件 -->
<!-- 把 app-product-alerts 组件(就是它显示的“点我”按钮)的 notify 事件绑定到商品列表组件的 onNotify() 方法。 -->
<app-product-alerts
[product]="product"
(notify)="onNotify()">
</app-product-alerts>
</div>
.ts文件:
import { Component } from '@angular/core';
import { products } from '../products';
@Component({
selector: 'app-product-list',
templateUrl: './product-list.component.html',
styleUrls: ['./product-list.component.css']
})
export class ProductListComponent {
products = products;
// 绑定事件
share() {
window.alert('分享产品吗?');
}
onNotify(){
window.alert('有货了会跟你说xa ga ');
}
}
/*
Copyright Google LLC. All Rights Reserved.
Use of this source code is governed by an MIT-style license that
can be found in the LICENSE file at http://angular.io/license
*/
明天计划:
了解ng,赶紧写任务。。。。。


评论